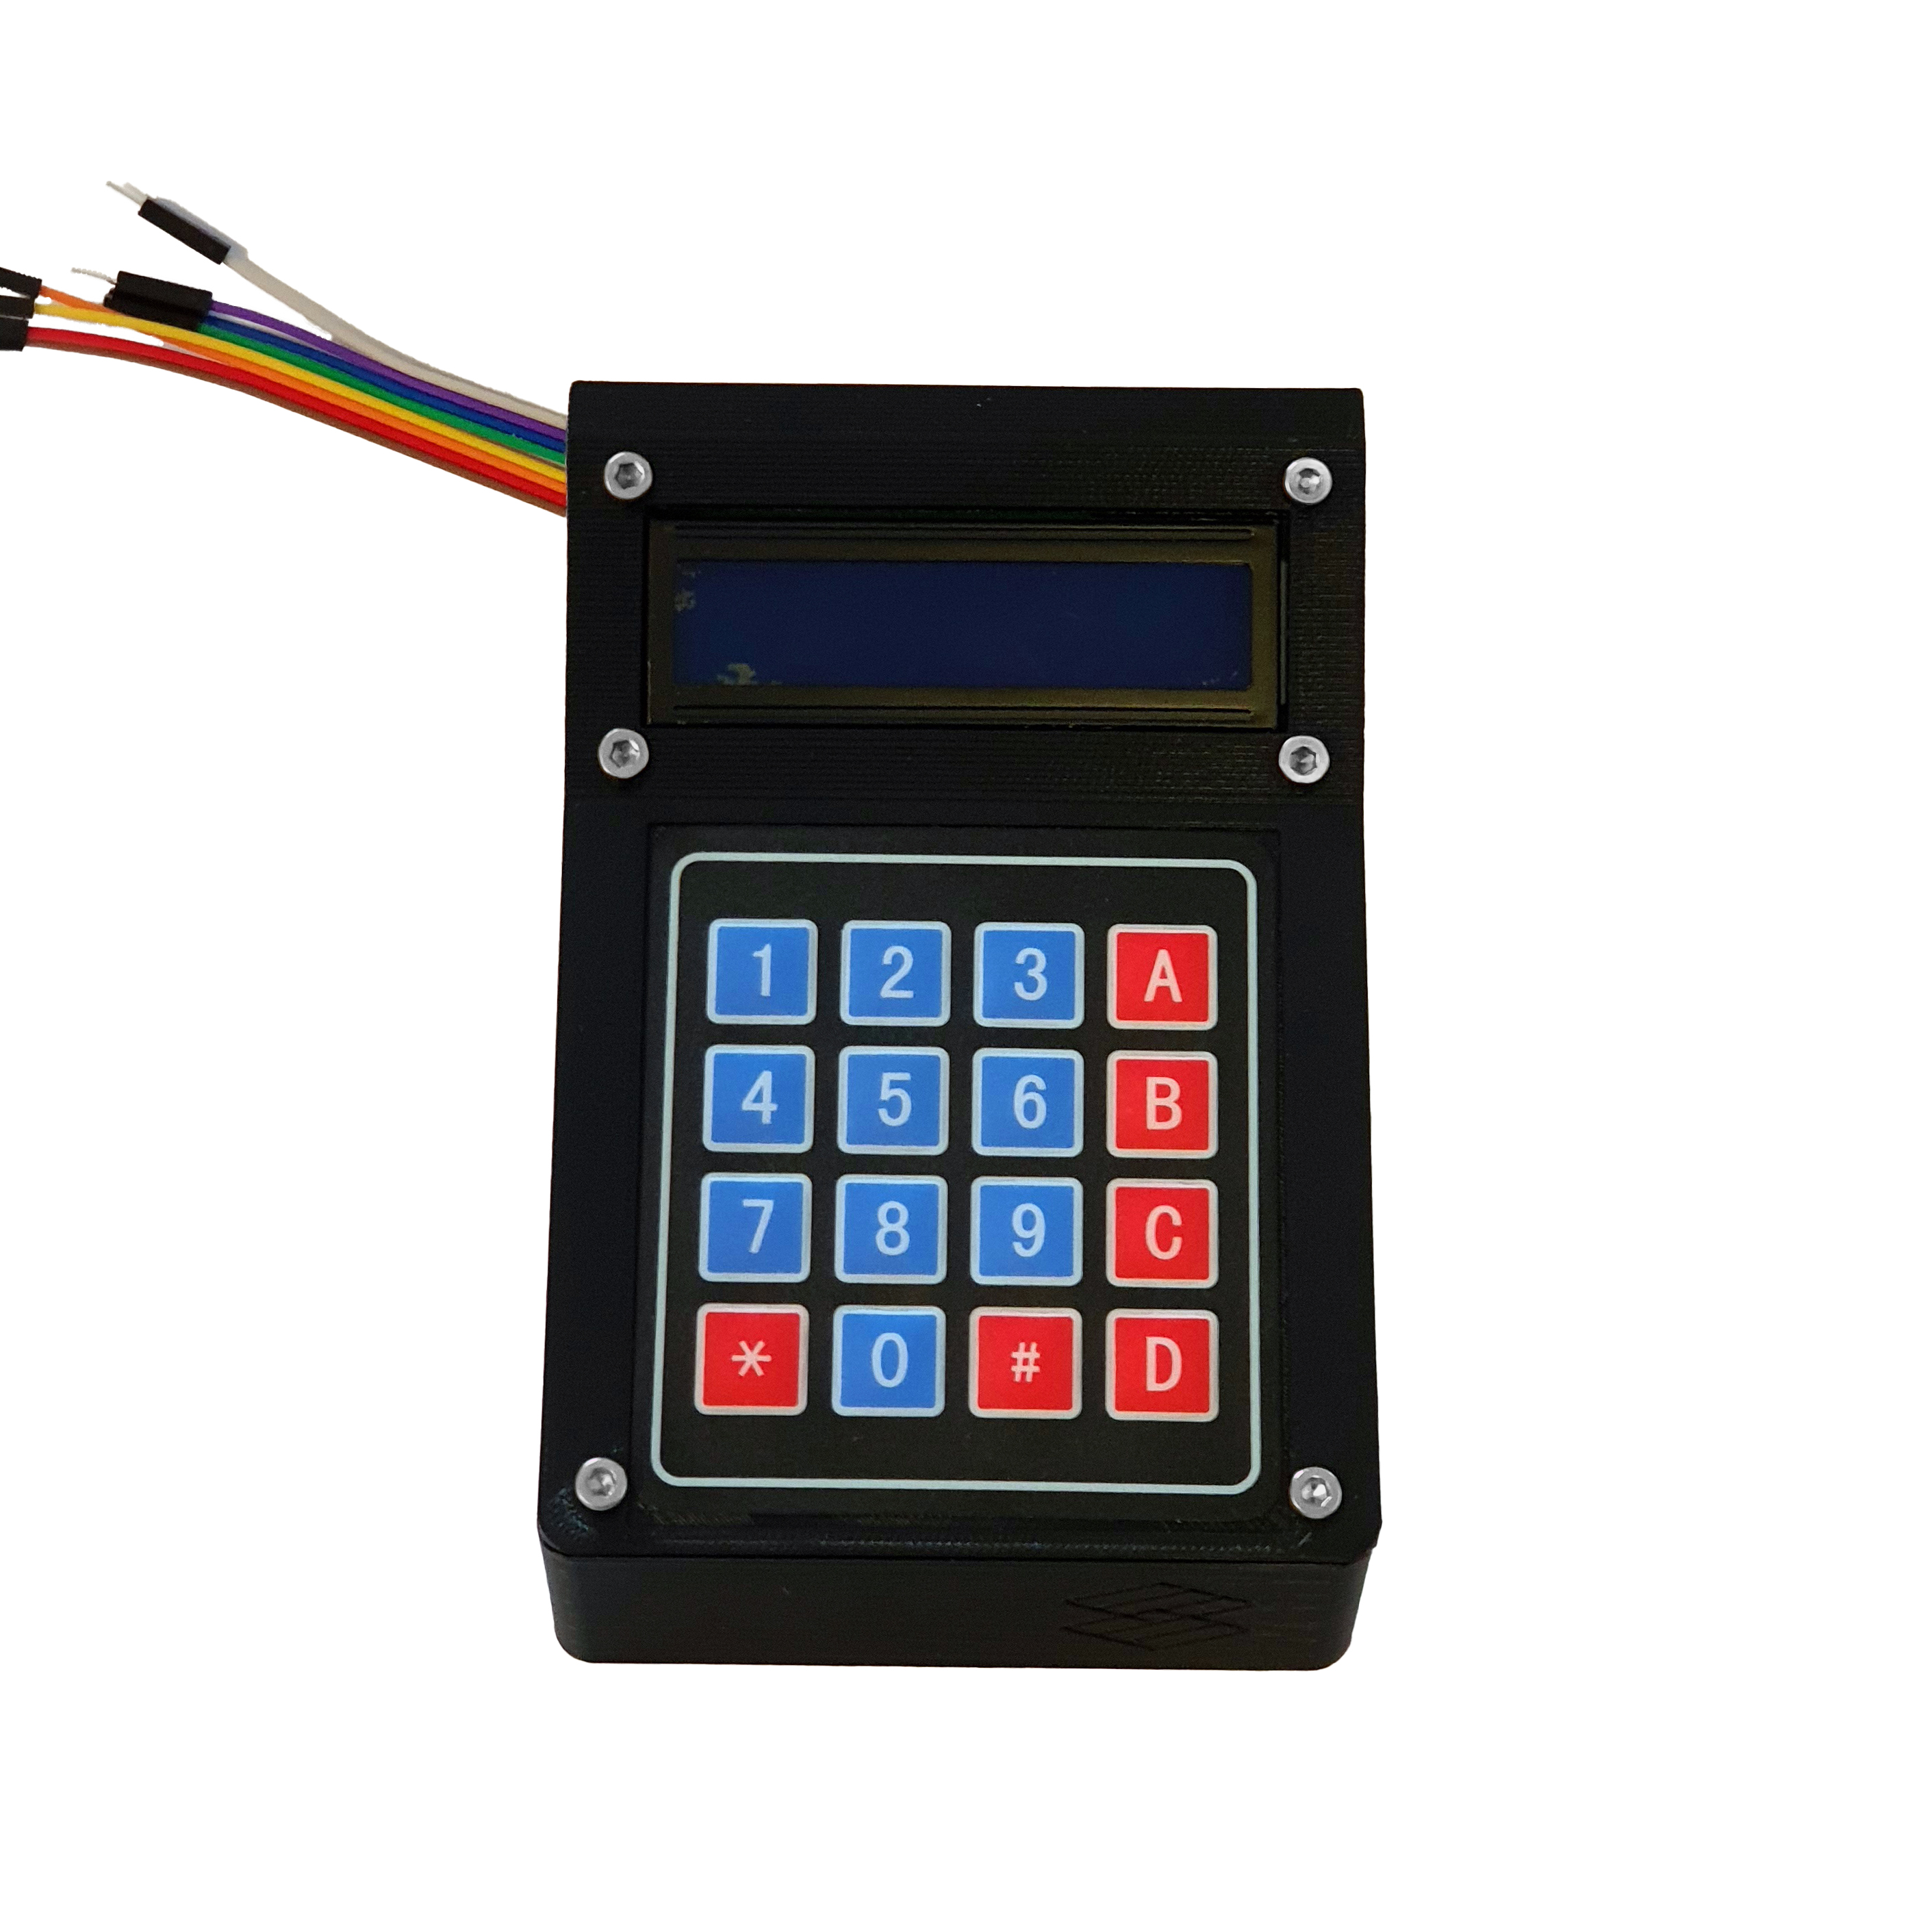
Assemble everything together
For this section you will need:
Parts
Electronic Components
Mechanical Components
- 2 M3 10mm screw
- 2 M3 16mm screw
- 4 M3 nut
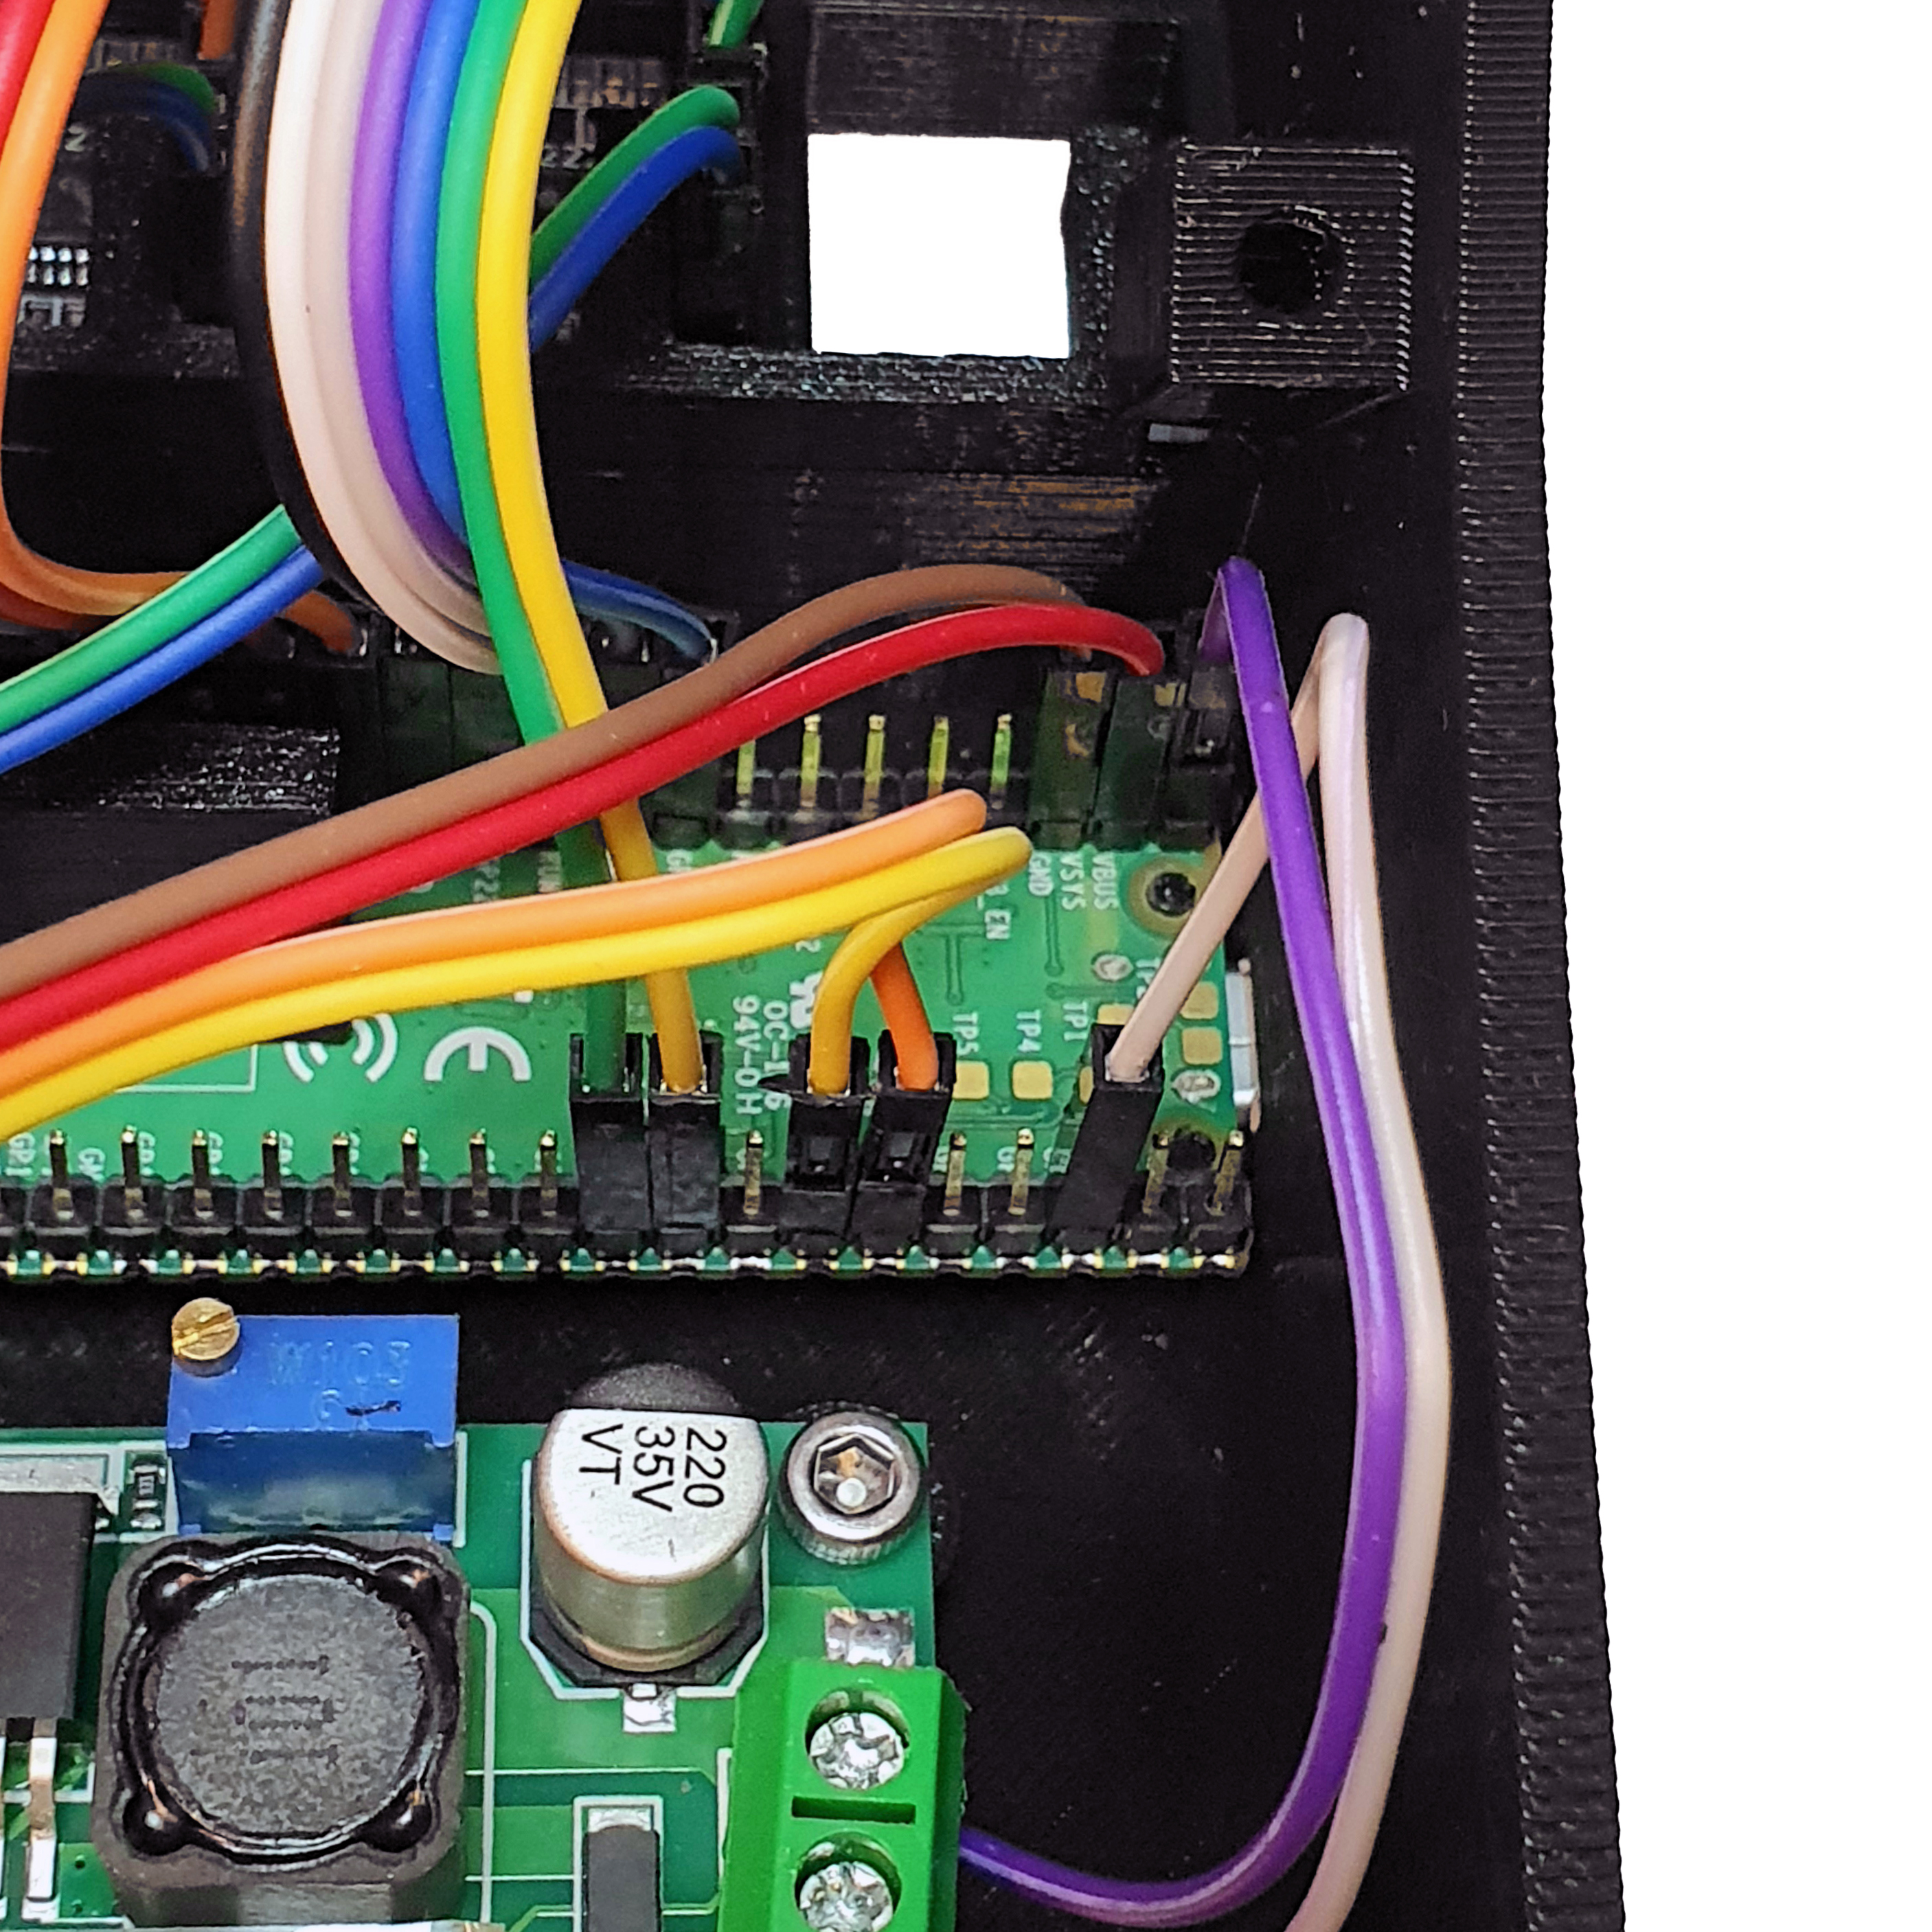
Step 1: Connect the LCD Screen to the Raspberry Pi Pico
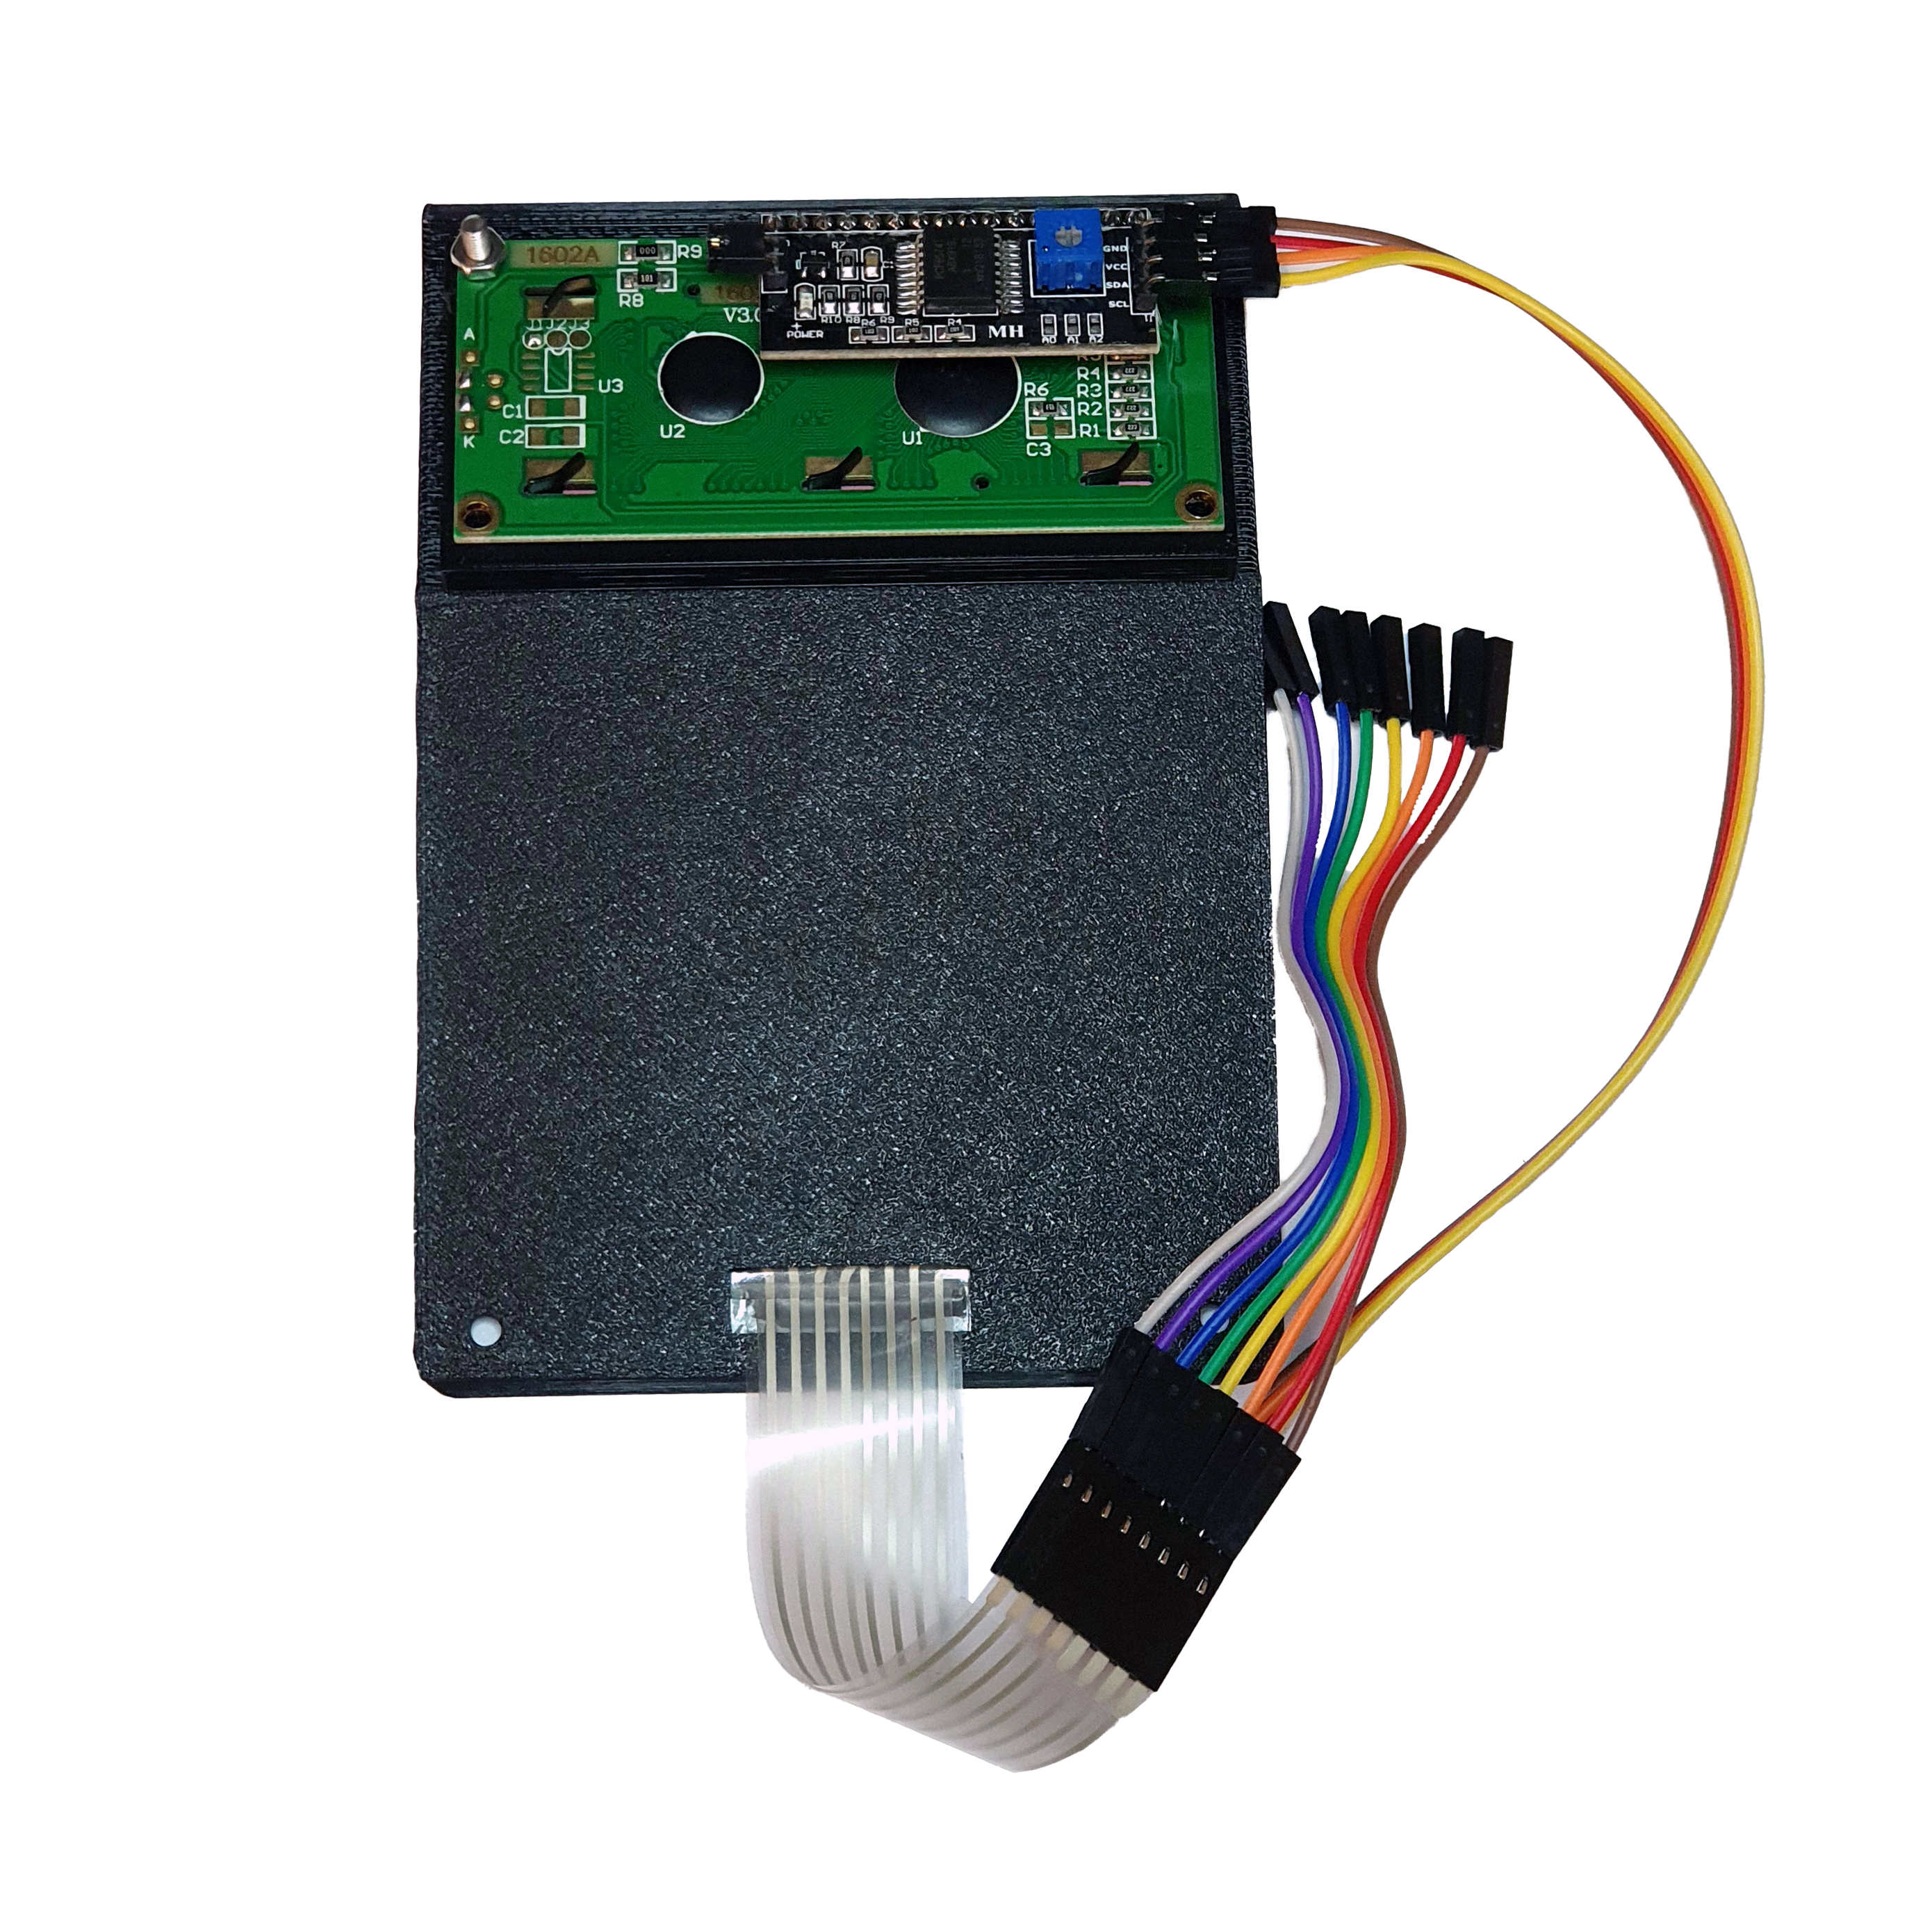
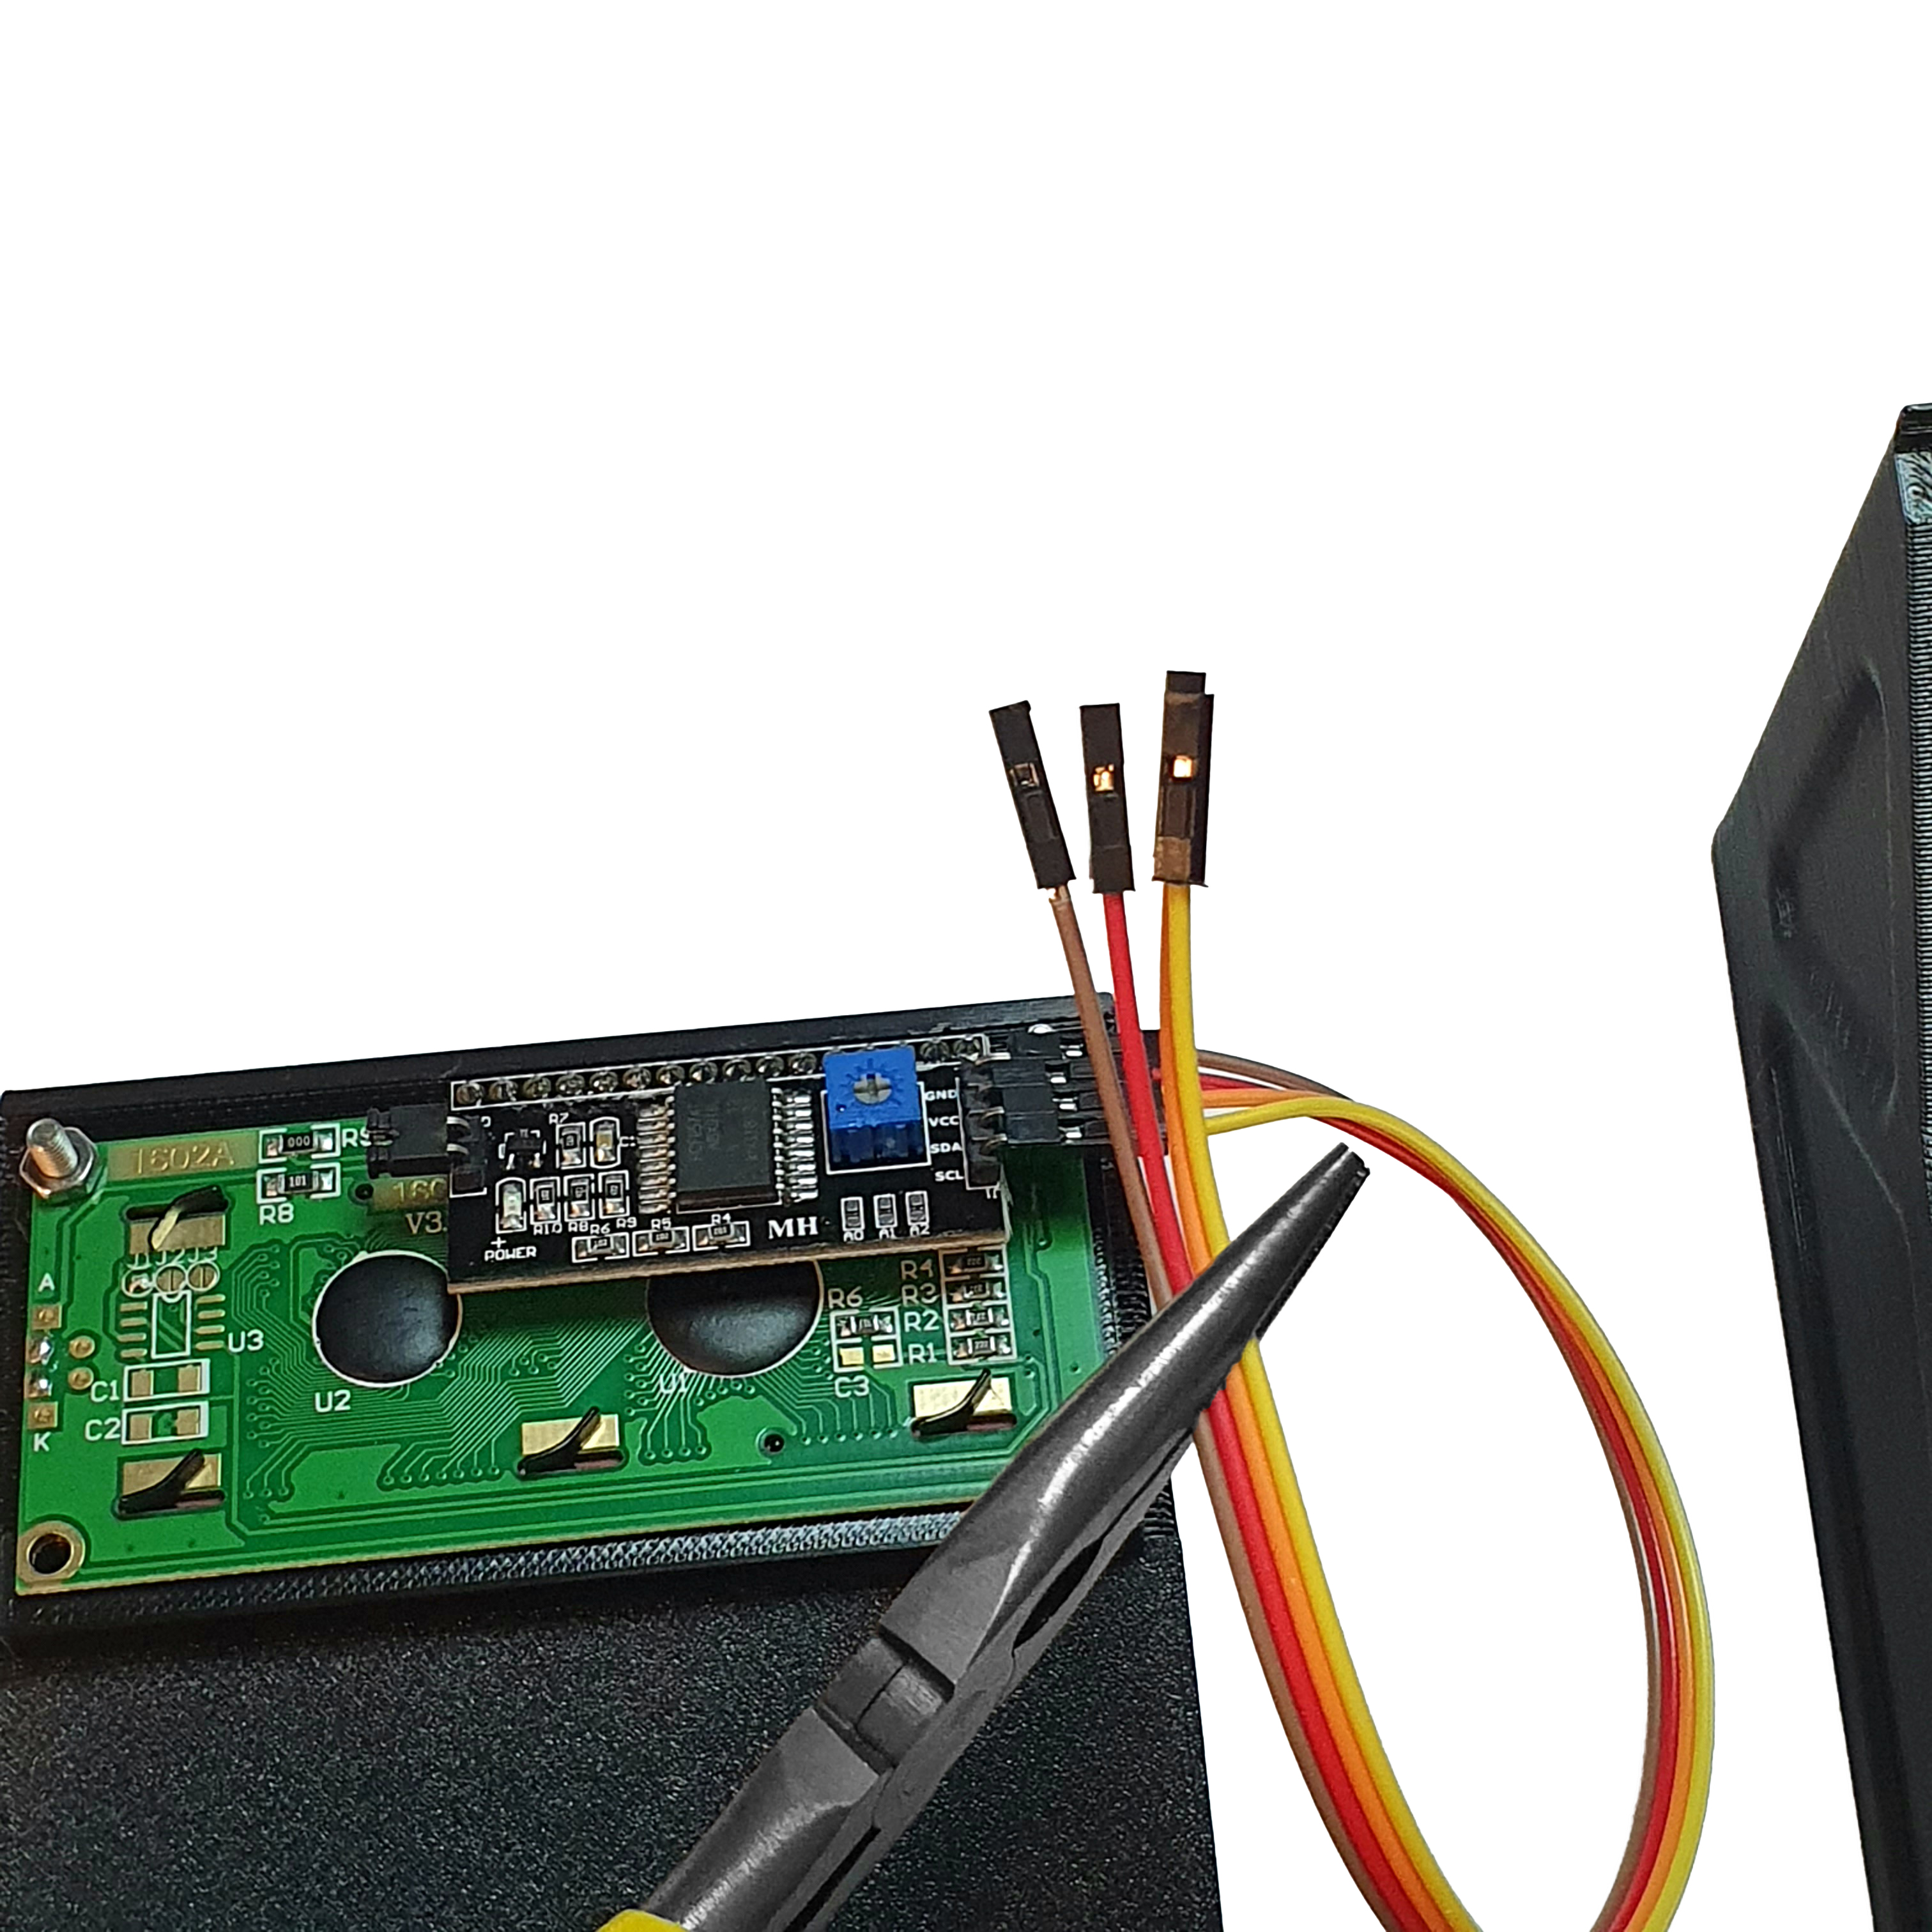
- Take the Assembled Front Panel and locate the 4 20 cm female-female jumpers coming out of the LCD screen.
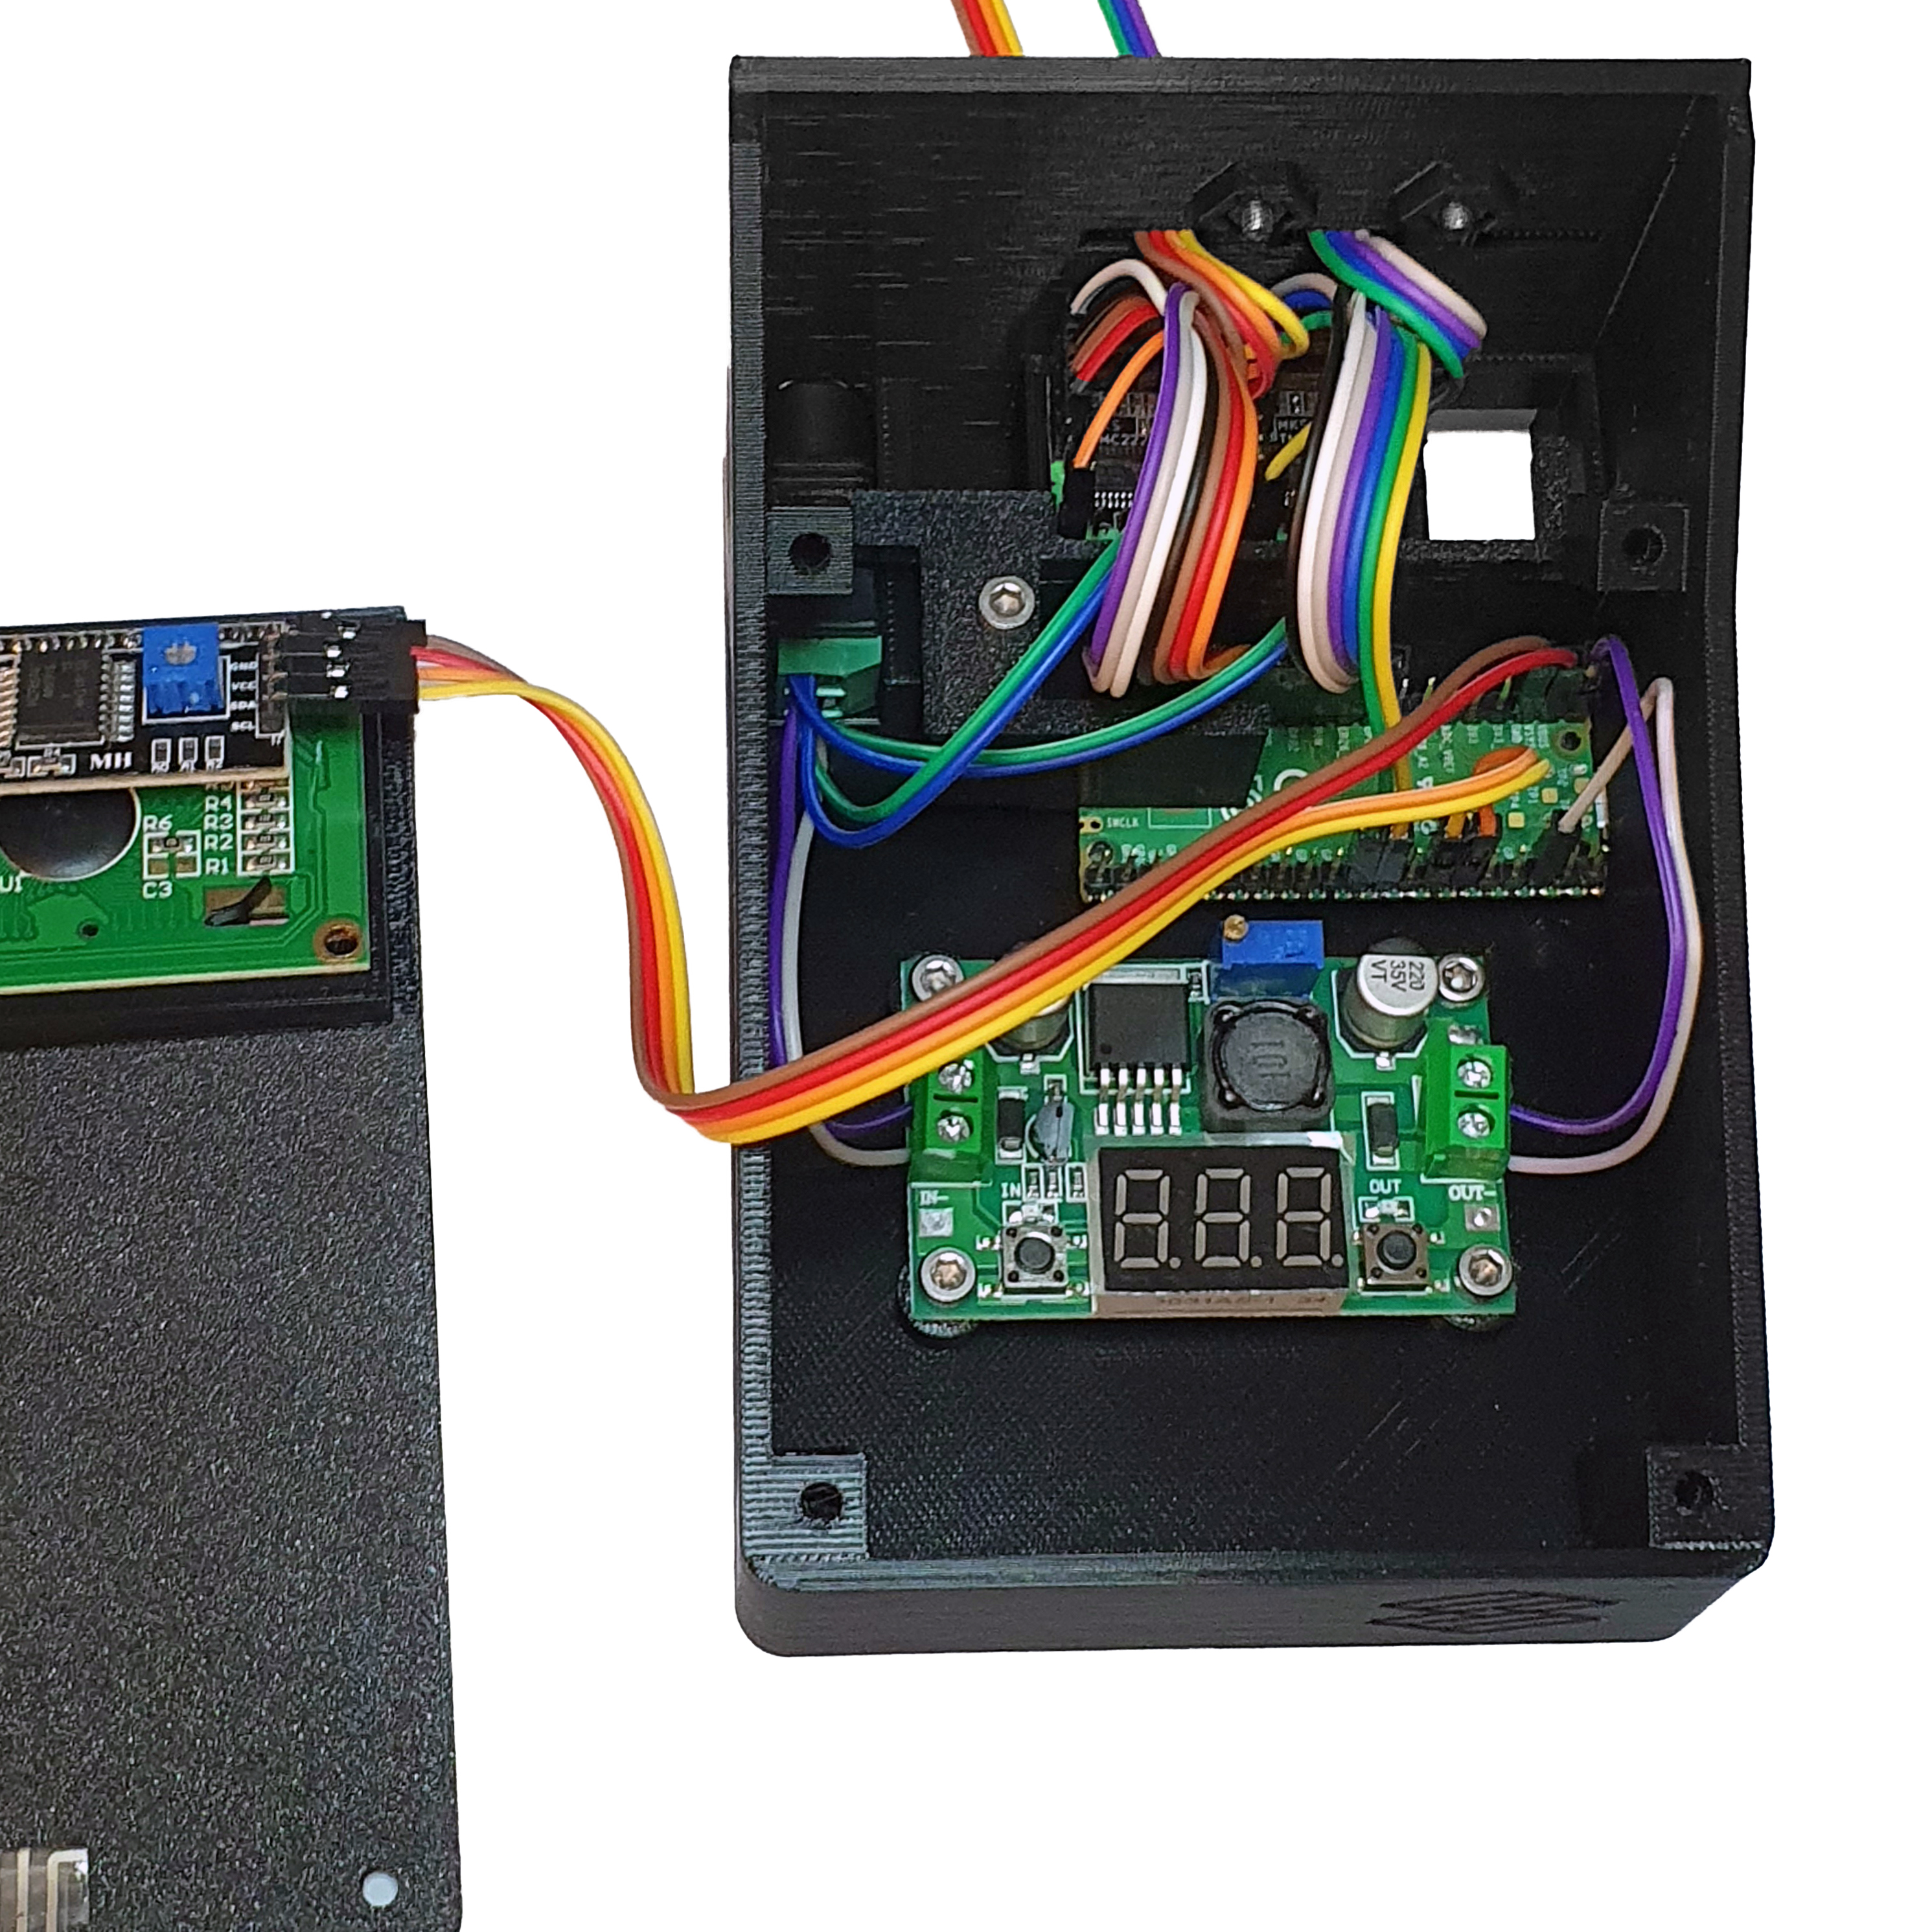
- Connect these jumpers to the corresponding pins of the Raspberry Pi Pico in the Assembled Interface Base, following the wiring diagram.

Step 2: Connect the Membrane Keypad to the Raspberry Pi Pico
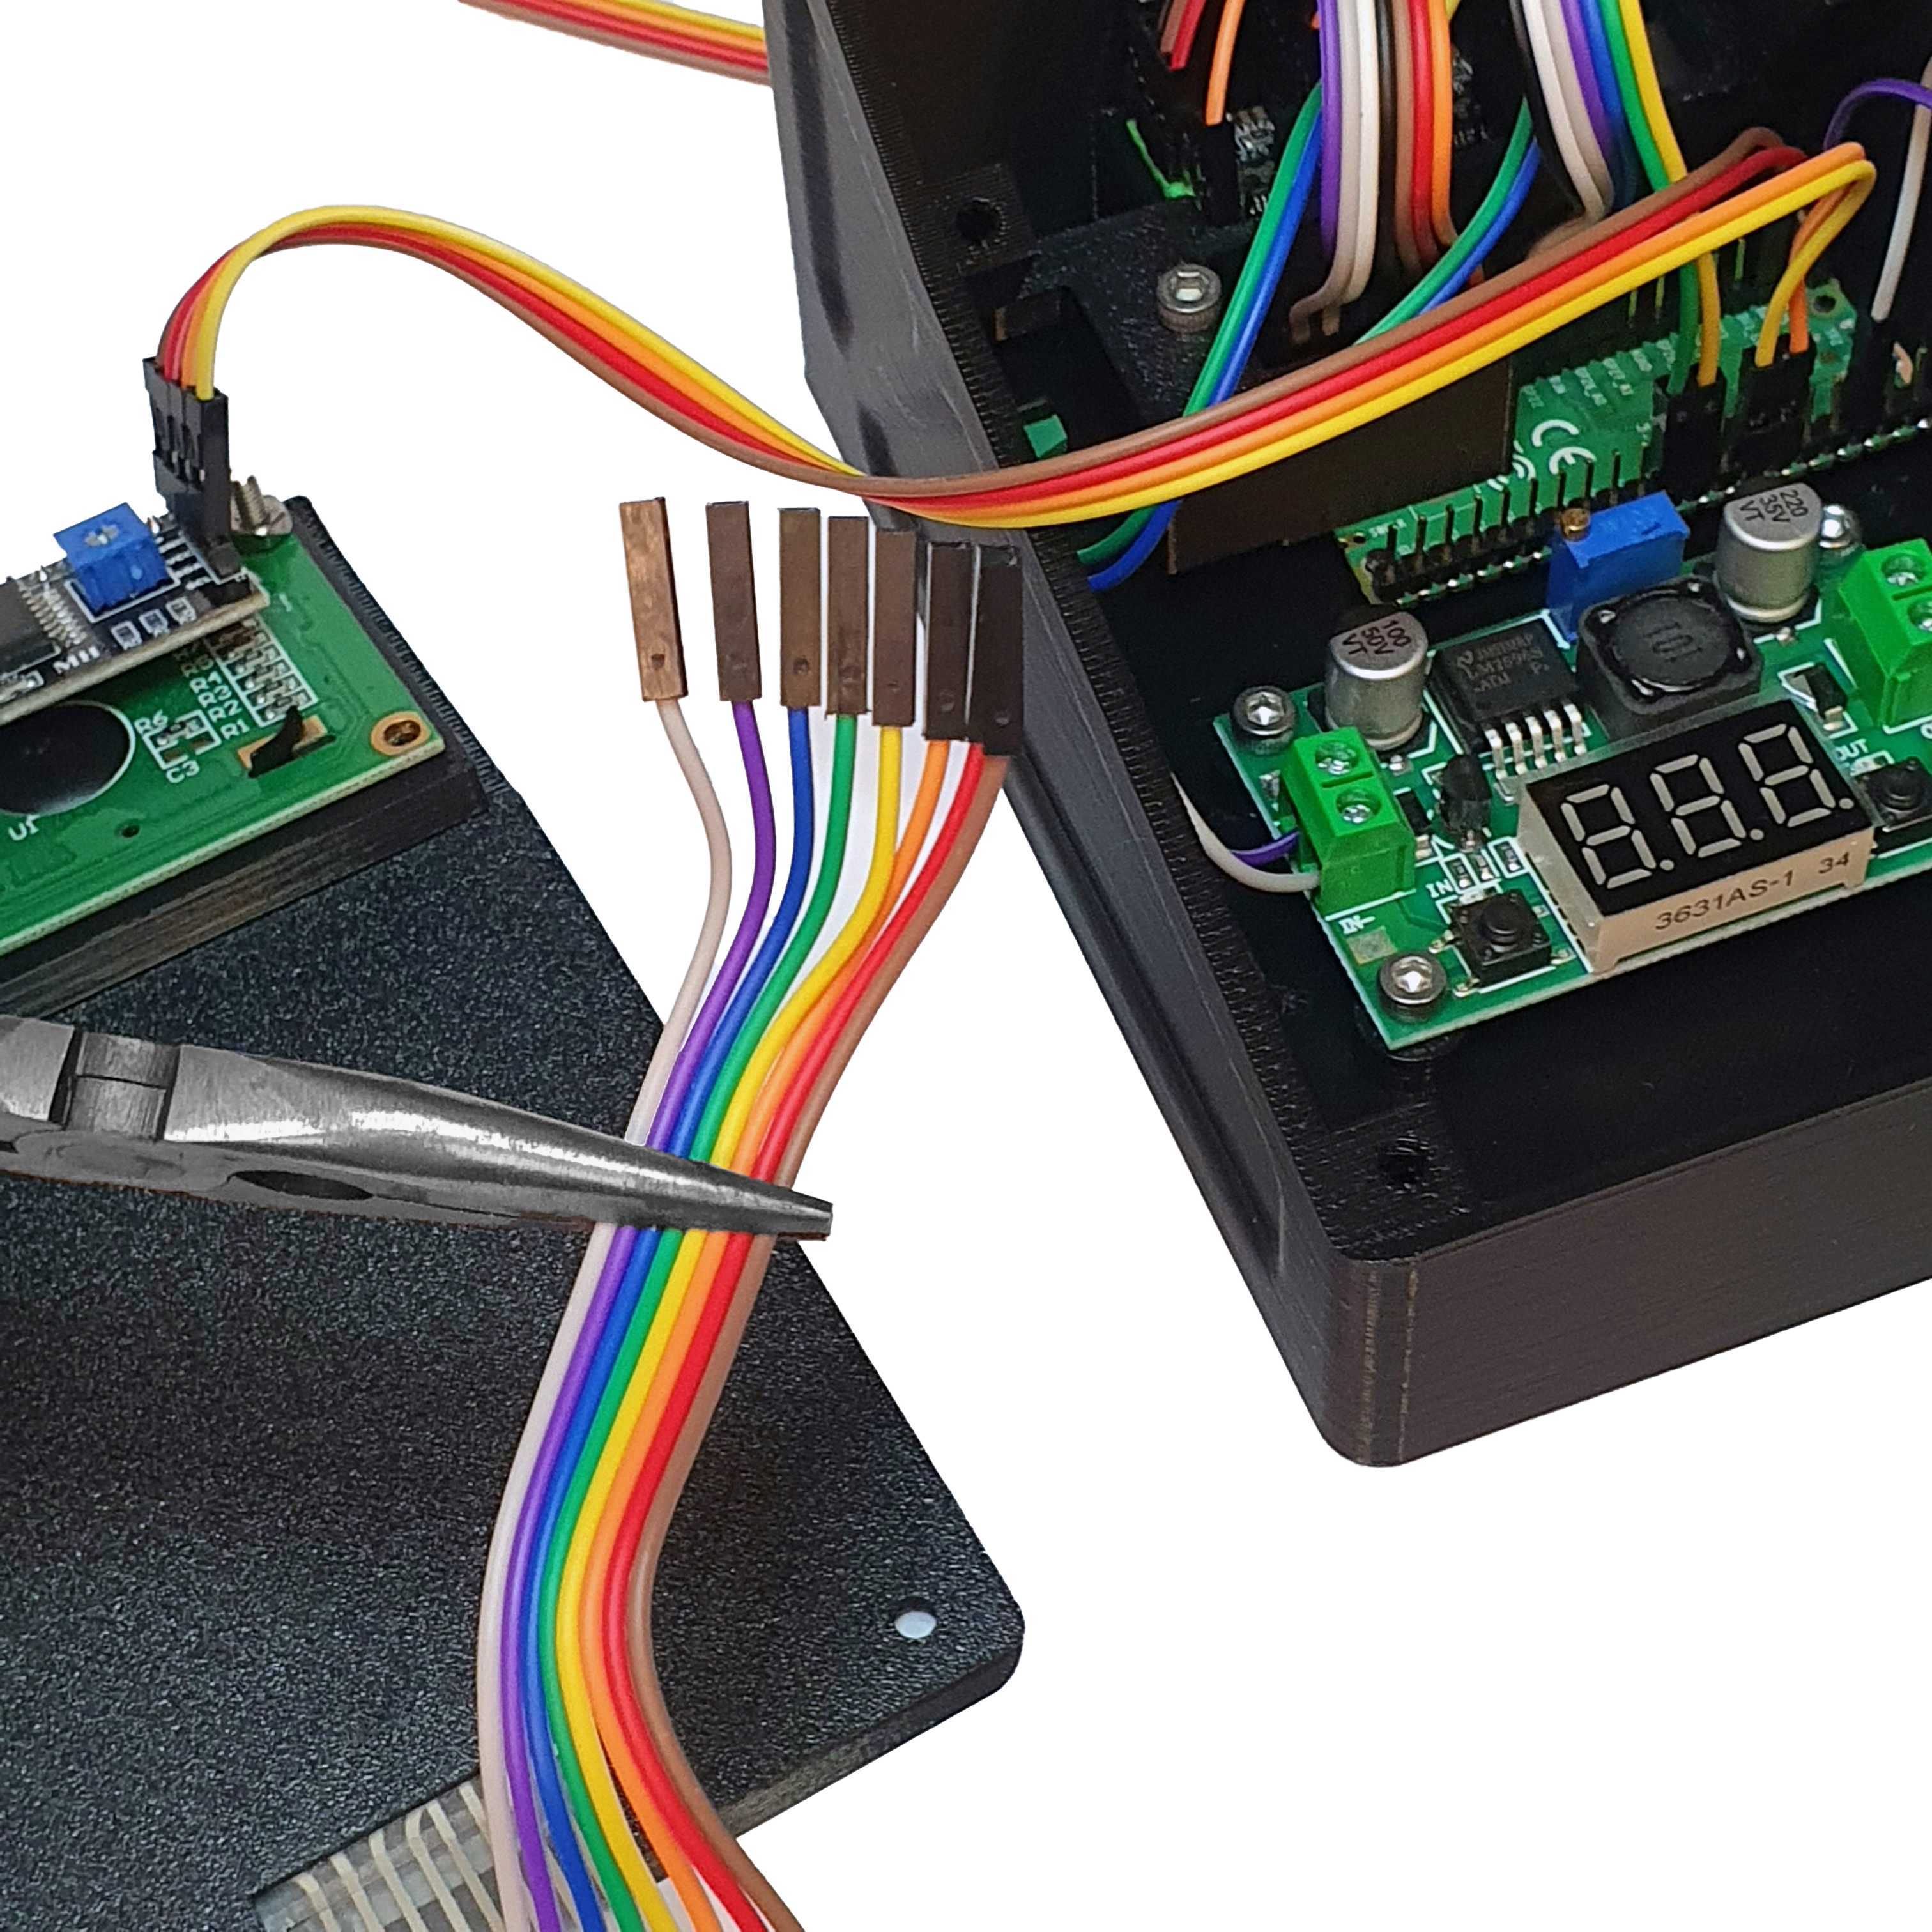
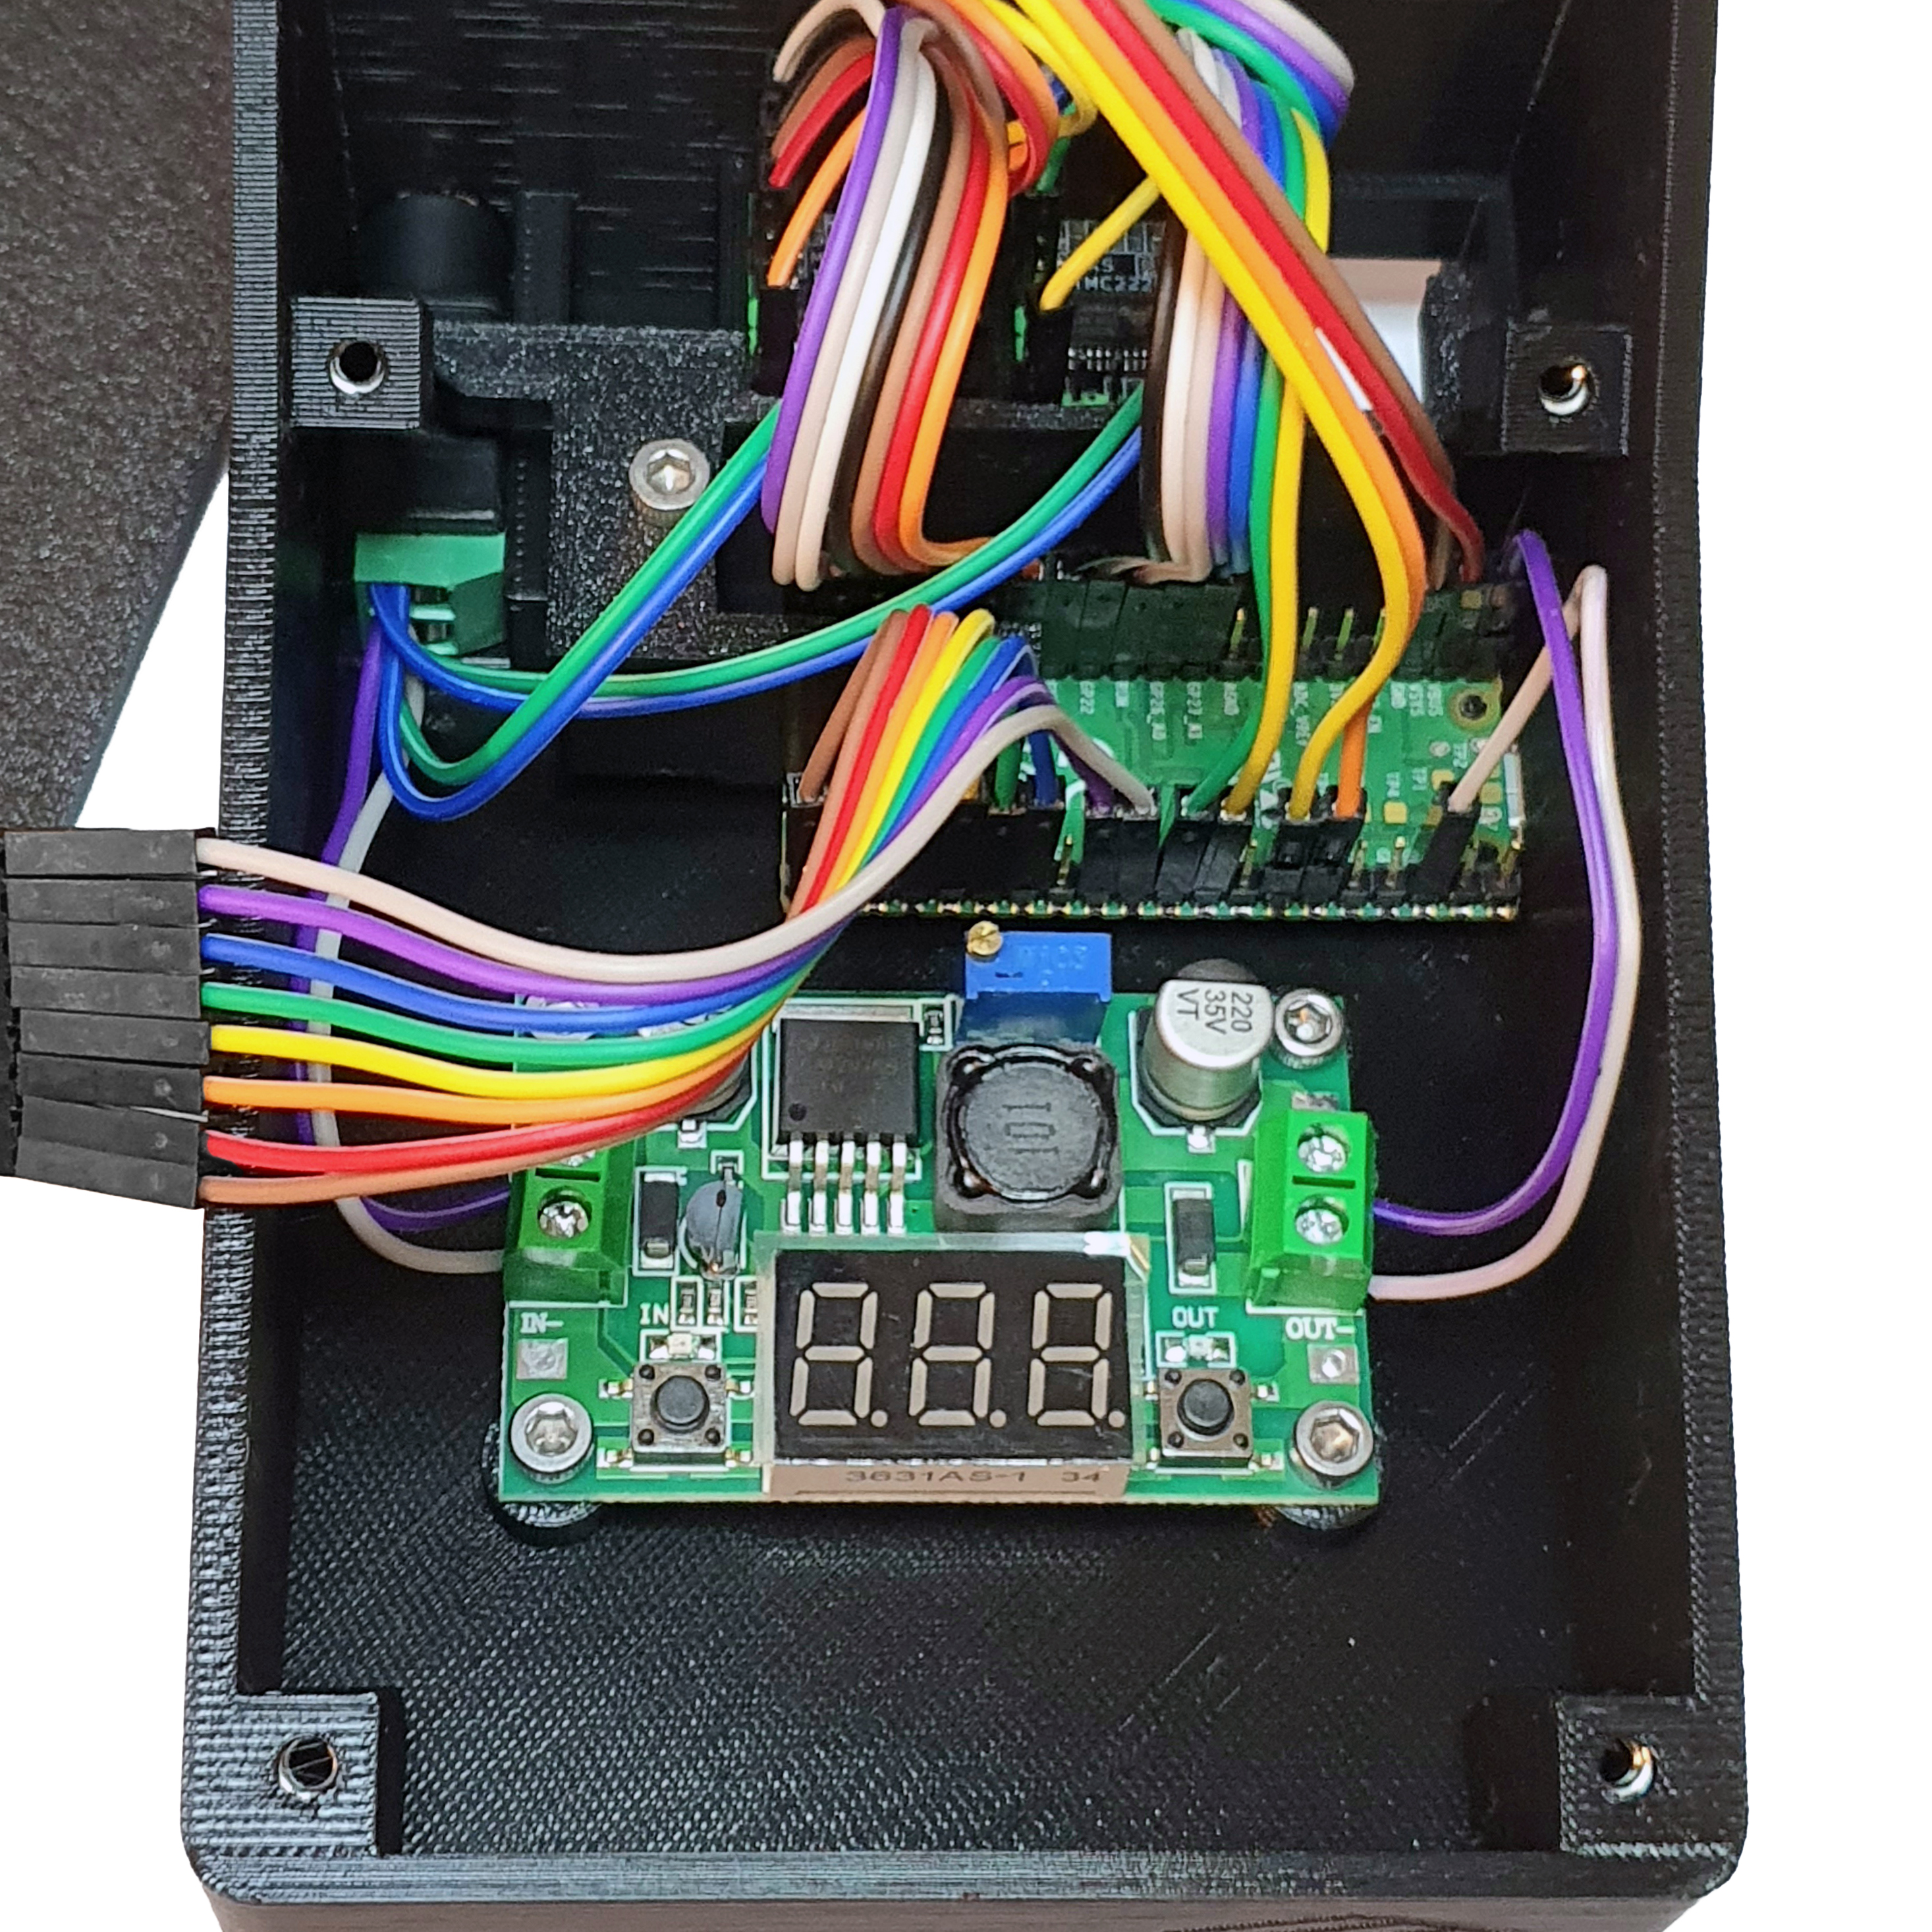
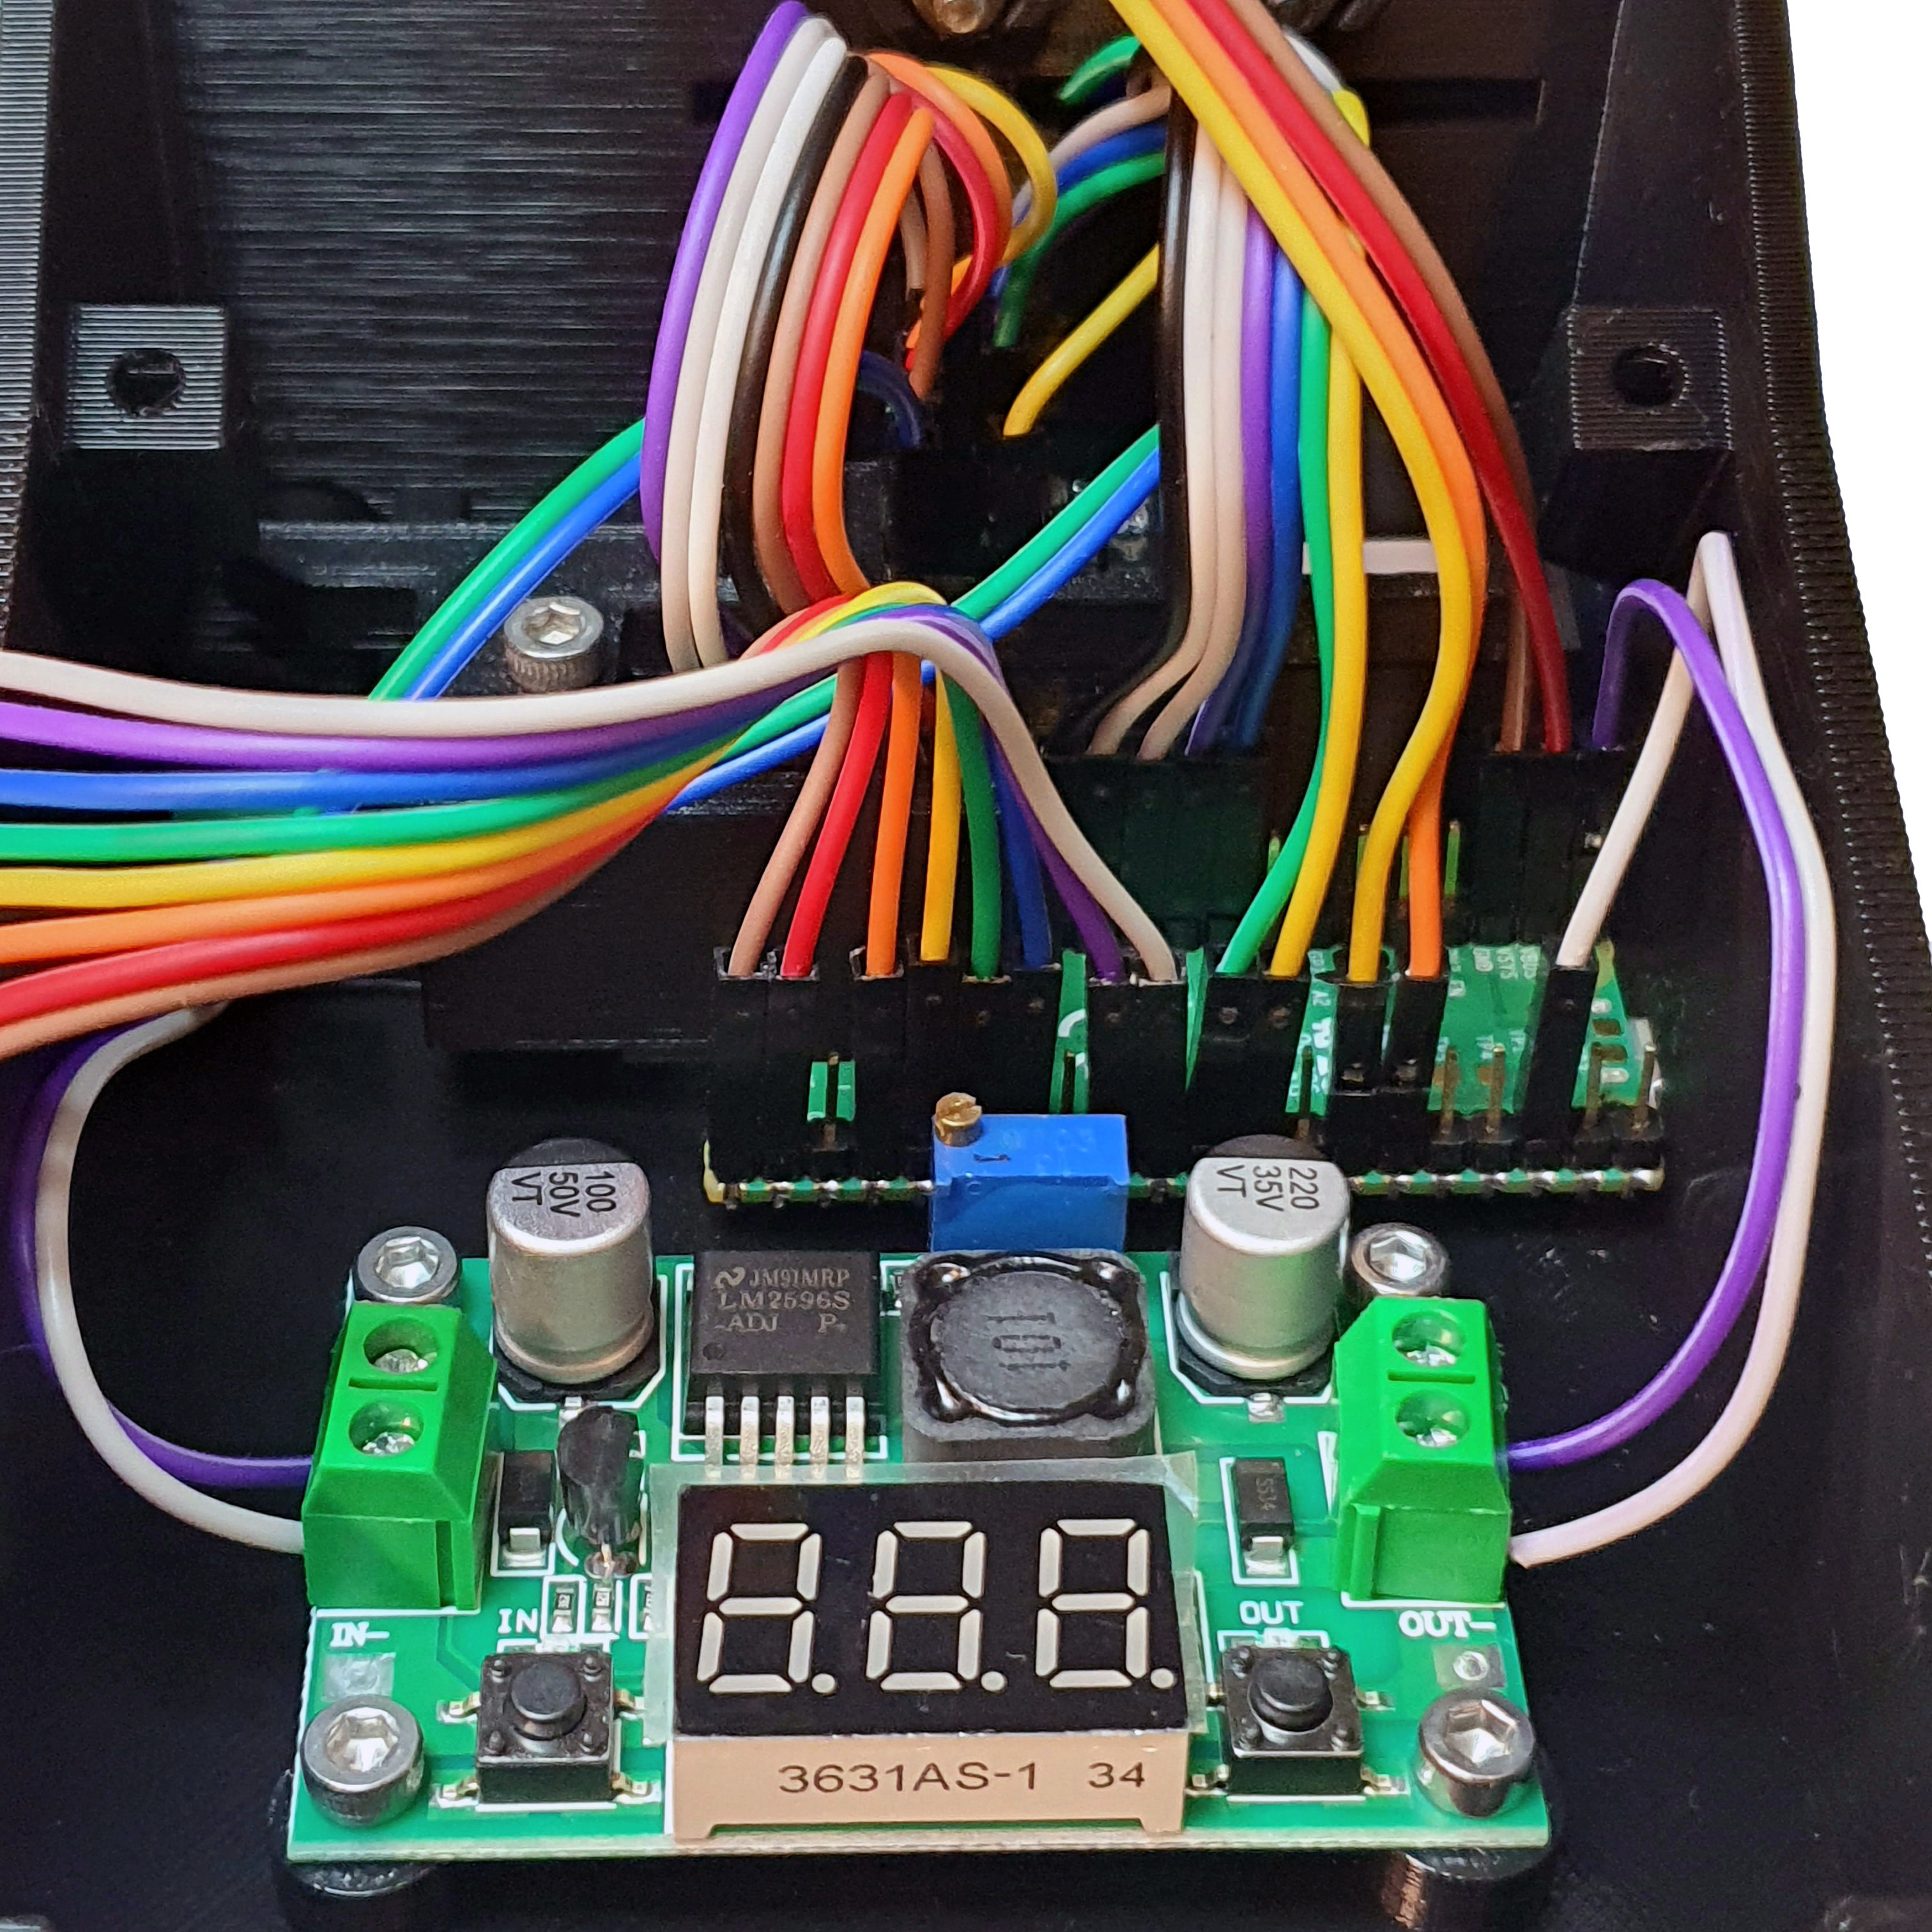
- Locate the 8 10 cm male-female jumpers coming out of the Membrane 4x4 keypad.
- Connect these jumpers to the respective pins of the Raspberry Pi Pico in the Assembled Interface Base, following the wiring diagram.

Step 3: Fix the Front Panel in Place
- Take 4 M3 nut and slide them onto the 4 sockets of the Assembled Interface Base.
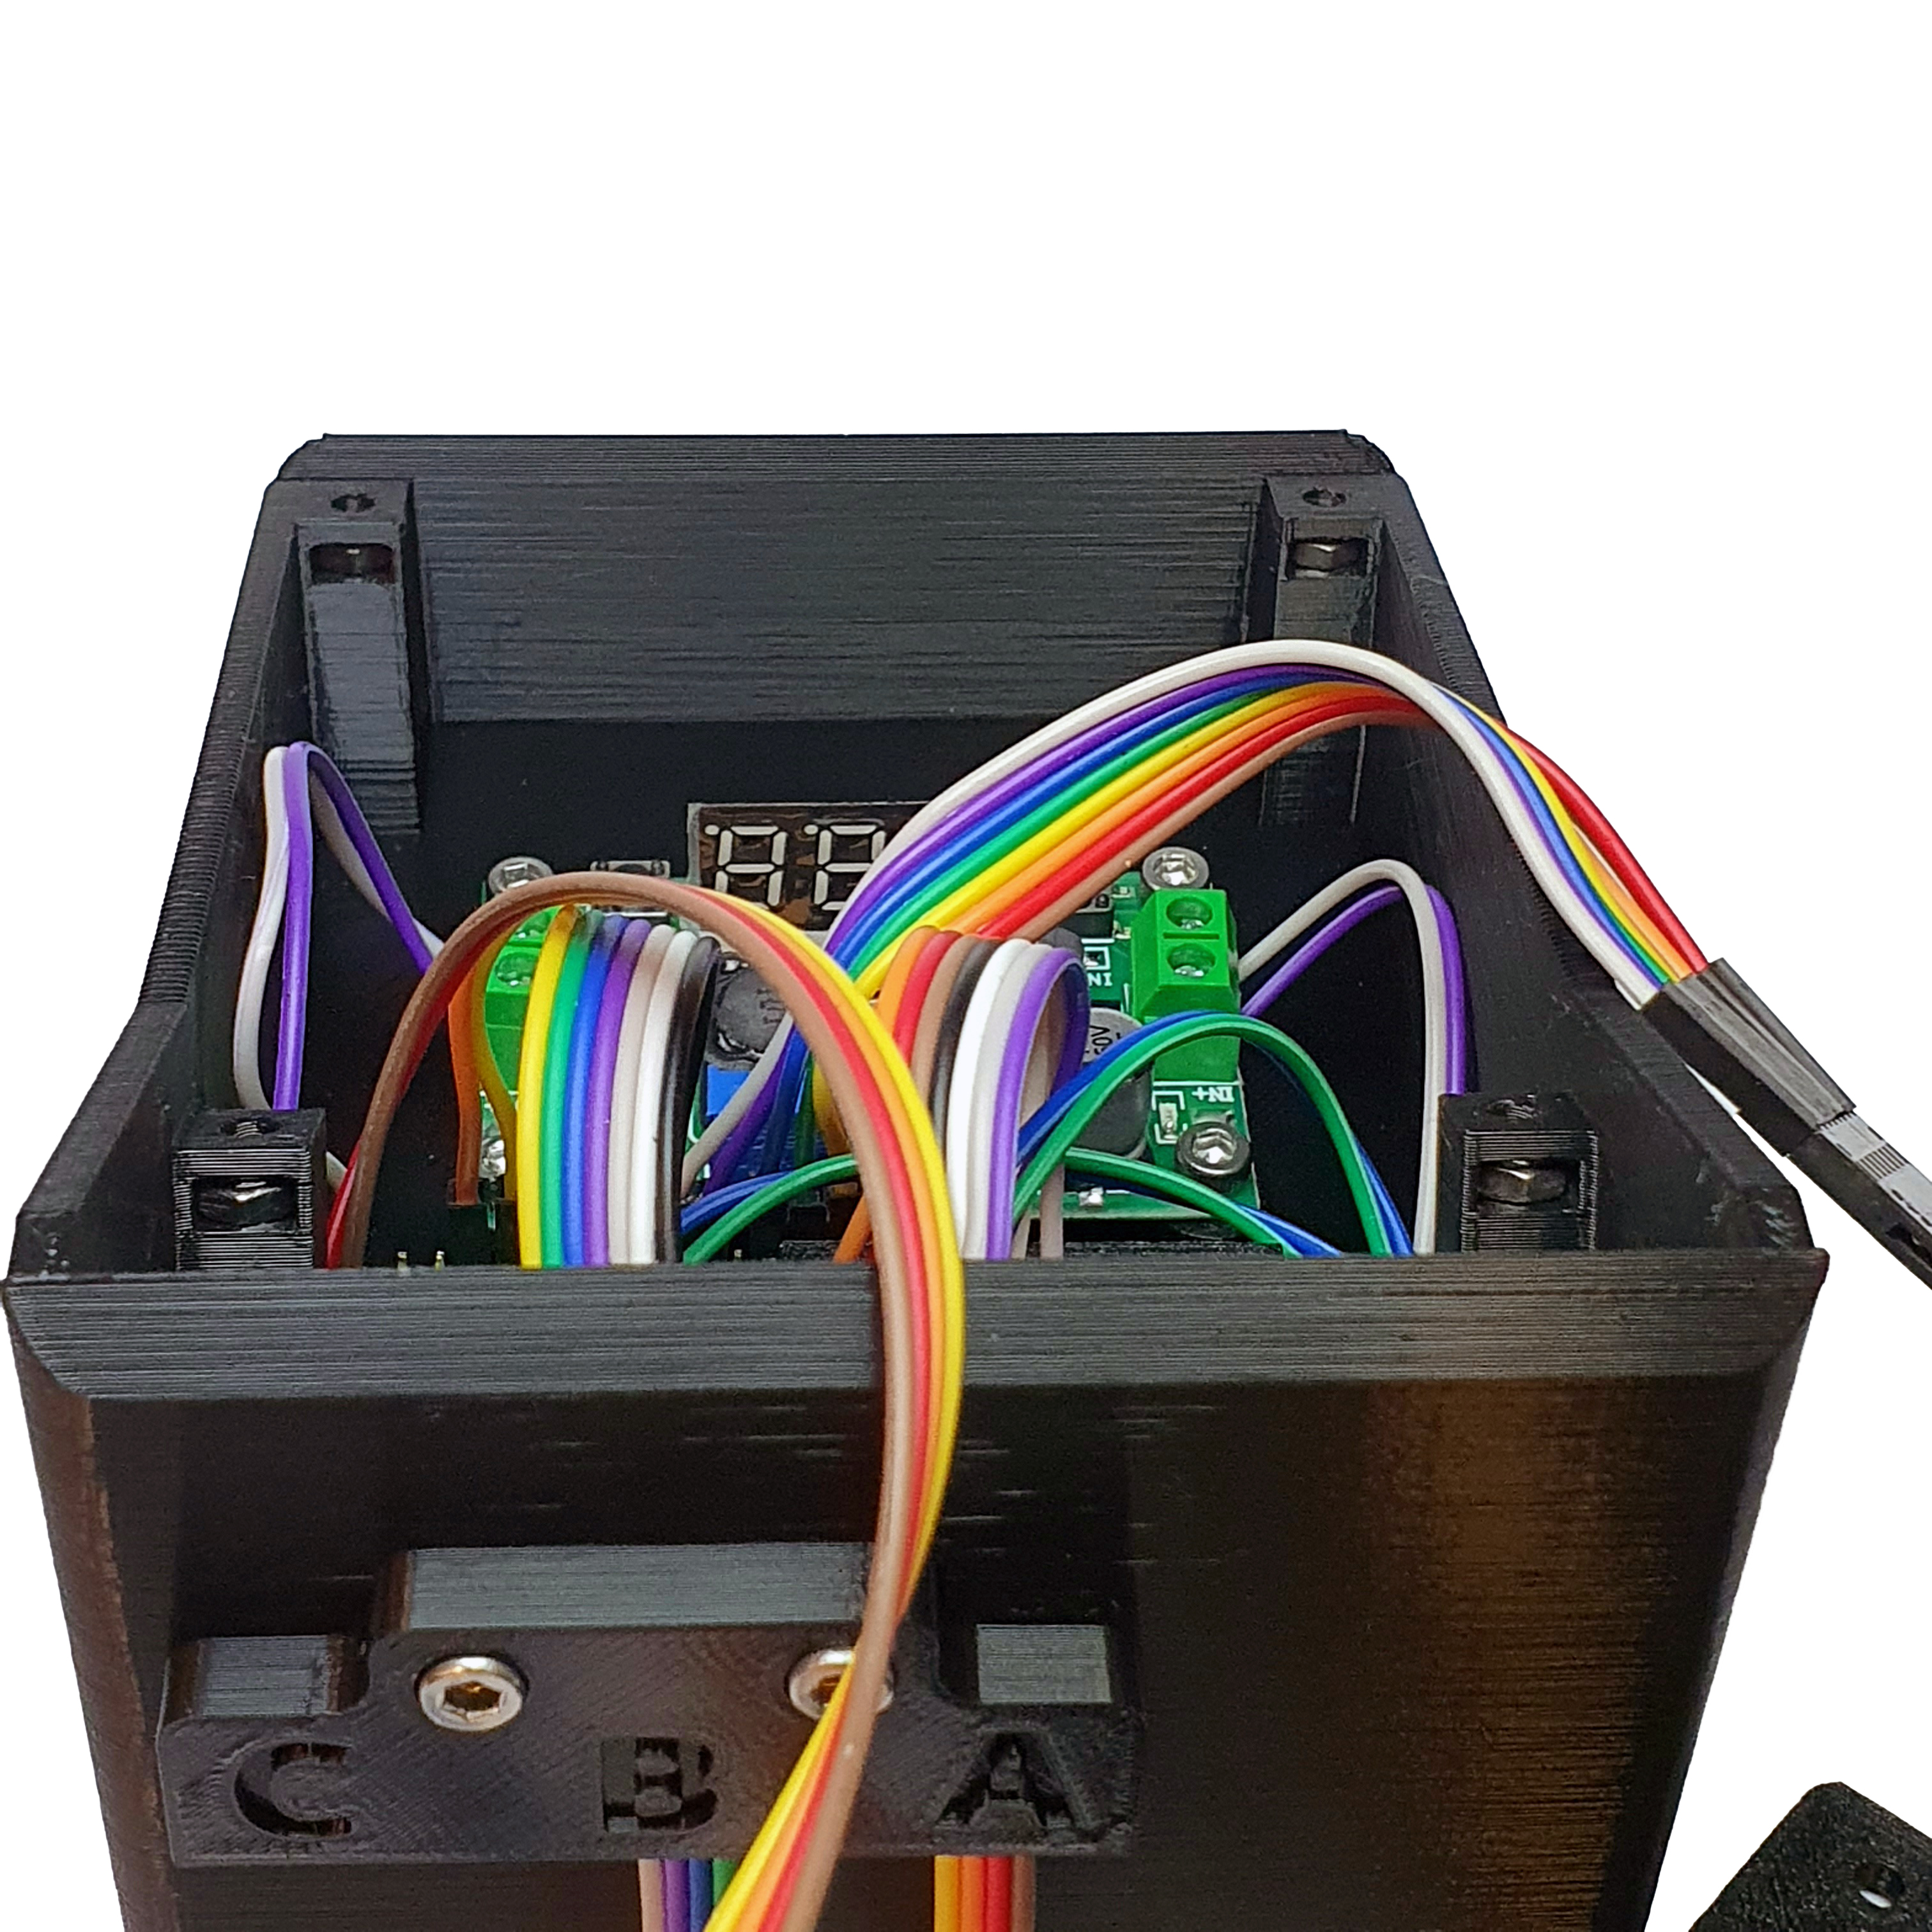
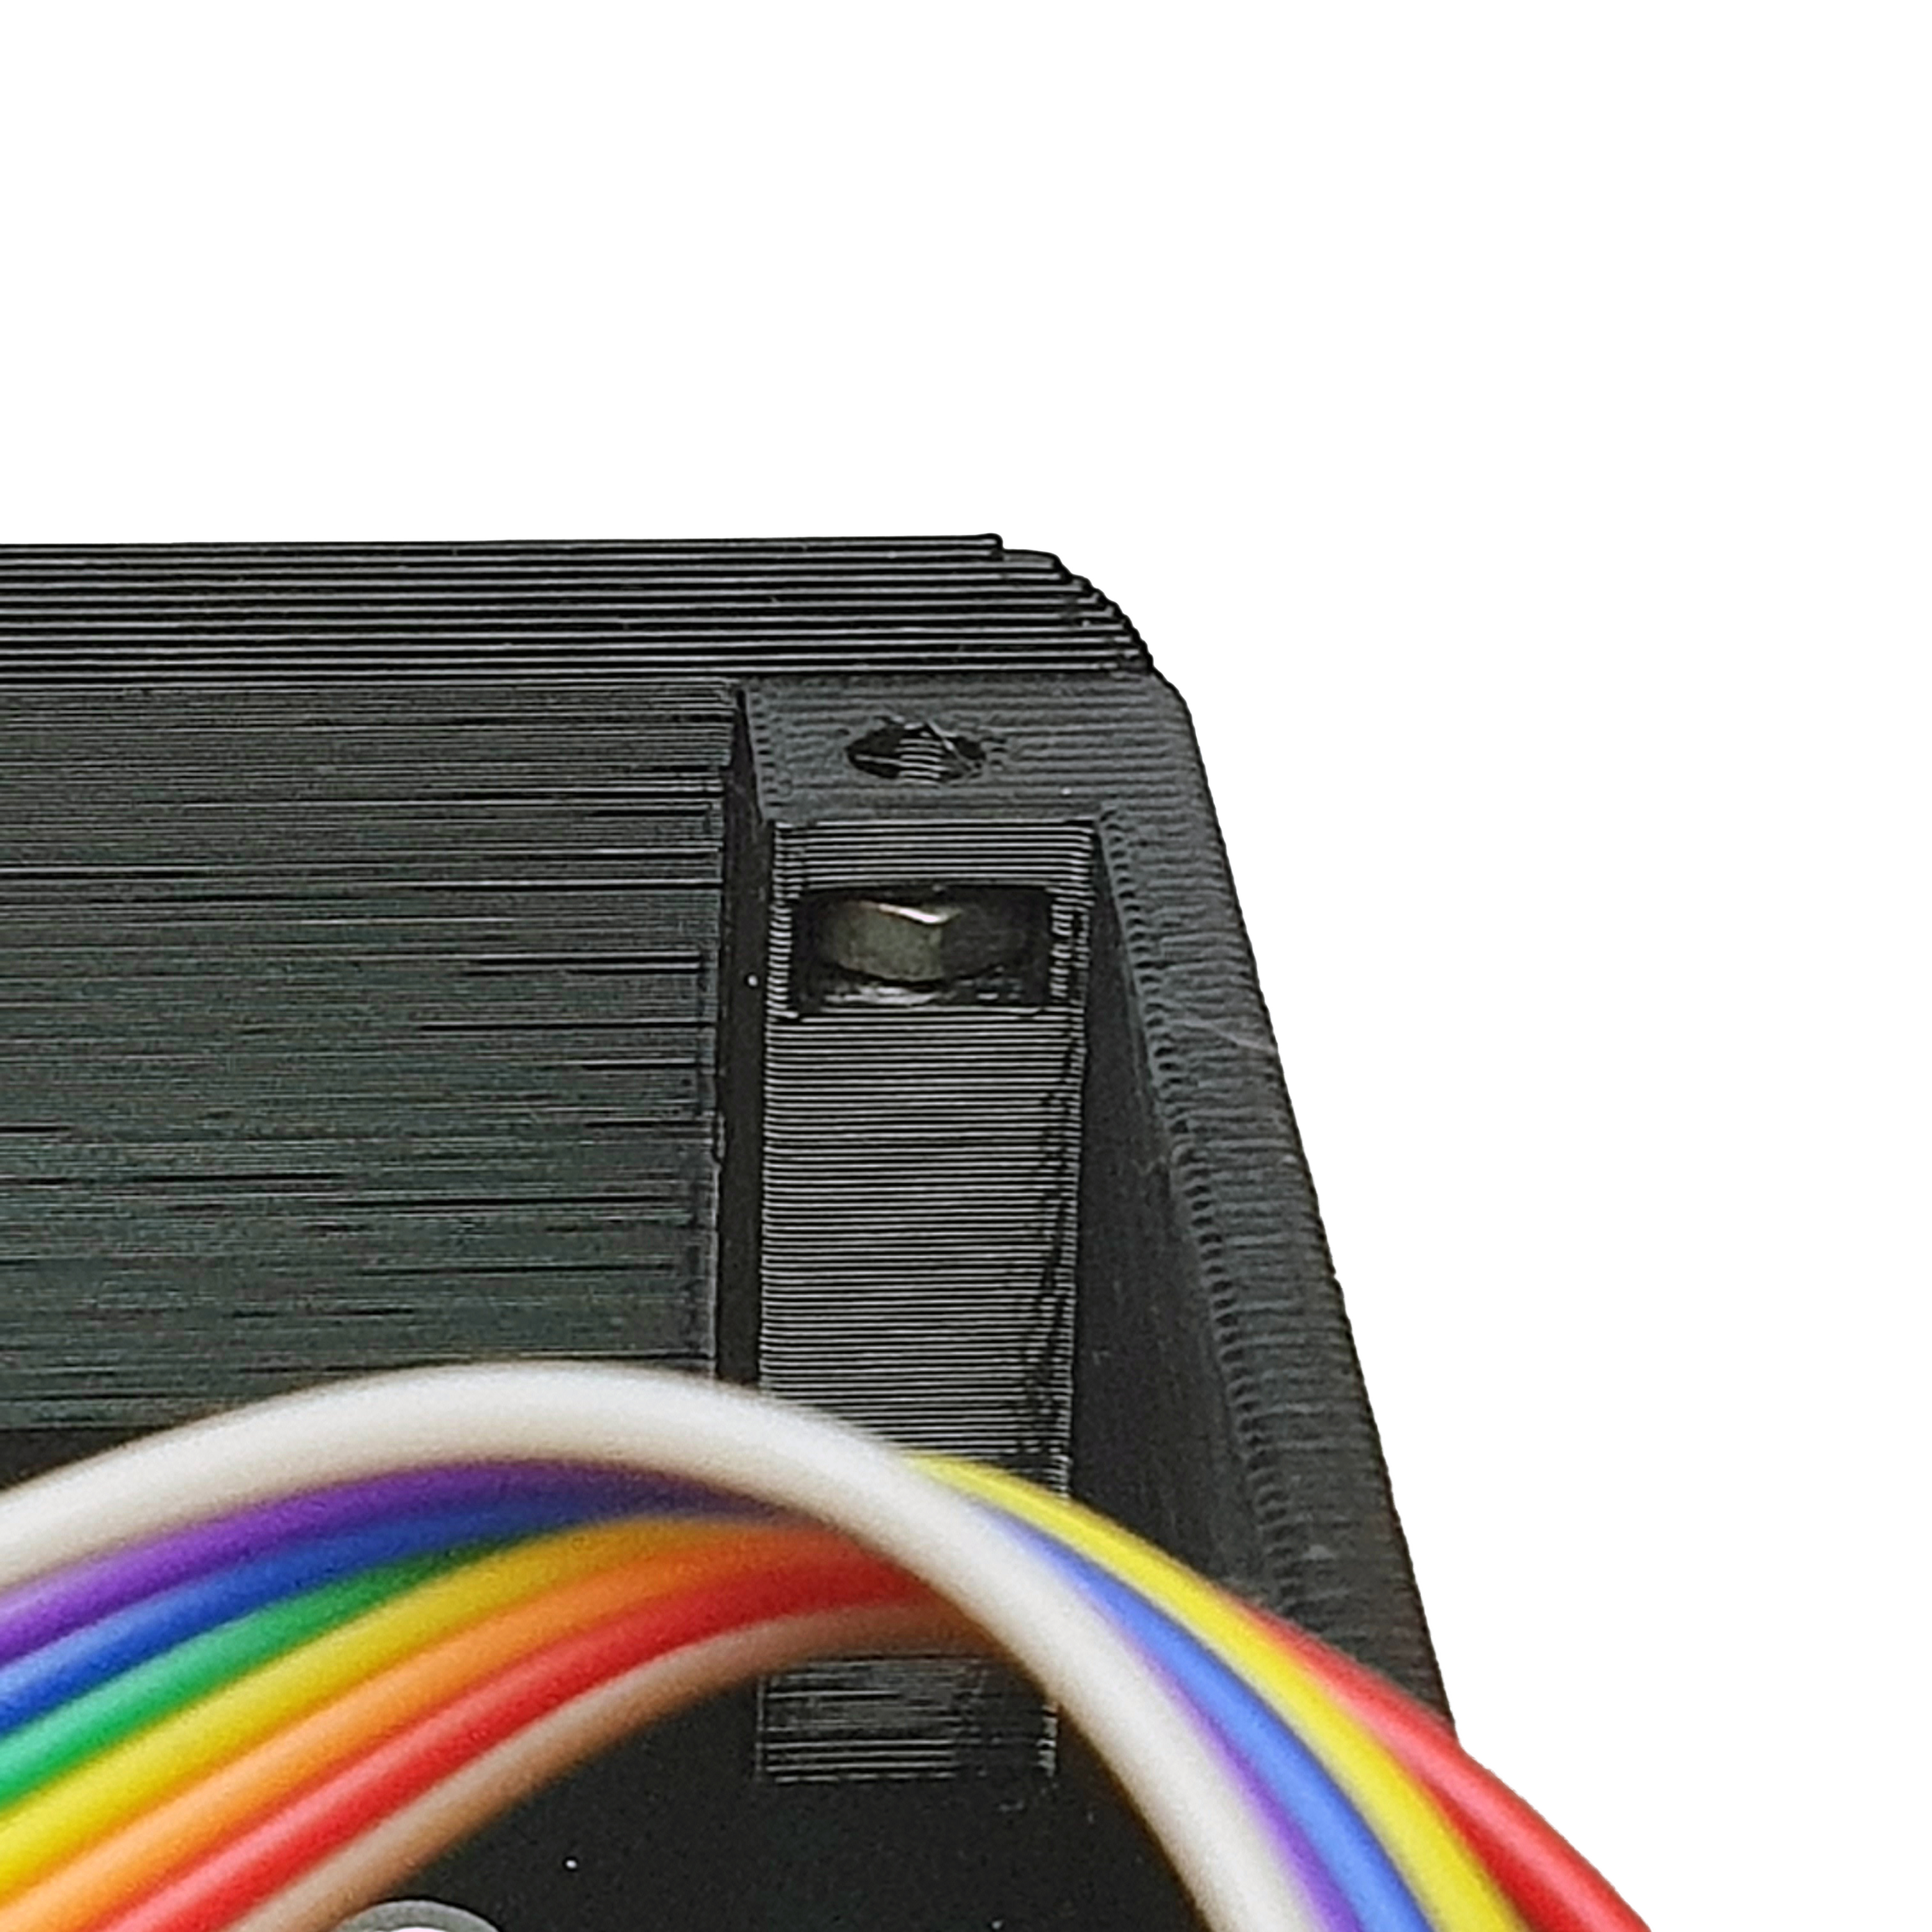

- Use 2 M3 10mm screw to secure the Assembled Front Panel to the Assembled Interface Base in the 2 bottom holes.
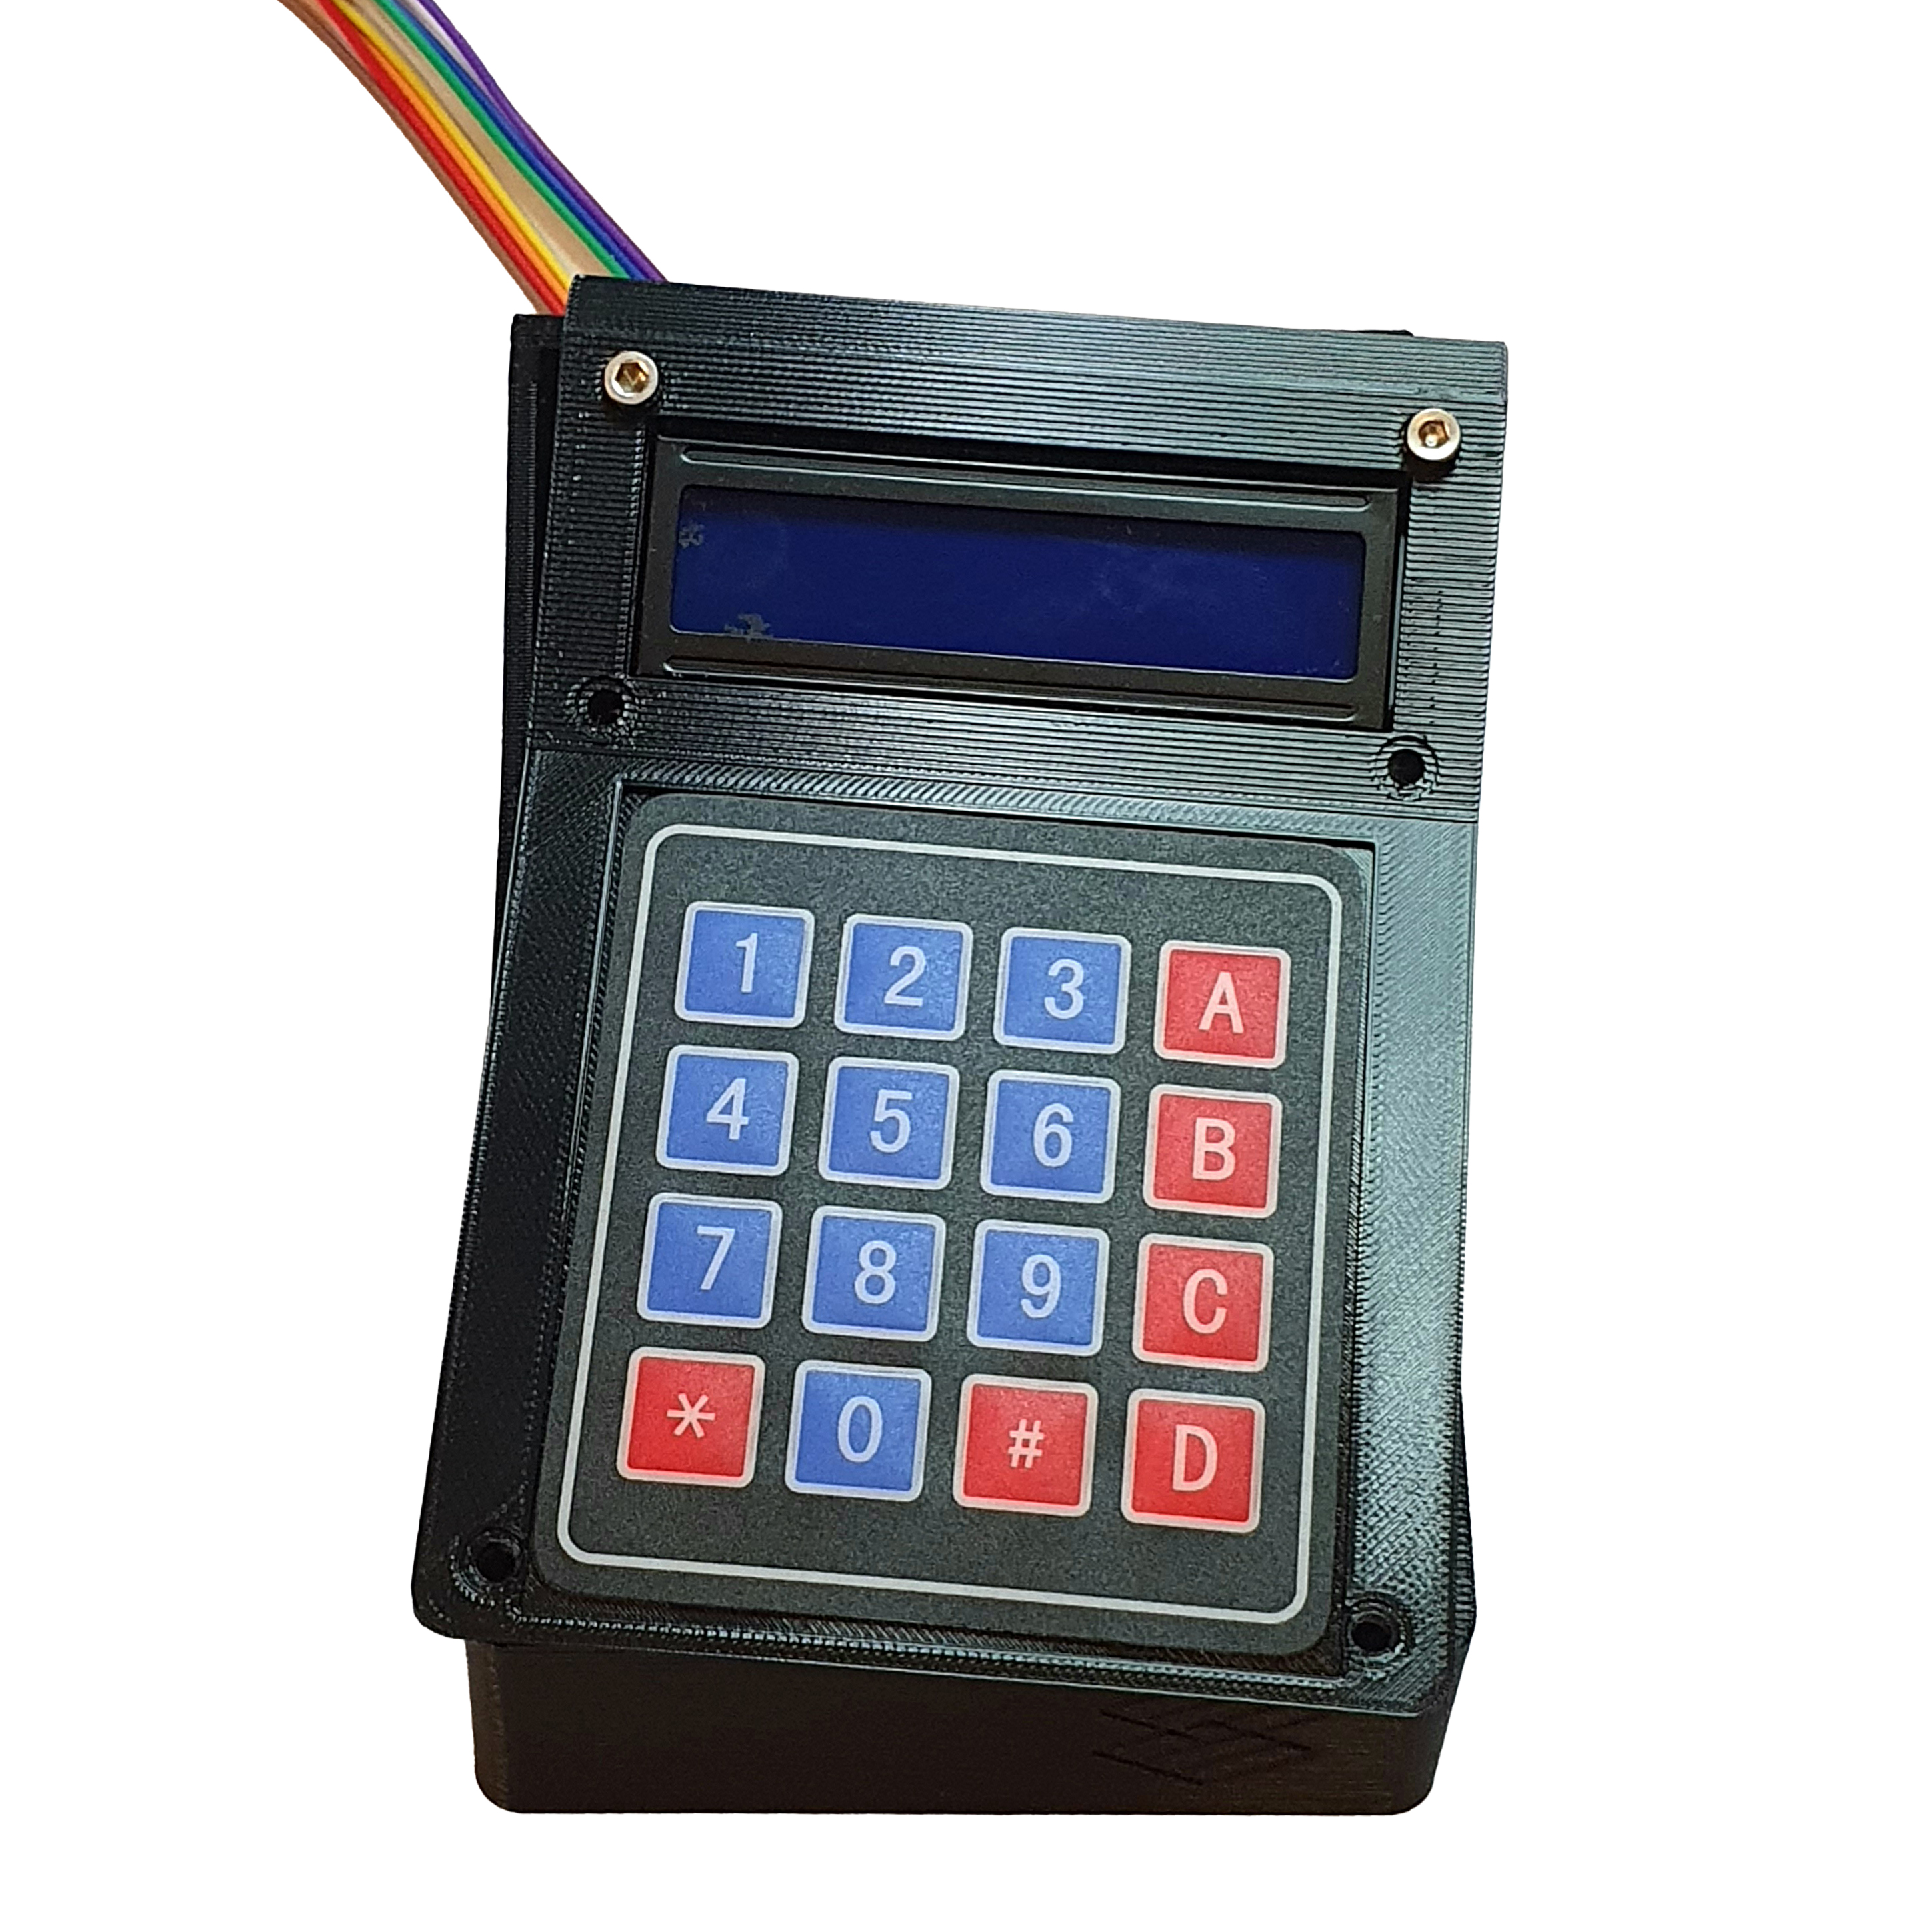
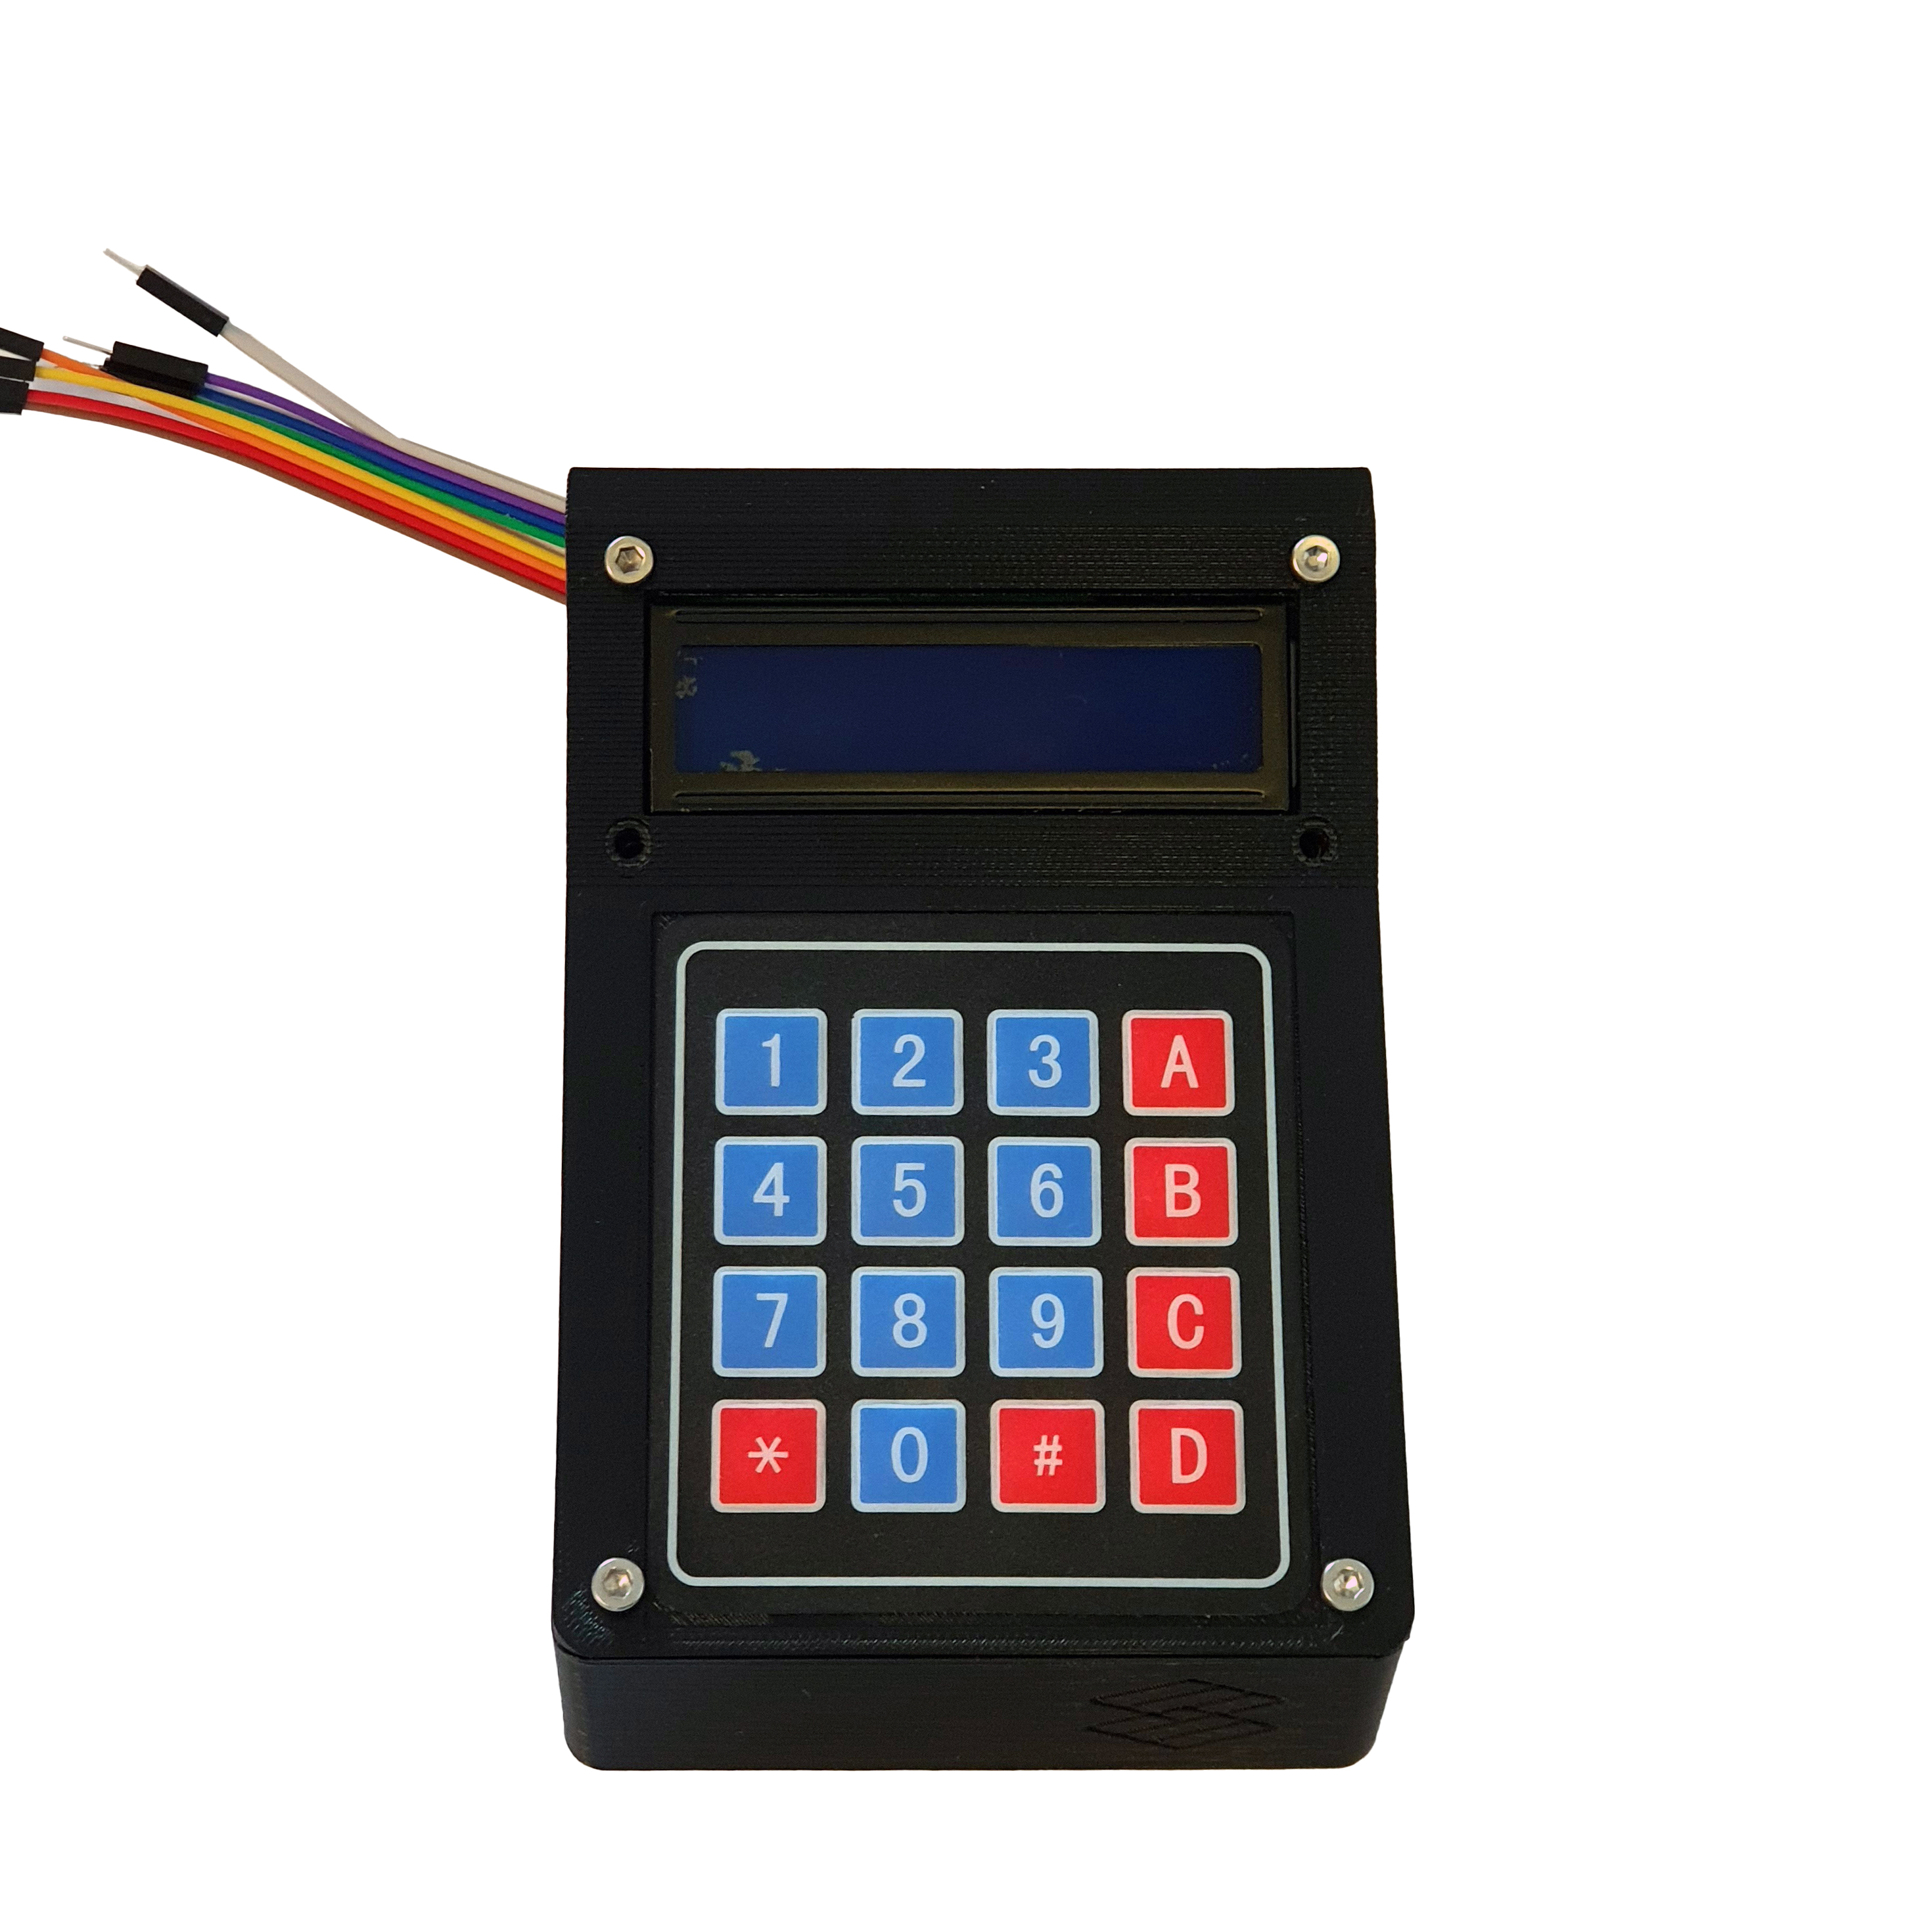

- Use 2 M3 16mm screw to secure the Assembled Front Panel to the Assembled Interface Base in the 2 middle top holes.
