Build syringe pump
This design is based on the Open-Source Syringe Pump developed by Andrey Samokhin
Before you start building the station, you will need to source all the components listed in our bill of materials (![]() ,
, ![]() ), which is given on the next page.
), which is given on the next page.
For this section you will need:
Tools
Electronic Components
Mechanical Components
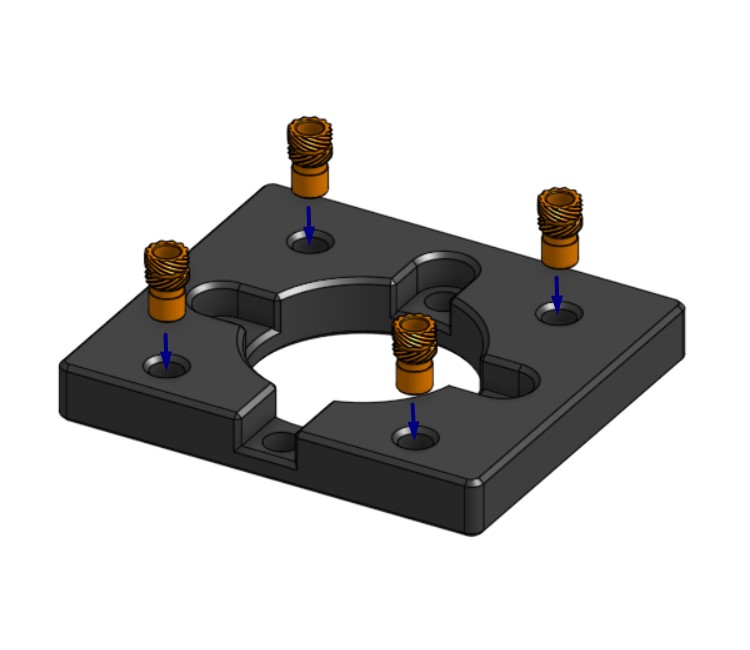
- 6 Heat insert
- 1 Lead screw
- 1 Lead screw nut
- 2 Linear bearing
- 2 Linear motion rods
- 2 M3 10mm screw
- 2 M3 12mm screw
- 8 M3 16mm screw
- 2 M3 20mm screw
- 4 M3 8mm screw
- 9 M3 nut
- 4 M4 10mm screw
- 1 Motor coupling
- 1 Planetary gearbox 100:1
Printed Parts
You should build two syringe pumps for droplet microfluidic assays
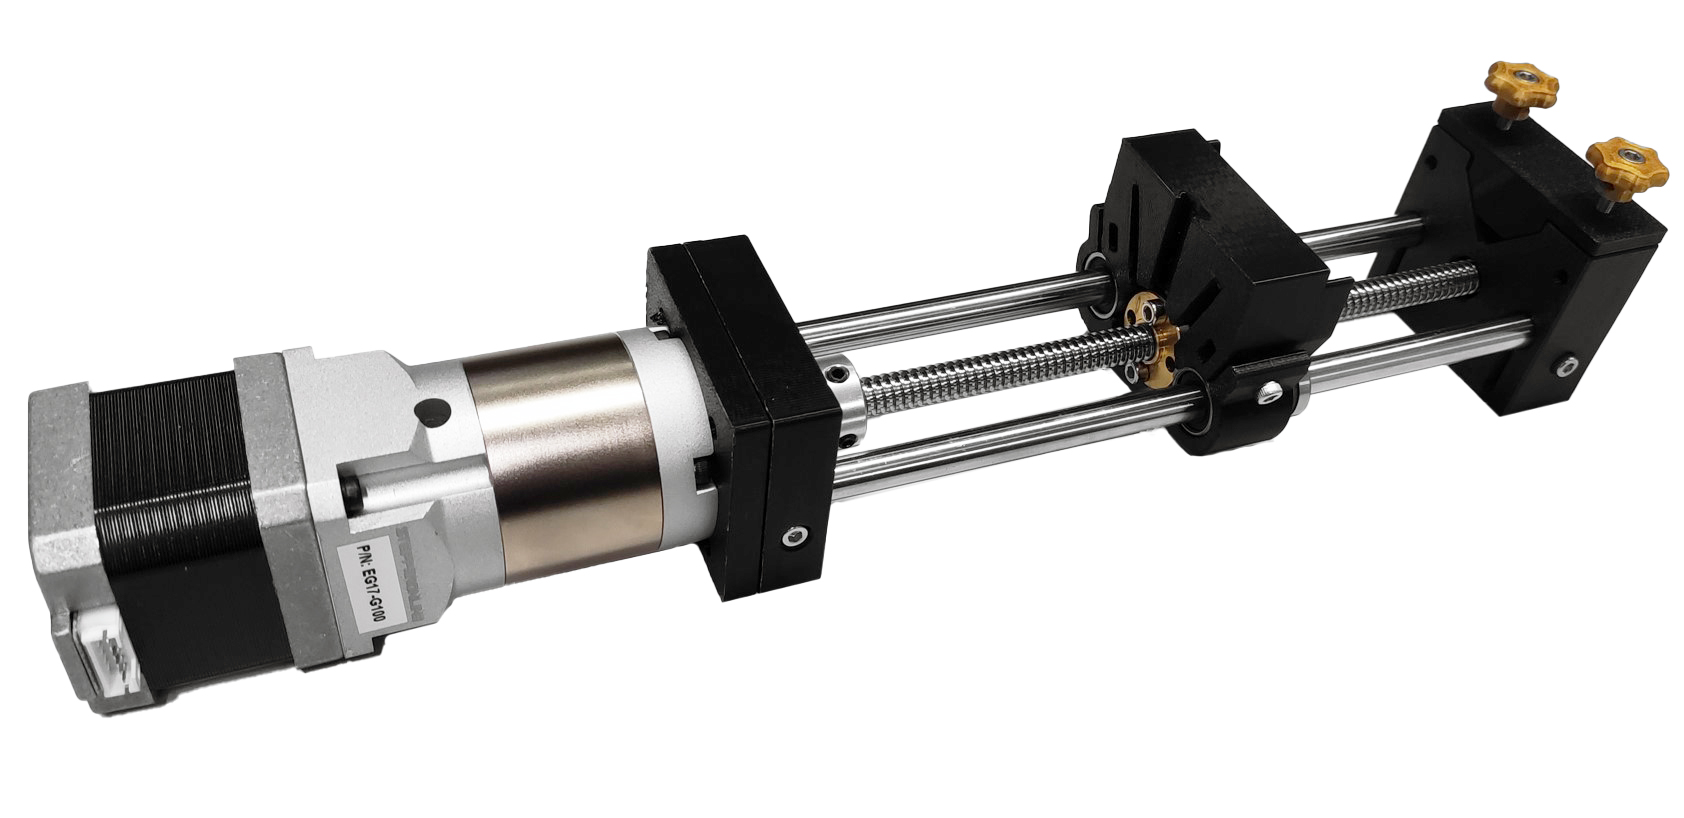
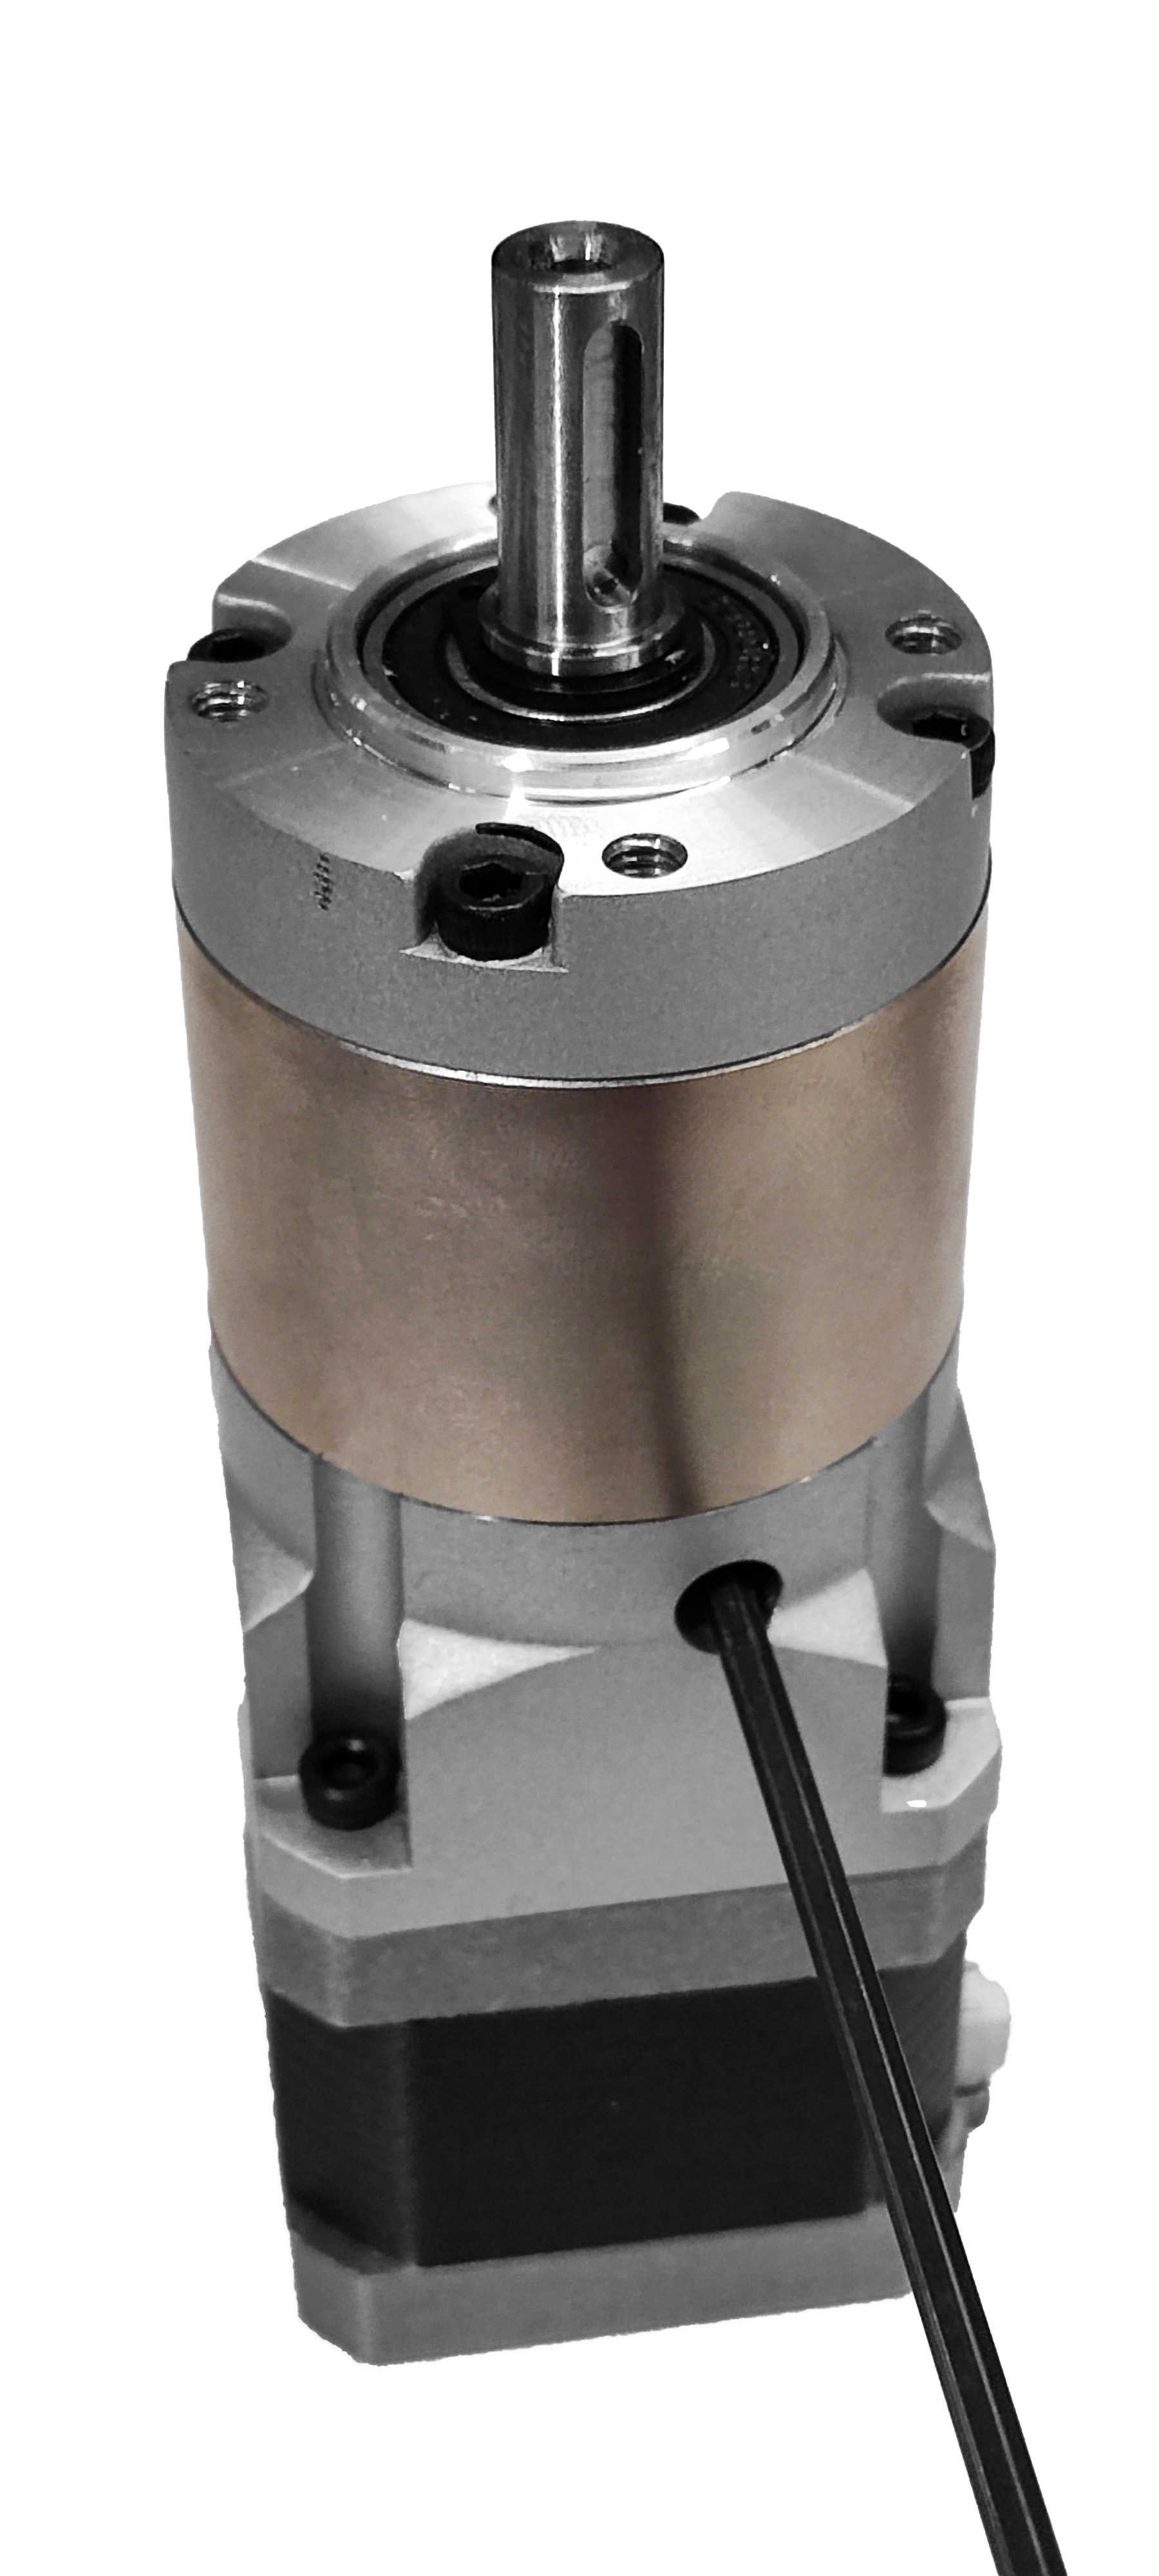
Step 1: Assemble the stepper motor and gearbox
Insert the motor shaft of the NEMA 17 motor to the gearbox and attach it to the housing by using four M3 8mm. Use a M3 hex key to tighten them.
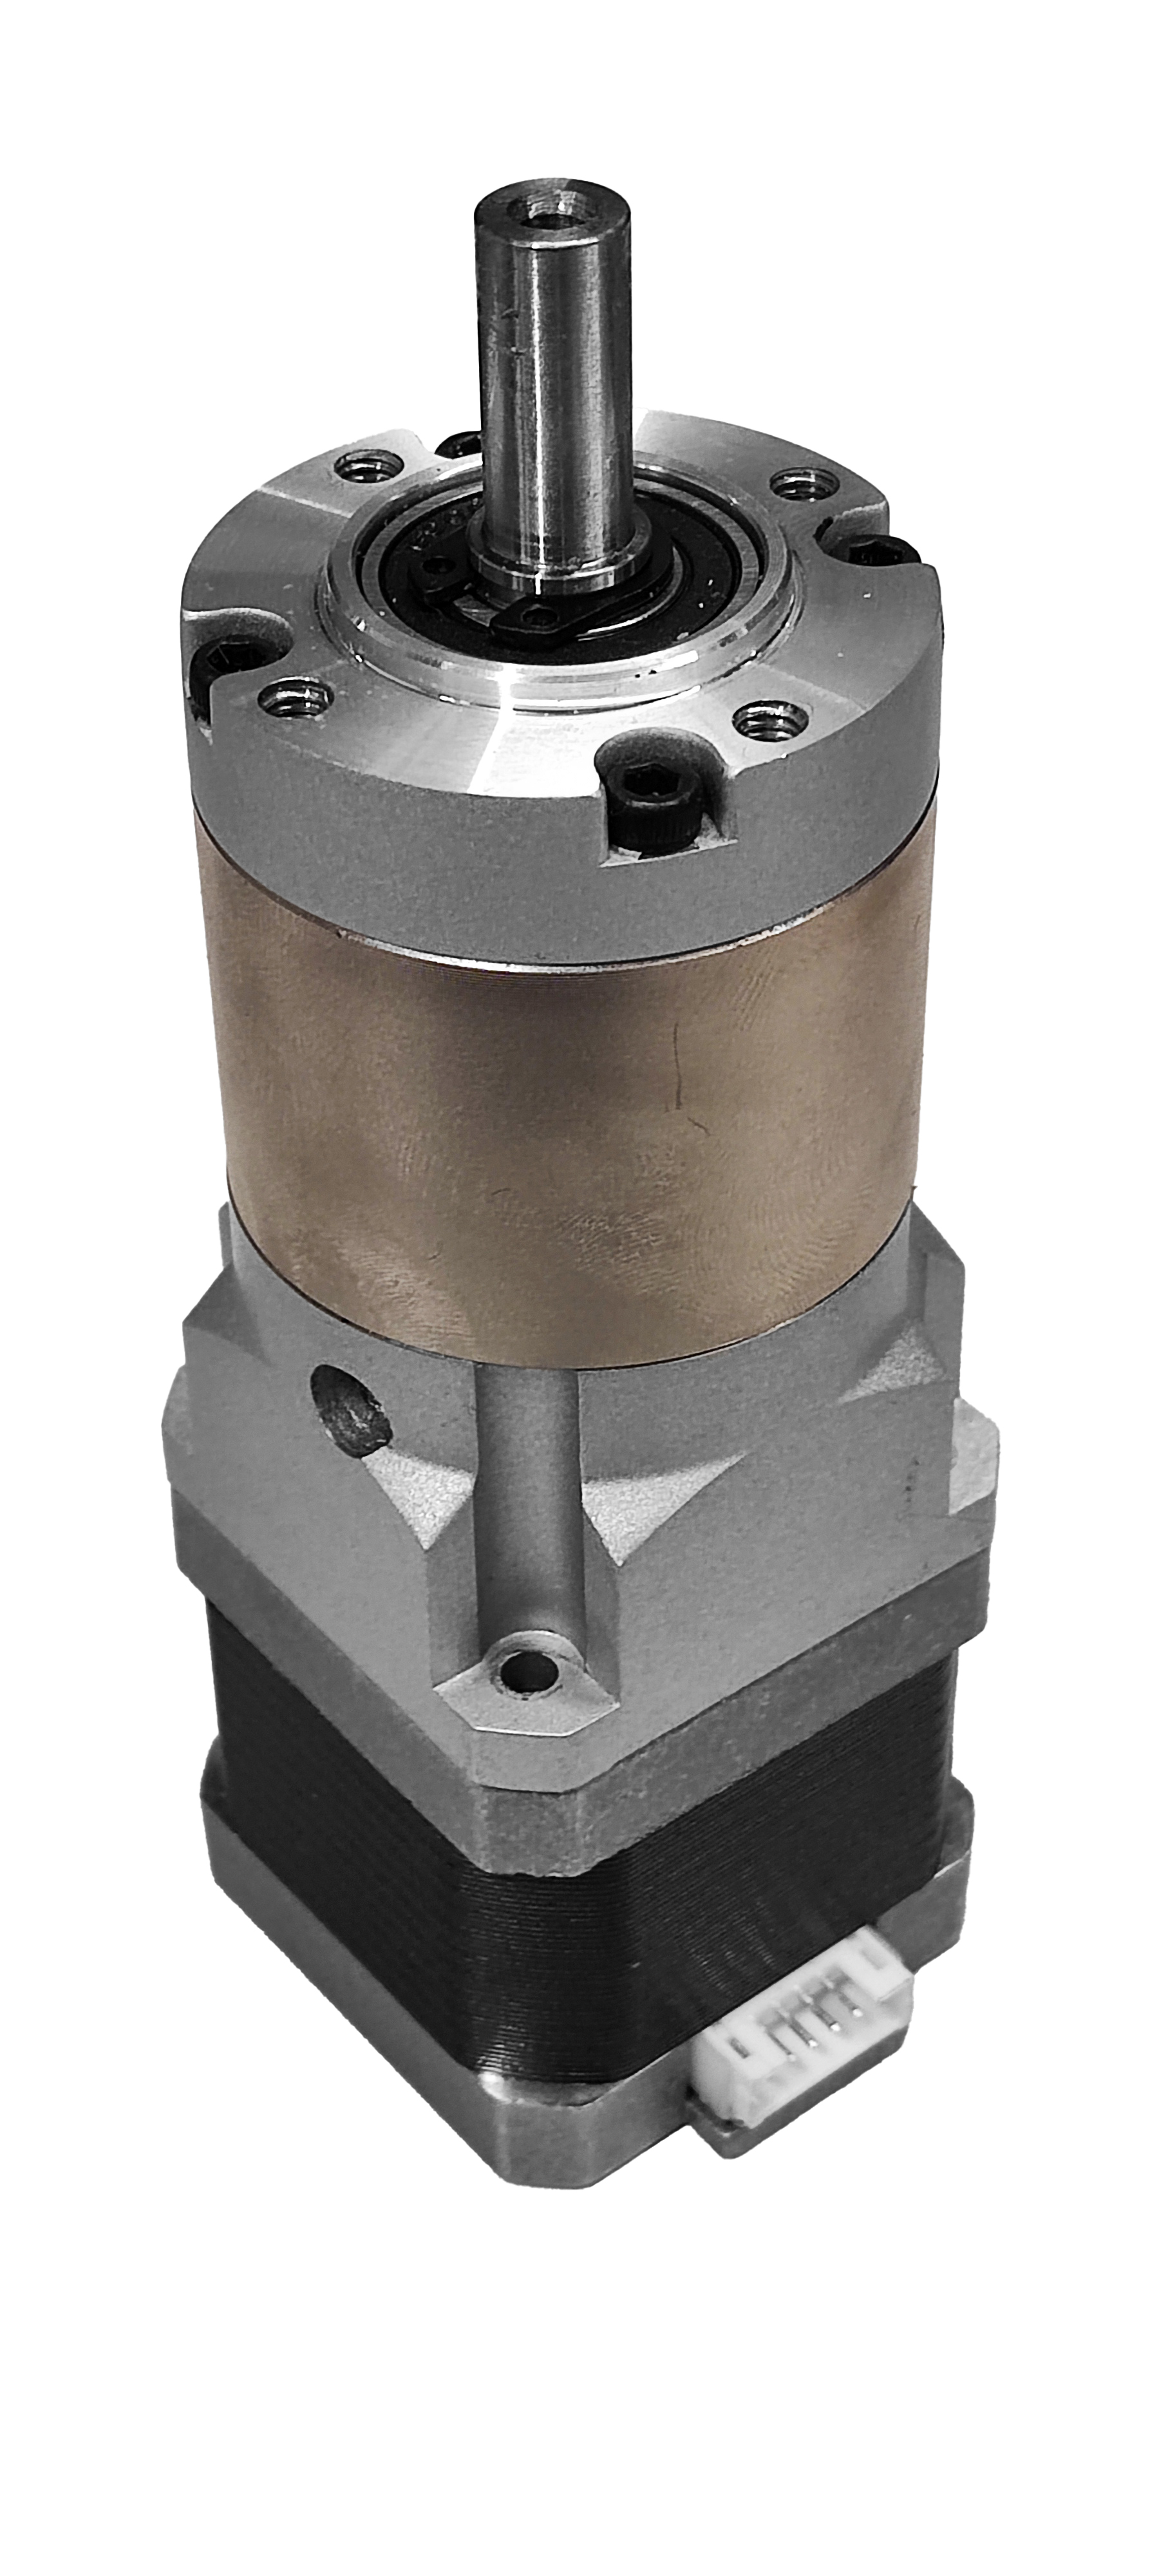
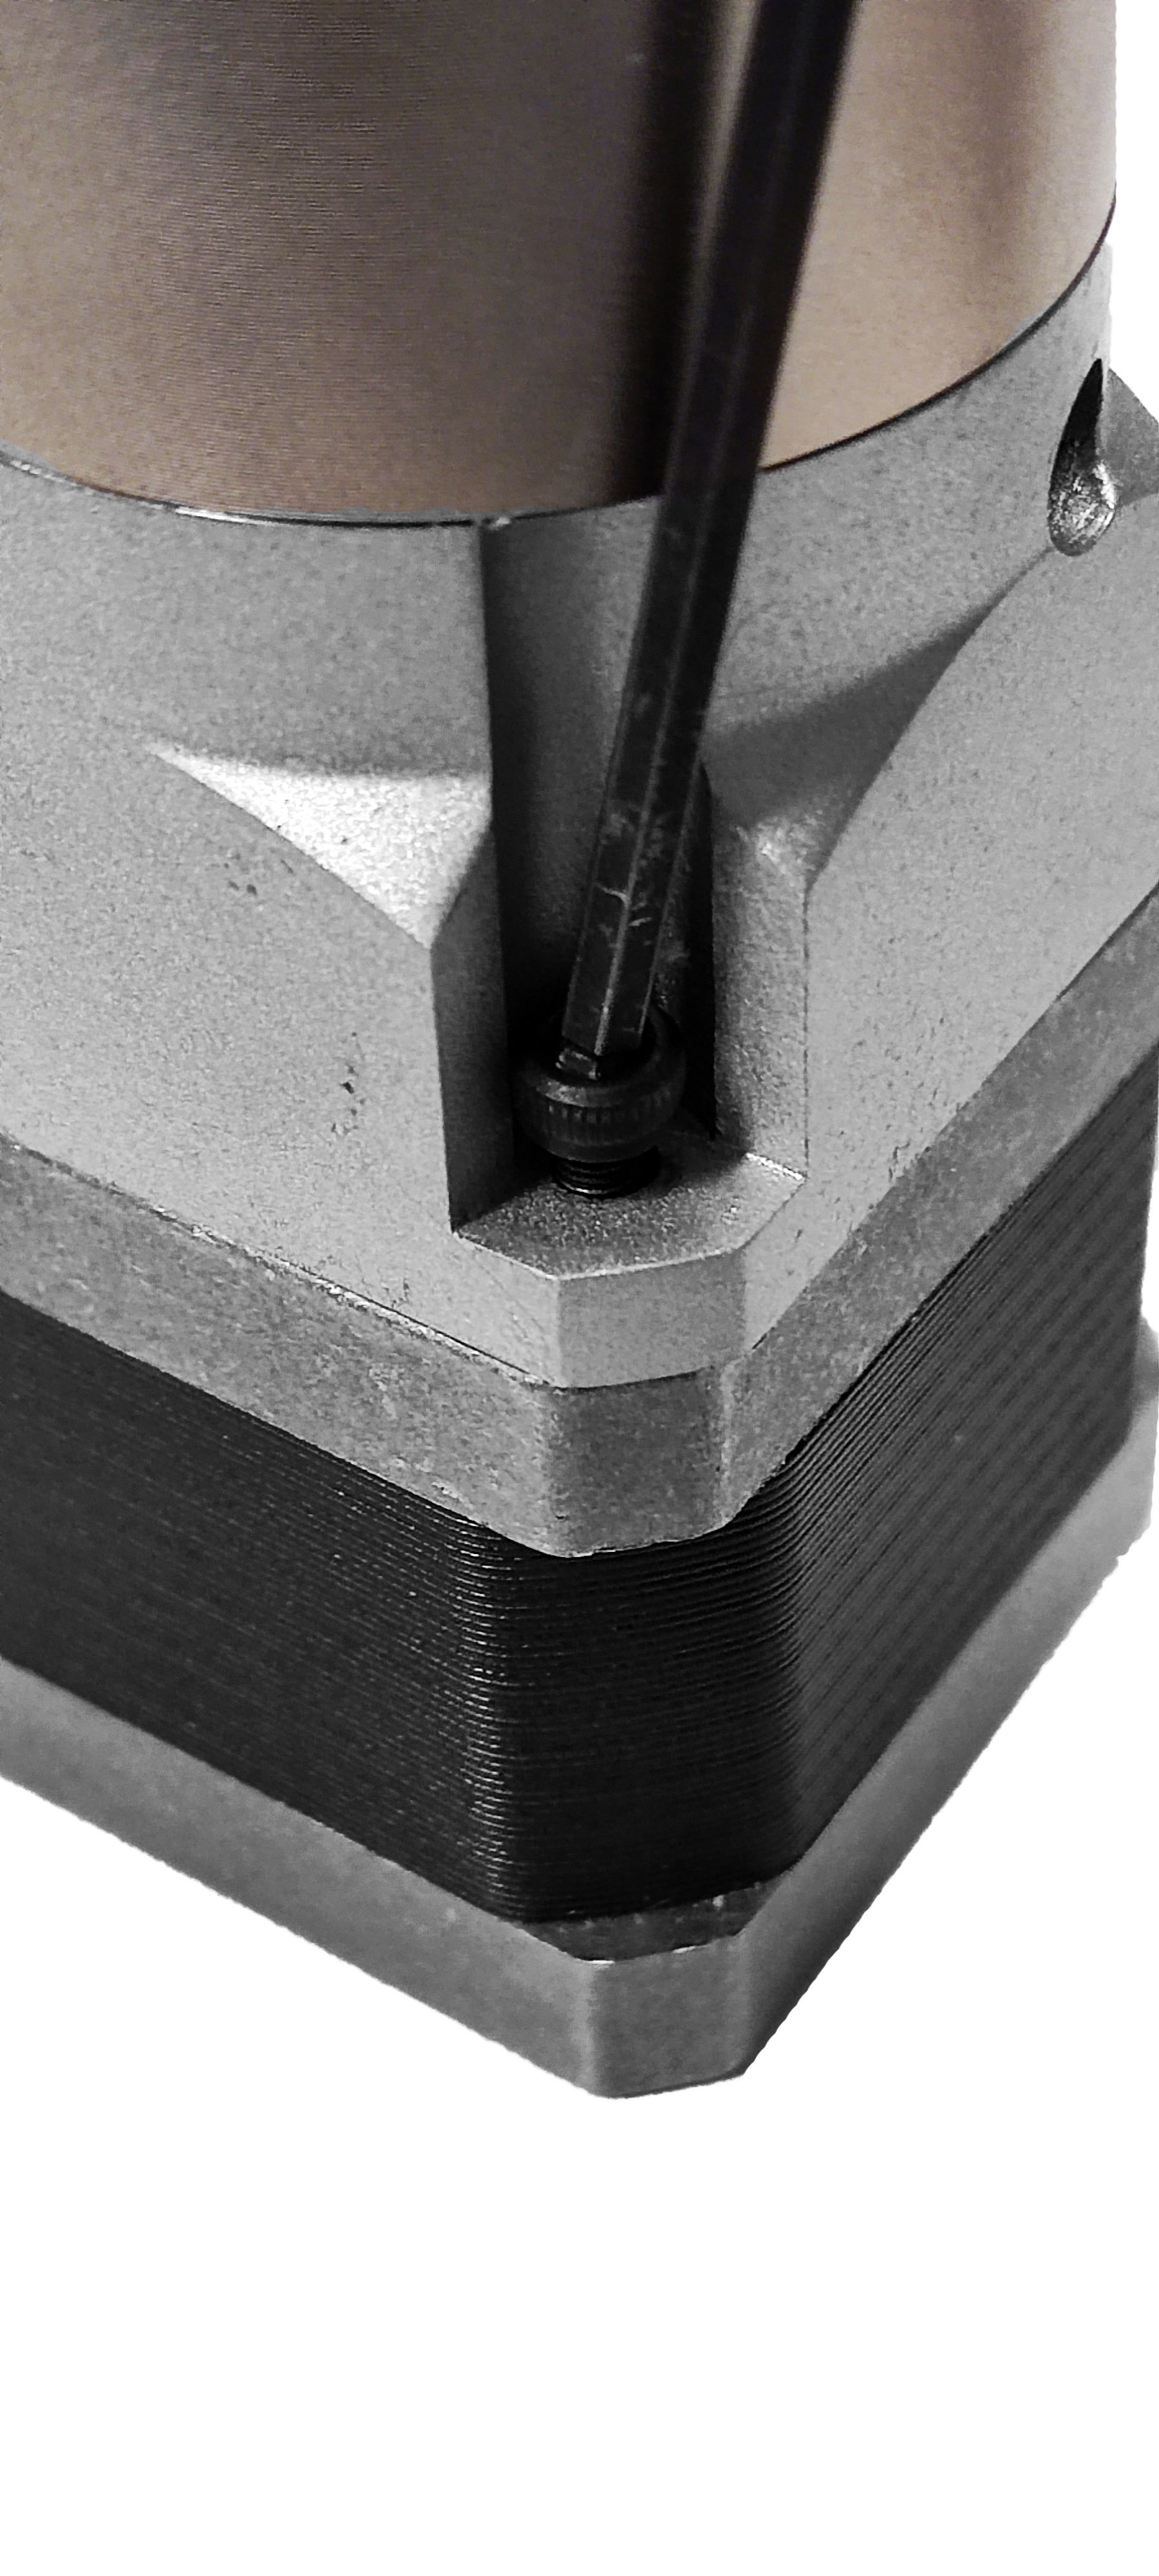
Then, use the same hex key to tighten the two clamp screws inside the gearbox to connect the motor shaft to the gears. Make sure one of the clamp screws is aligned with the flat on the motor shaft if yours has one.
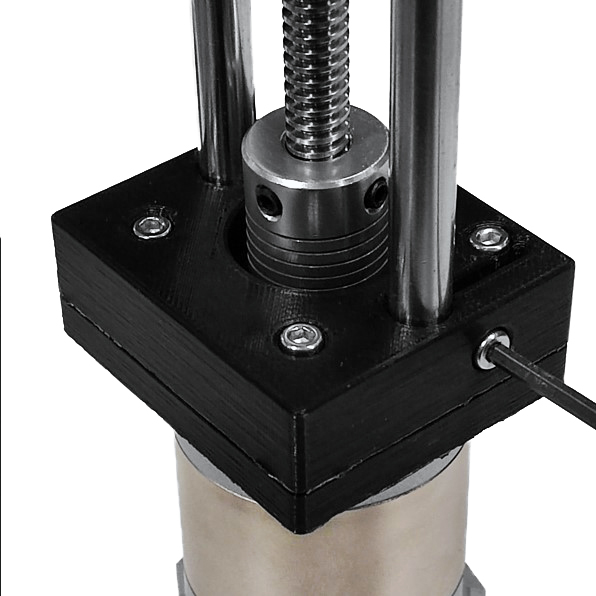
Step 2: Assemble the gearbox, back support, and lead screw
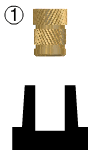
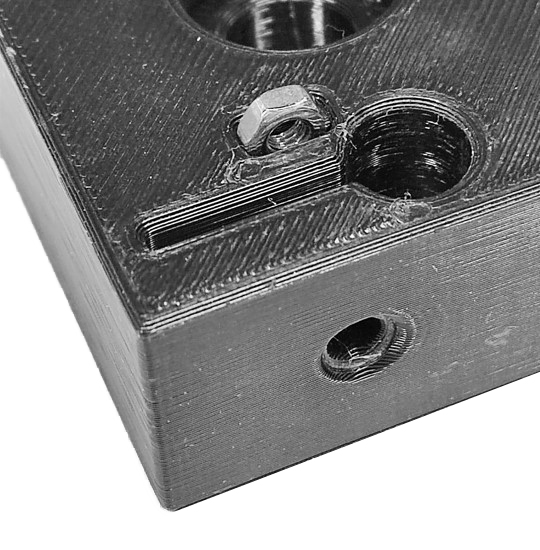
Grab the back support - A, take four heat insert and positionate them in each hole of this printed part as shown below. Apply heat to each insert (using a soldering iron) and use gentle force to push it into position, as described in the guide to use heat-set inserts.

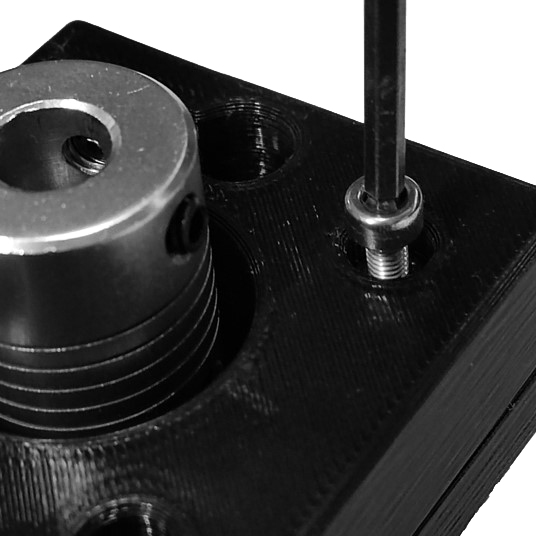
Take four M4 10mm and a M4 hex key key to tighten the back support - A to the gearbox. Make sure the piece orientation is correct. The indicated screw must be opposite to the electrical connector of the stepper motor.
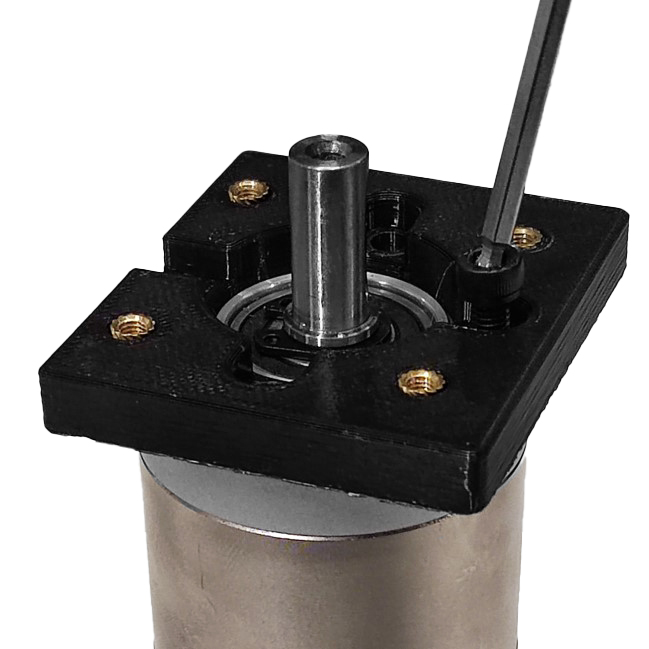
Insert the shaft of the gearbox halfway into the motor coupling and then tighten down to it. Use a M2.5 hex key to tighten the motor coupling.

Take four M3 16mm to tighten the back support - B to the part A. Make sure the screw holes on the back support B are aligned to the heat inserts.

Take the lead screw, and insert it into the motor coupling. Then, tighten the motor coupling down on the lead screw.
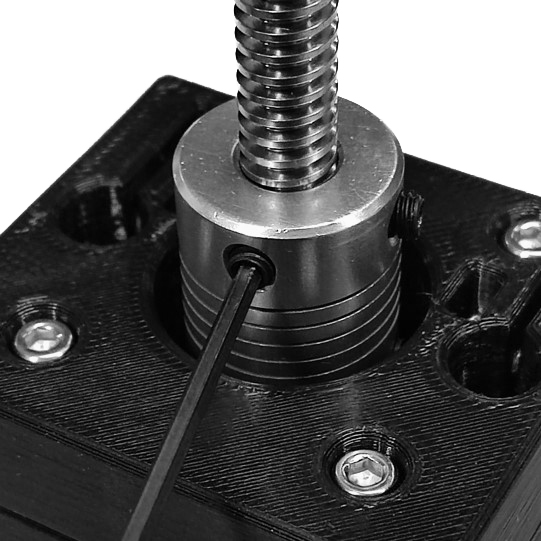
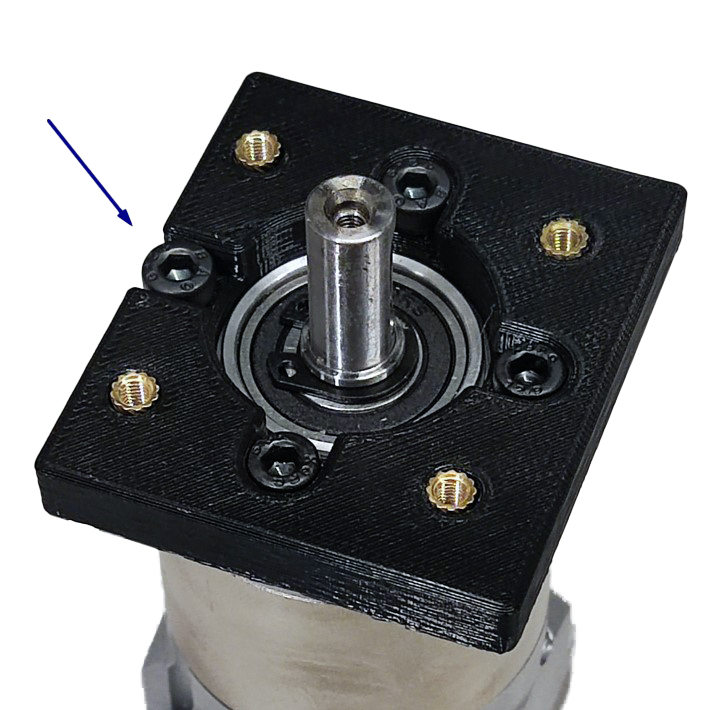
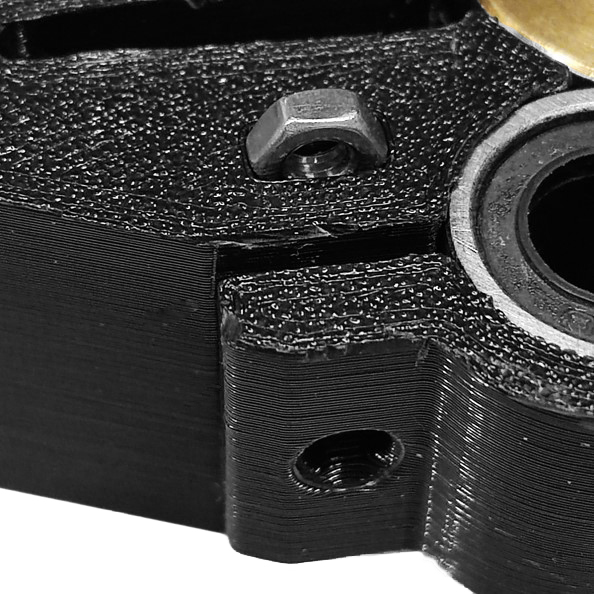
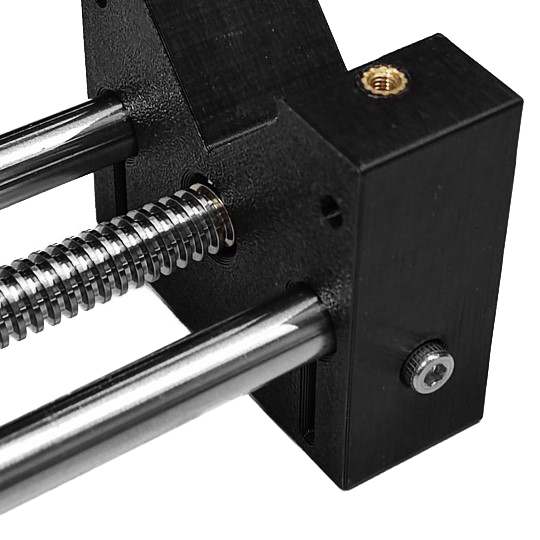
Take two M3 nut, insert them on the back support - B and push them in. Feel free to grab whatever tools you need to push them in. Make sure they align with the screw holes on the back support. Then, take two M3 10mm and screw them just to hold the nuts. Use a M3 hex key.


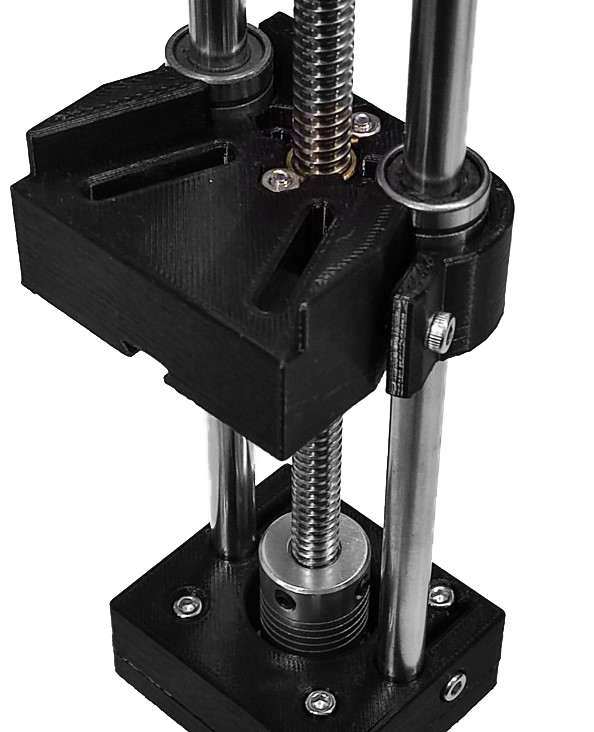
Step 3: Assemble and mount the carriage
Insert the lead screw nut into the carriage and tighten it to the carriage using two M3 16mm and two M3 nut. Insert the screws in opposite side to hold the lead screw nut properly.
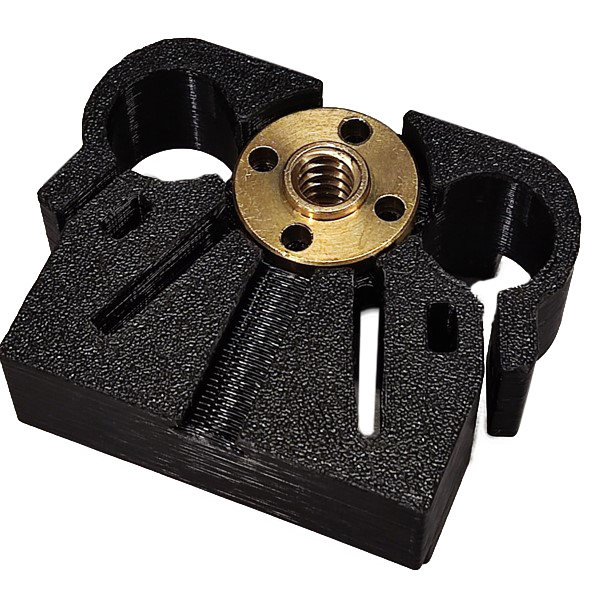
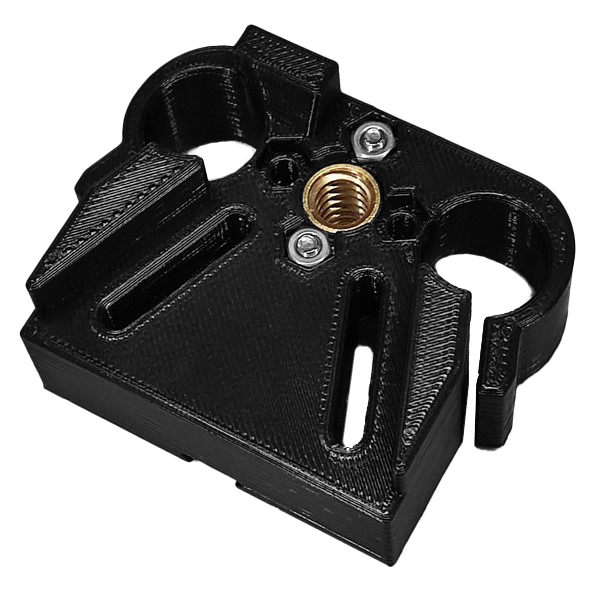
Grab the carriage and take the linear bearing and insert them into the side of the carriage. Then, take two M3 nut and insert them on the carriage and push then in. Feel free to grab whatever tools you need to push them in. Make sure they align with the screw holes on the carriage. Take two M3 12mm and a M3 hex key to tighten the linear bearings.
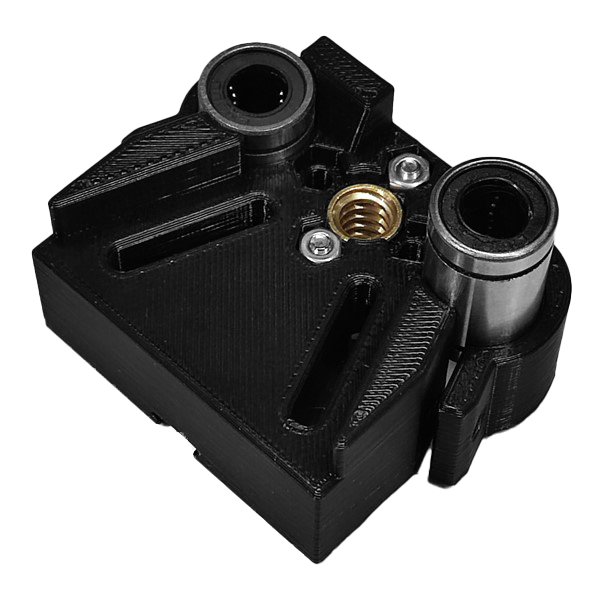
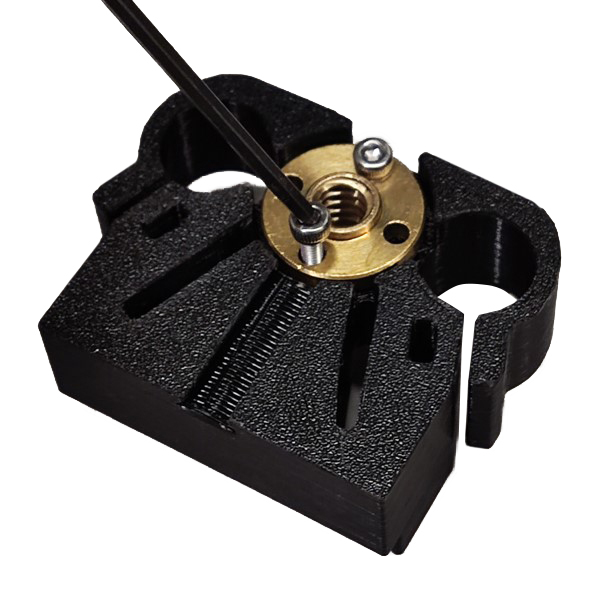
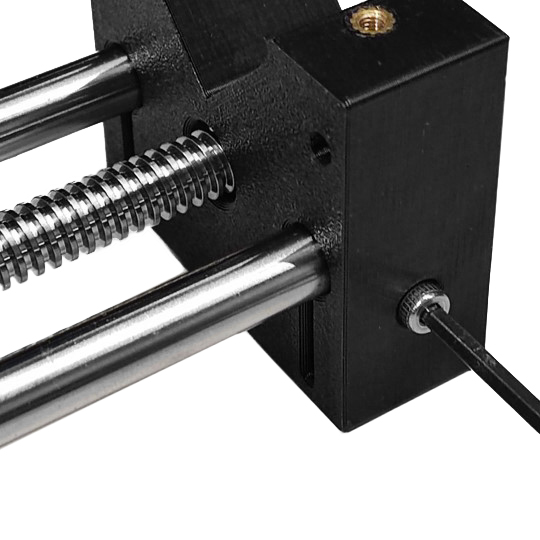
Insert the lead screw into the nut. Then, manually thread it up to the middle of the lead screw as shown below.
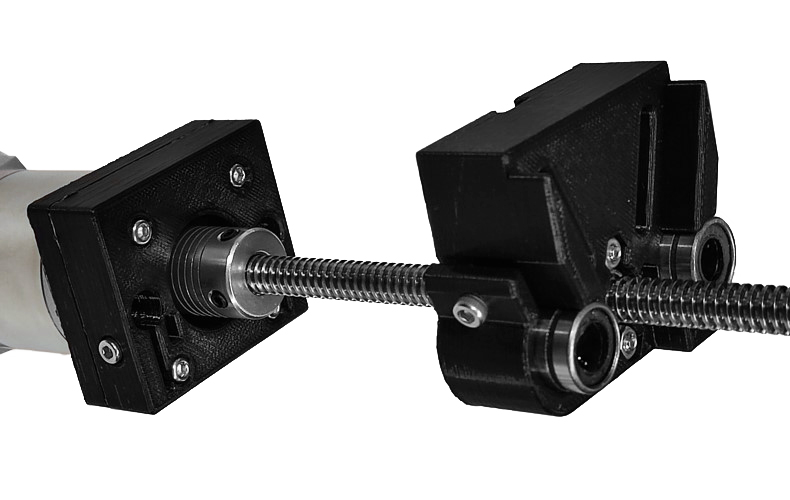
Push the linear rails into the linear bearings in the carriage and insert them in the back support - B, one into the left side and one to the right side. Make sure they are inserted into the holes properly and then push them through. Tighten the linear rails down on the back support - B.
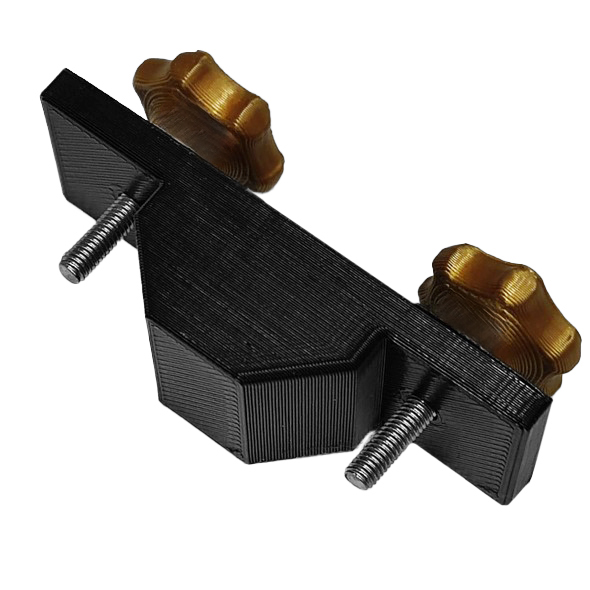
Step 4: Assemble the front support, hand knobs, and syringe holder
Grab the front support, take two heat insert and positionate them in each hole of the front support. Apply heat to each insert (using a soldering iron) and use gentle force to push it into position, as described in the guide to use heat-set inserts.

Insert M3 nuts into the nut traps of the front support. Feel free to grab whatever tools you need to push them in. Make sure they align with the screw holes on the front support. Take M3 16mm and thread them enough to hold the nuts.
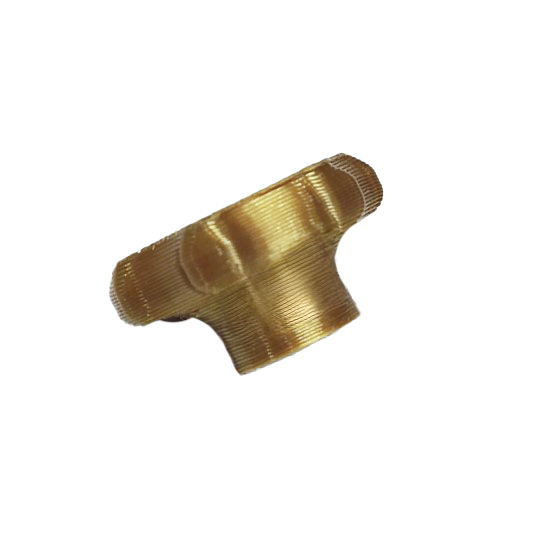
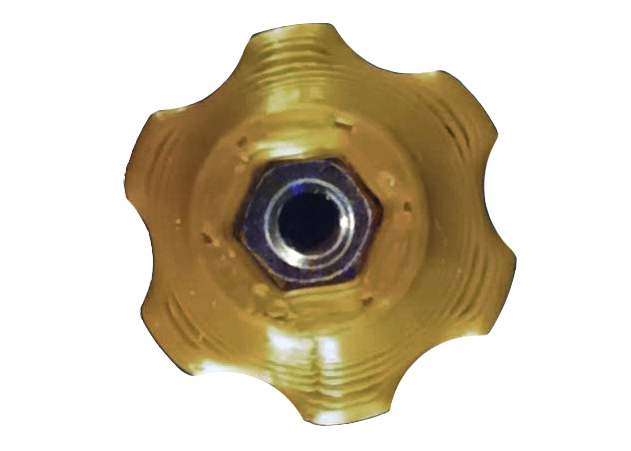
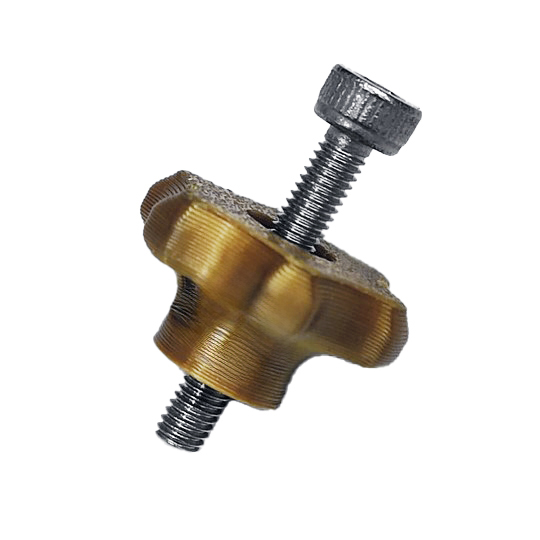
Insert a M3 nut into the nut trap of the hand knob. Take a M3 20mm and thread it all. Repeat this step with the second knob.
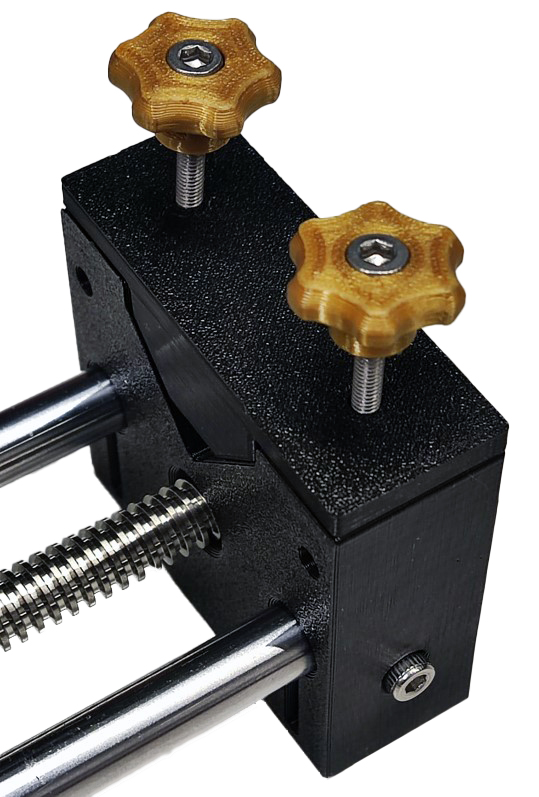
Step 5: Assemble the front support and the linear rails
Align the linear rails with the front support to make it sure that they insert into the holes properly, and then push them through. Tighten the linear rails down on the front support.
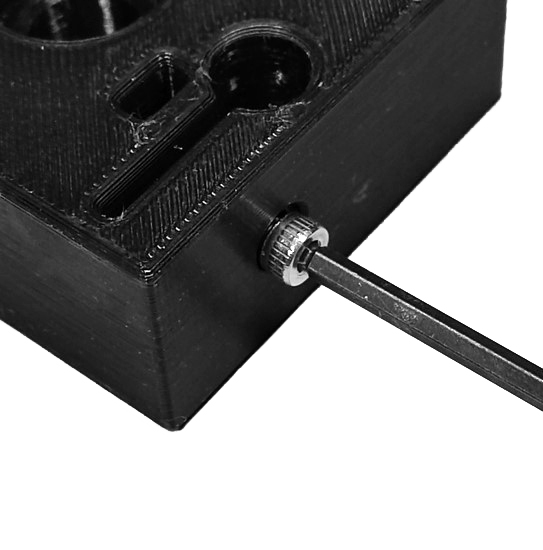
Finally, grab the syringe holder and place it into the front support. Make sure the screw holes from both parts are aligned. Take the two knobs and thread them a bit.
Your syringe pump is ready to be used.