Attach parts to the top plate
Tools
Laser cut Parts
Mechanical Components
Printed Parts
Sub-Assemblies
You will also need the parts you assembled in previous sections.
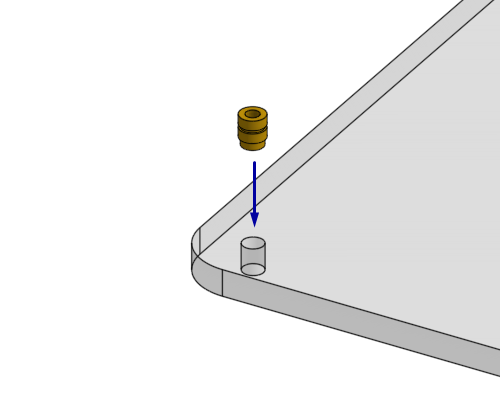
Step 1: Prepare the top plate
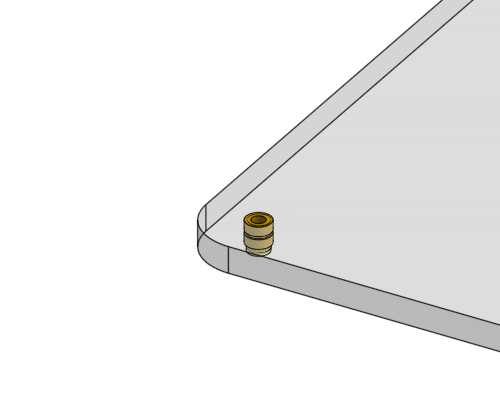
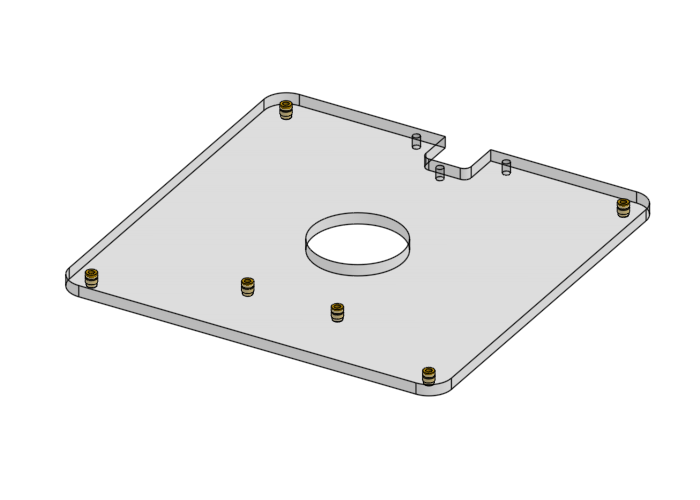
- Positionate a heat insert in each corner of the top plate.
- Apply heat to each insert (using a soldering iron) and use gentle force to push it into position, as described in the guide to use heat-set inserts.
- Repeat this step to put two more inserts in the plate to attach the focusing assembly.
Step 2: Prepare the standoffs
- Insert a M3x10mm cap head screw into each standoff using the large hole that comes out the side of them. The screw should poke out the end of the part as shown.
- Use a 2.5mm ball-ended hex key to turn the screw.
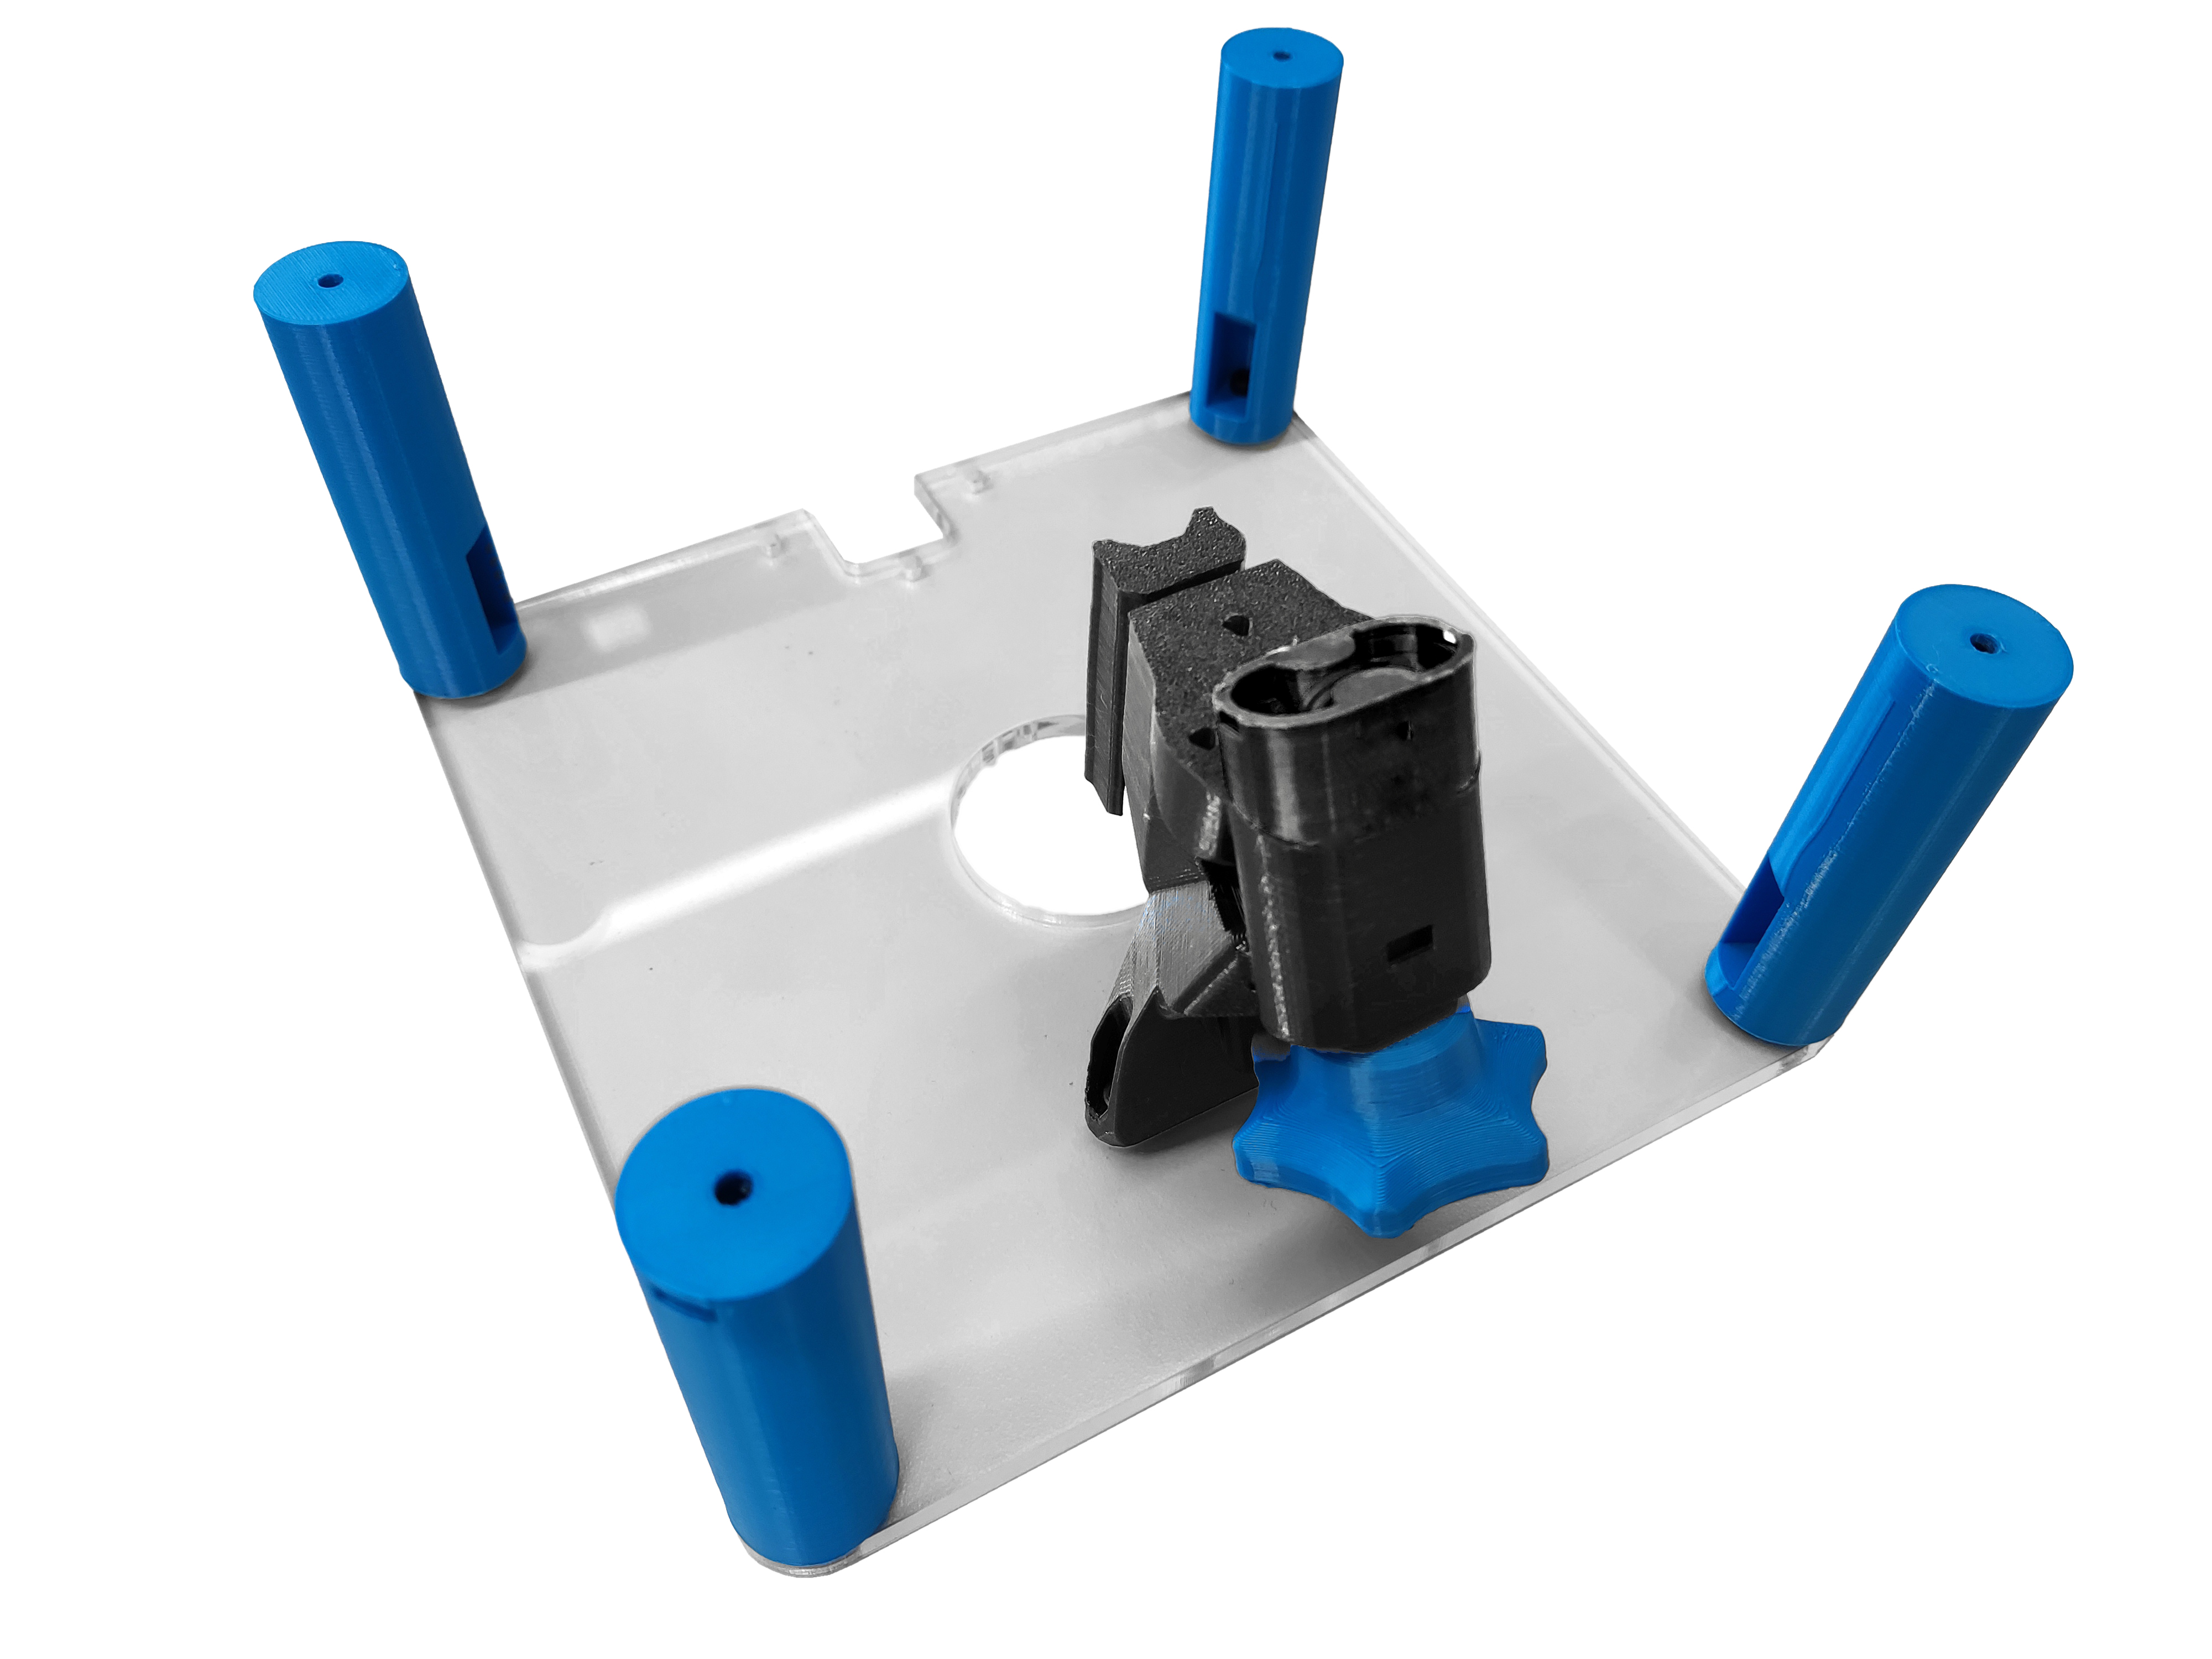
Step 3: Attach the standoffs
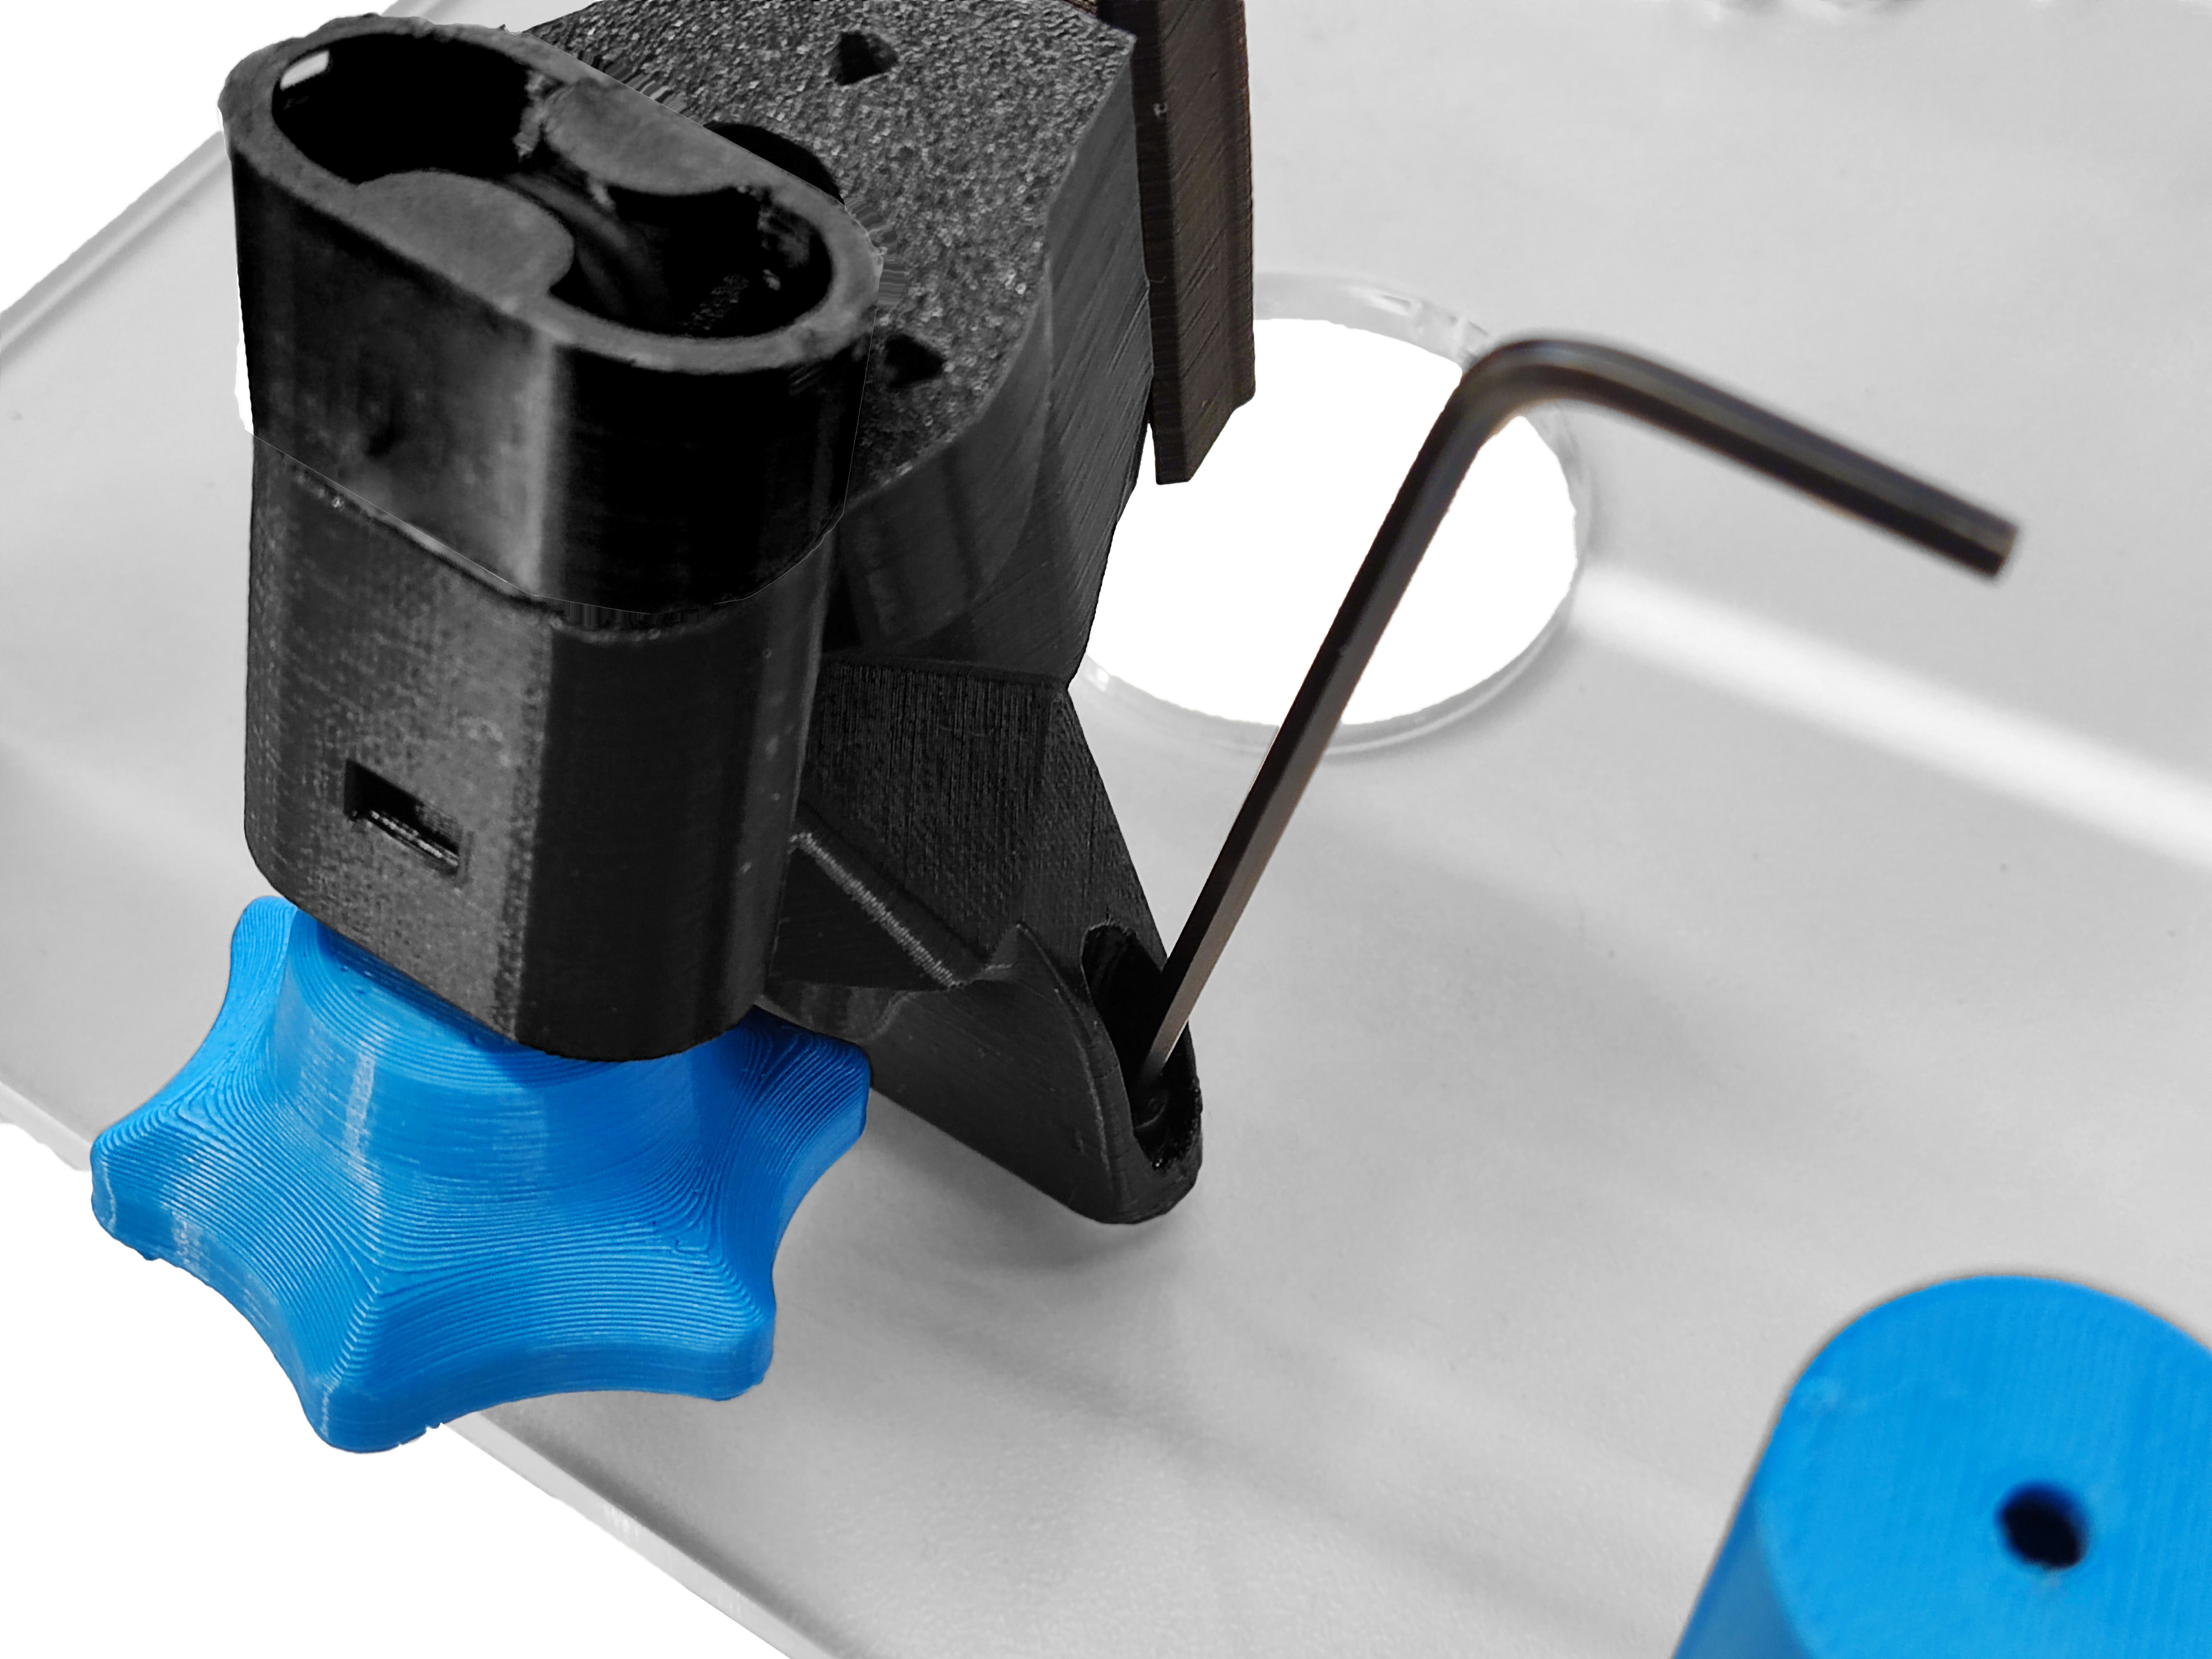
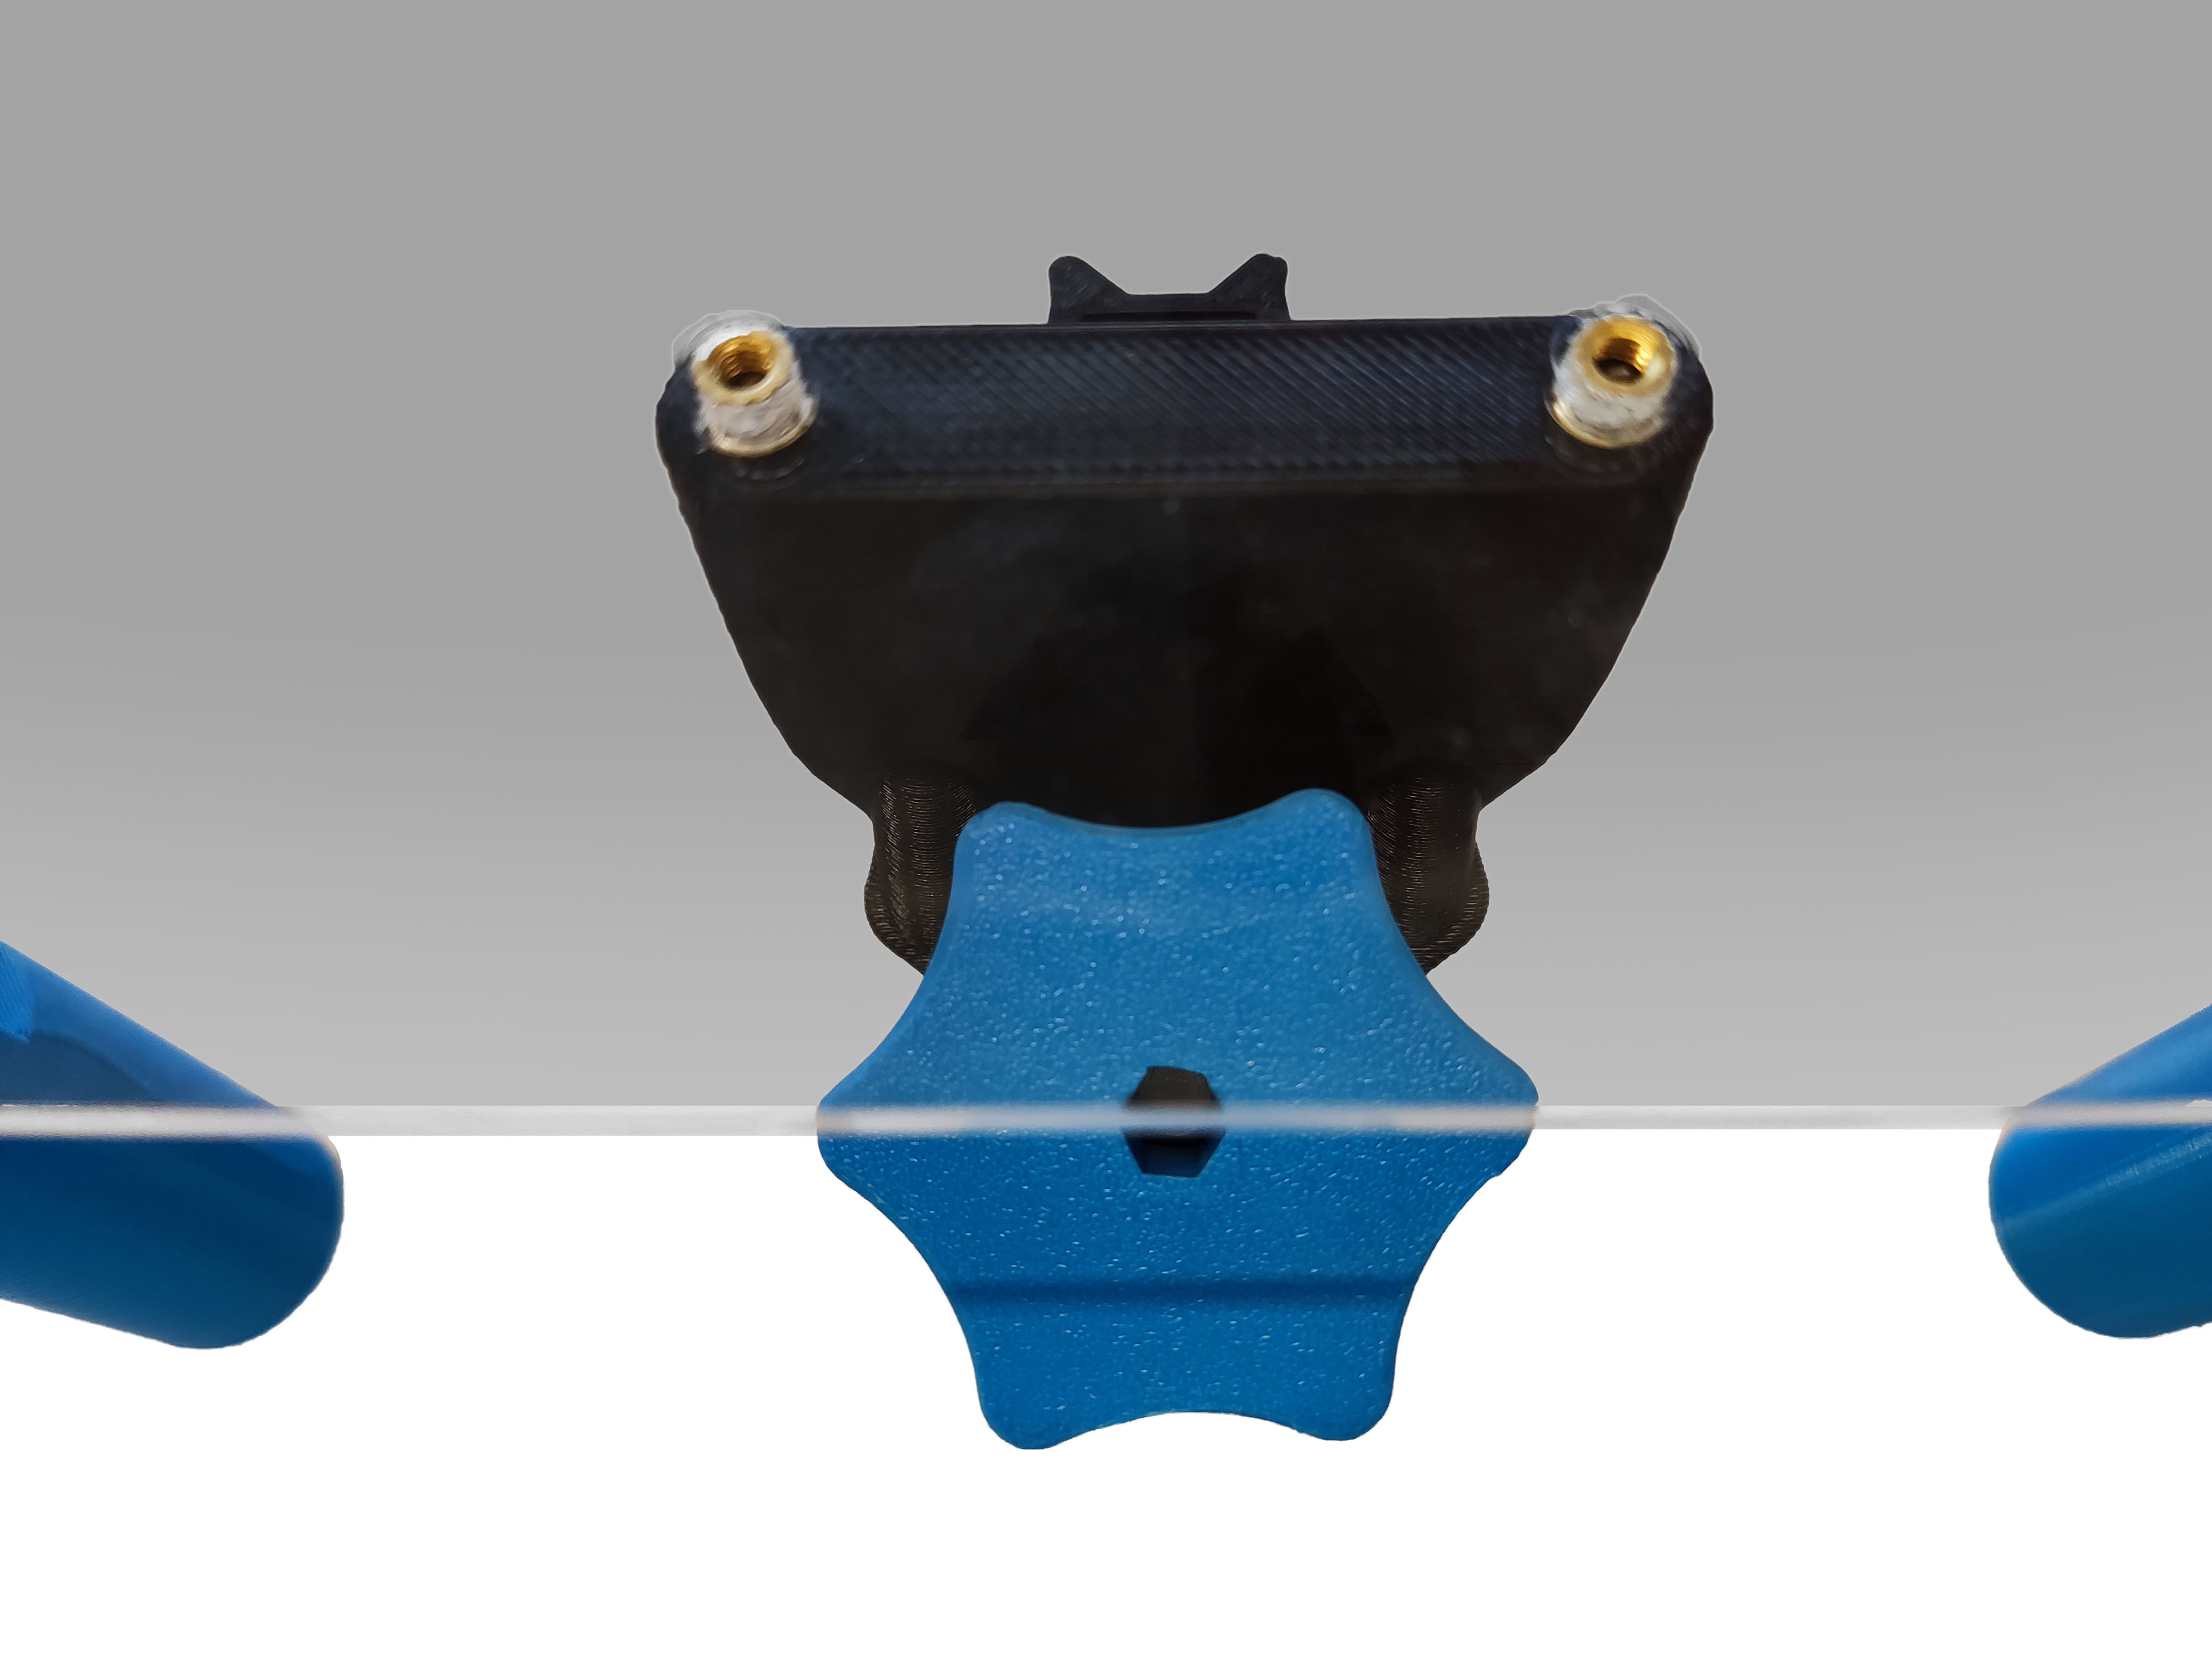
Step 4: Attach the focusing assembly
- Use a M3x8mm cap head screw on either side of the focusing mechanism, attach it to the top plate.