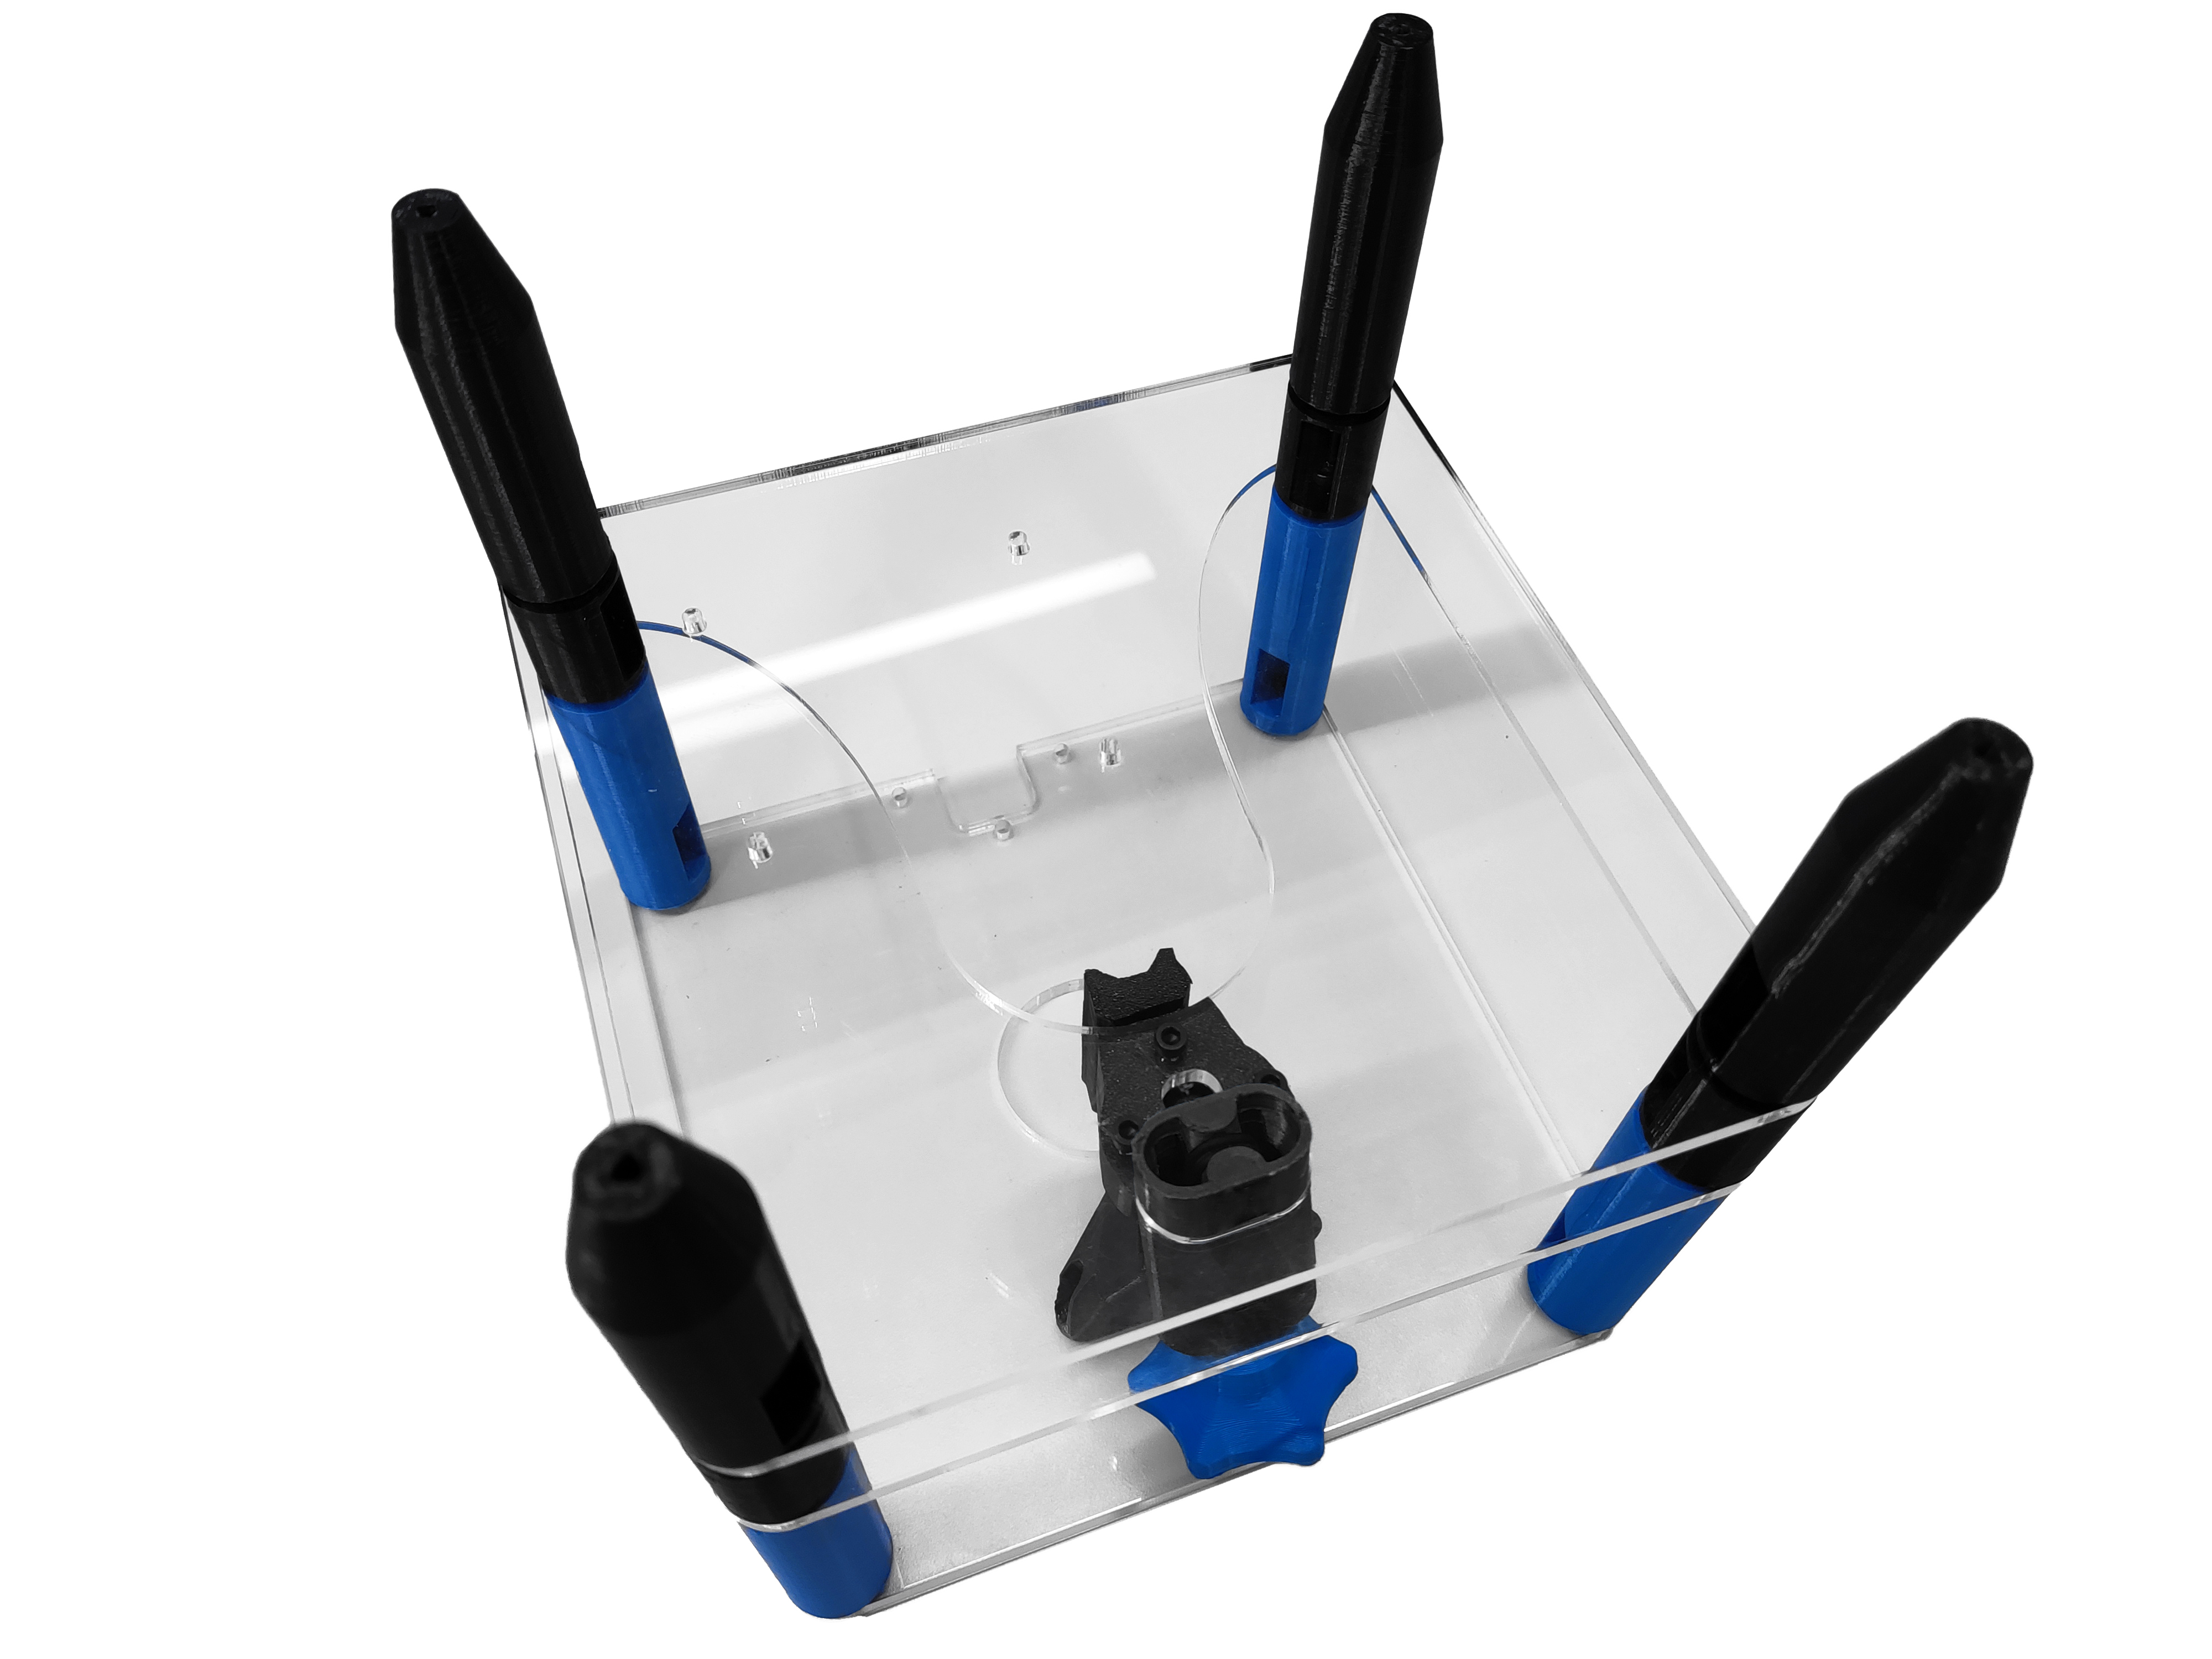
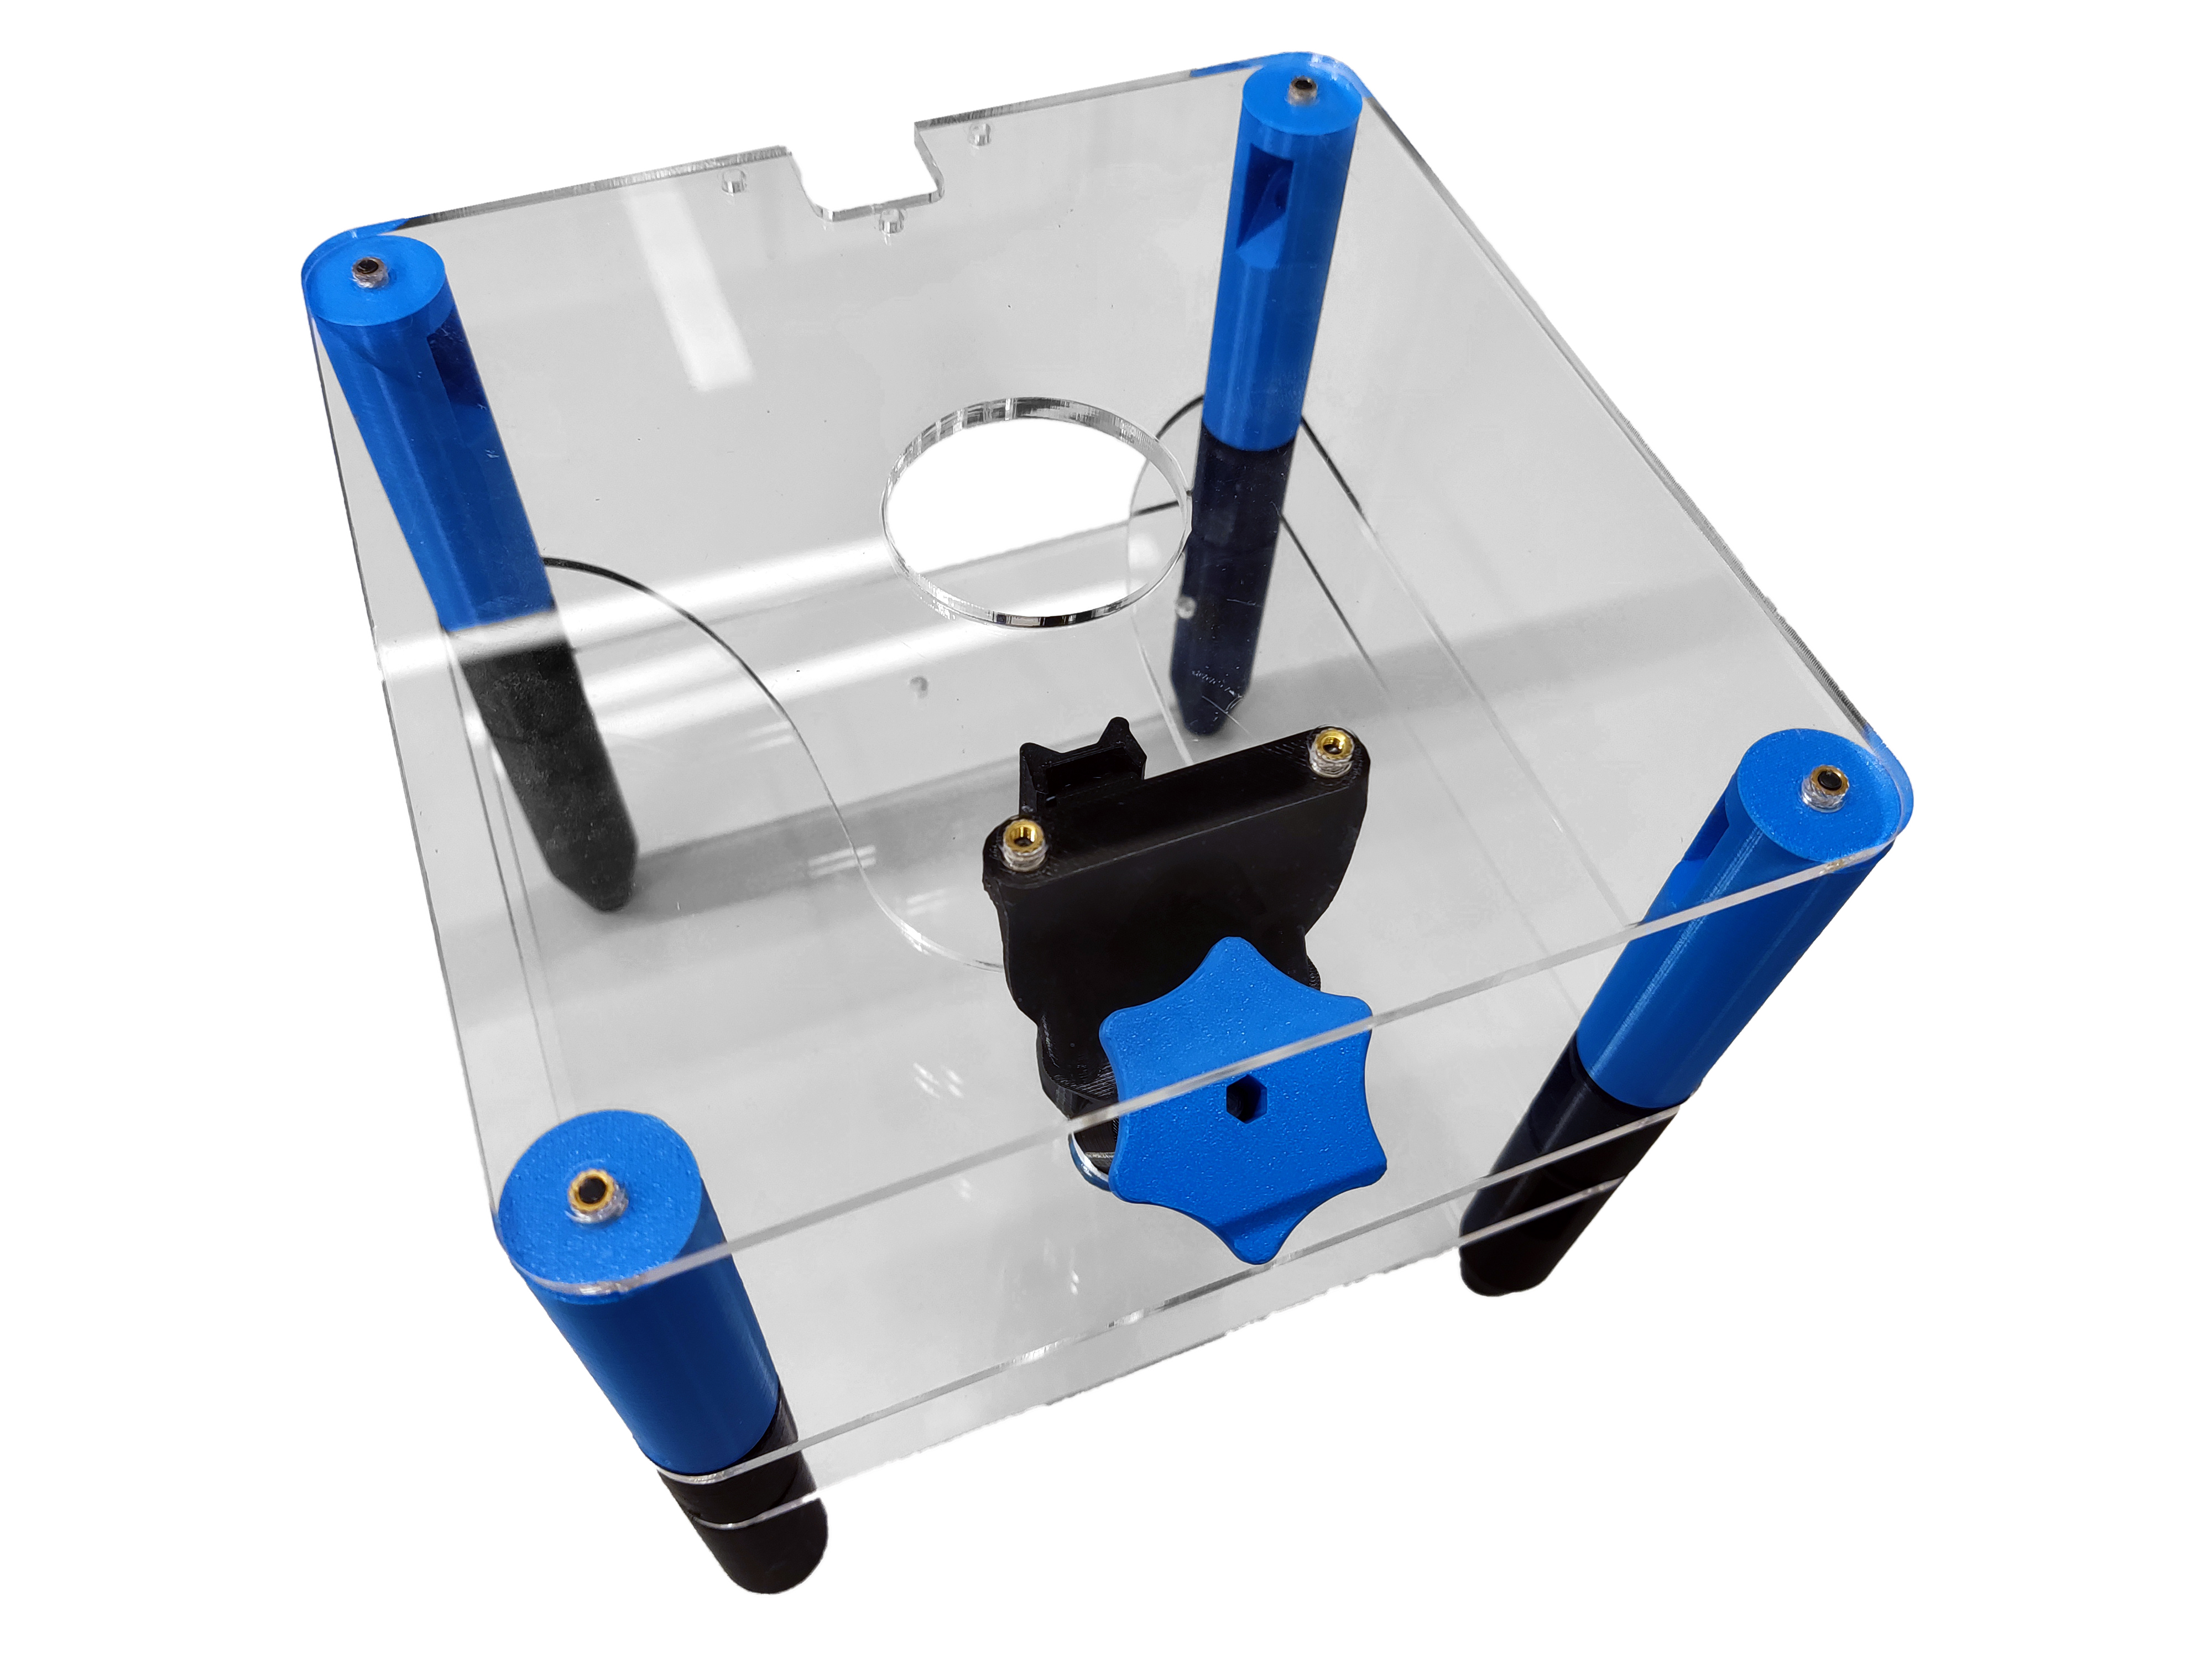
Attach parts to the bottom plate
Step 1: Prepare the small standoffs
- Take an M3 nut and push it into the nut trap from the small standoff. Insert one into each of the standoffs using the nut insertion tool.
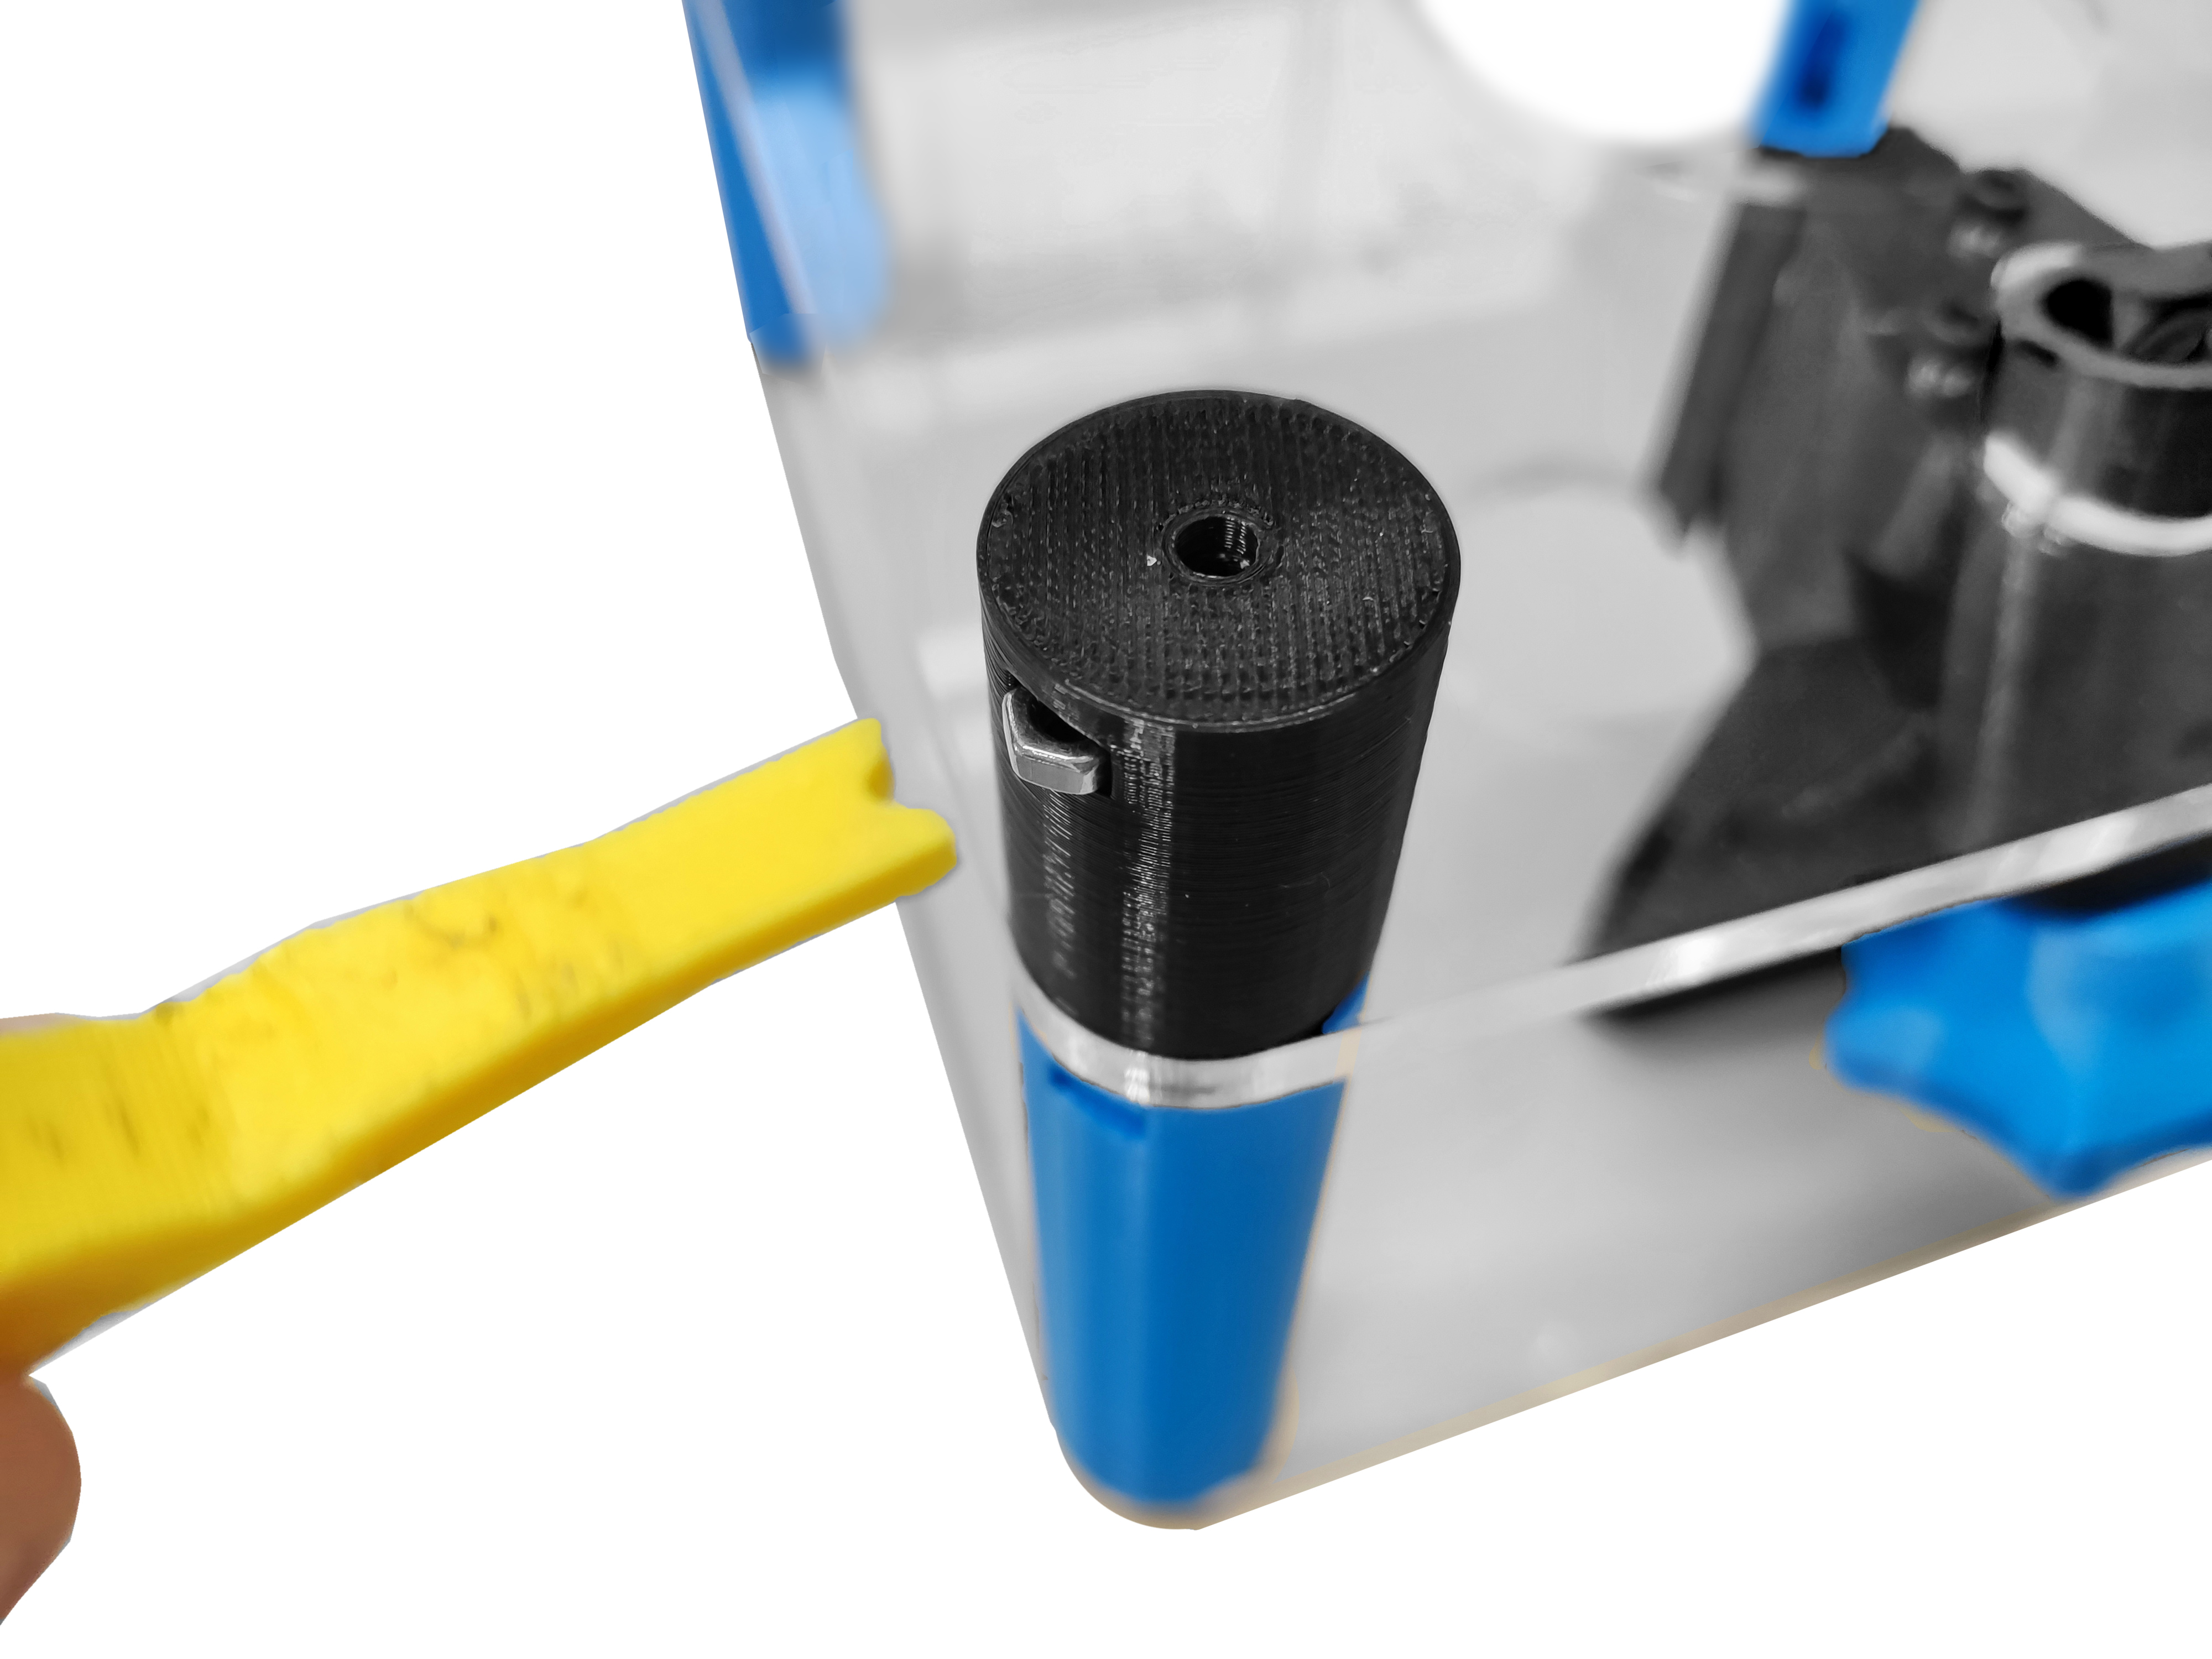
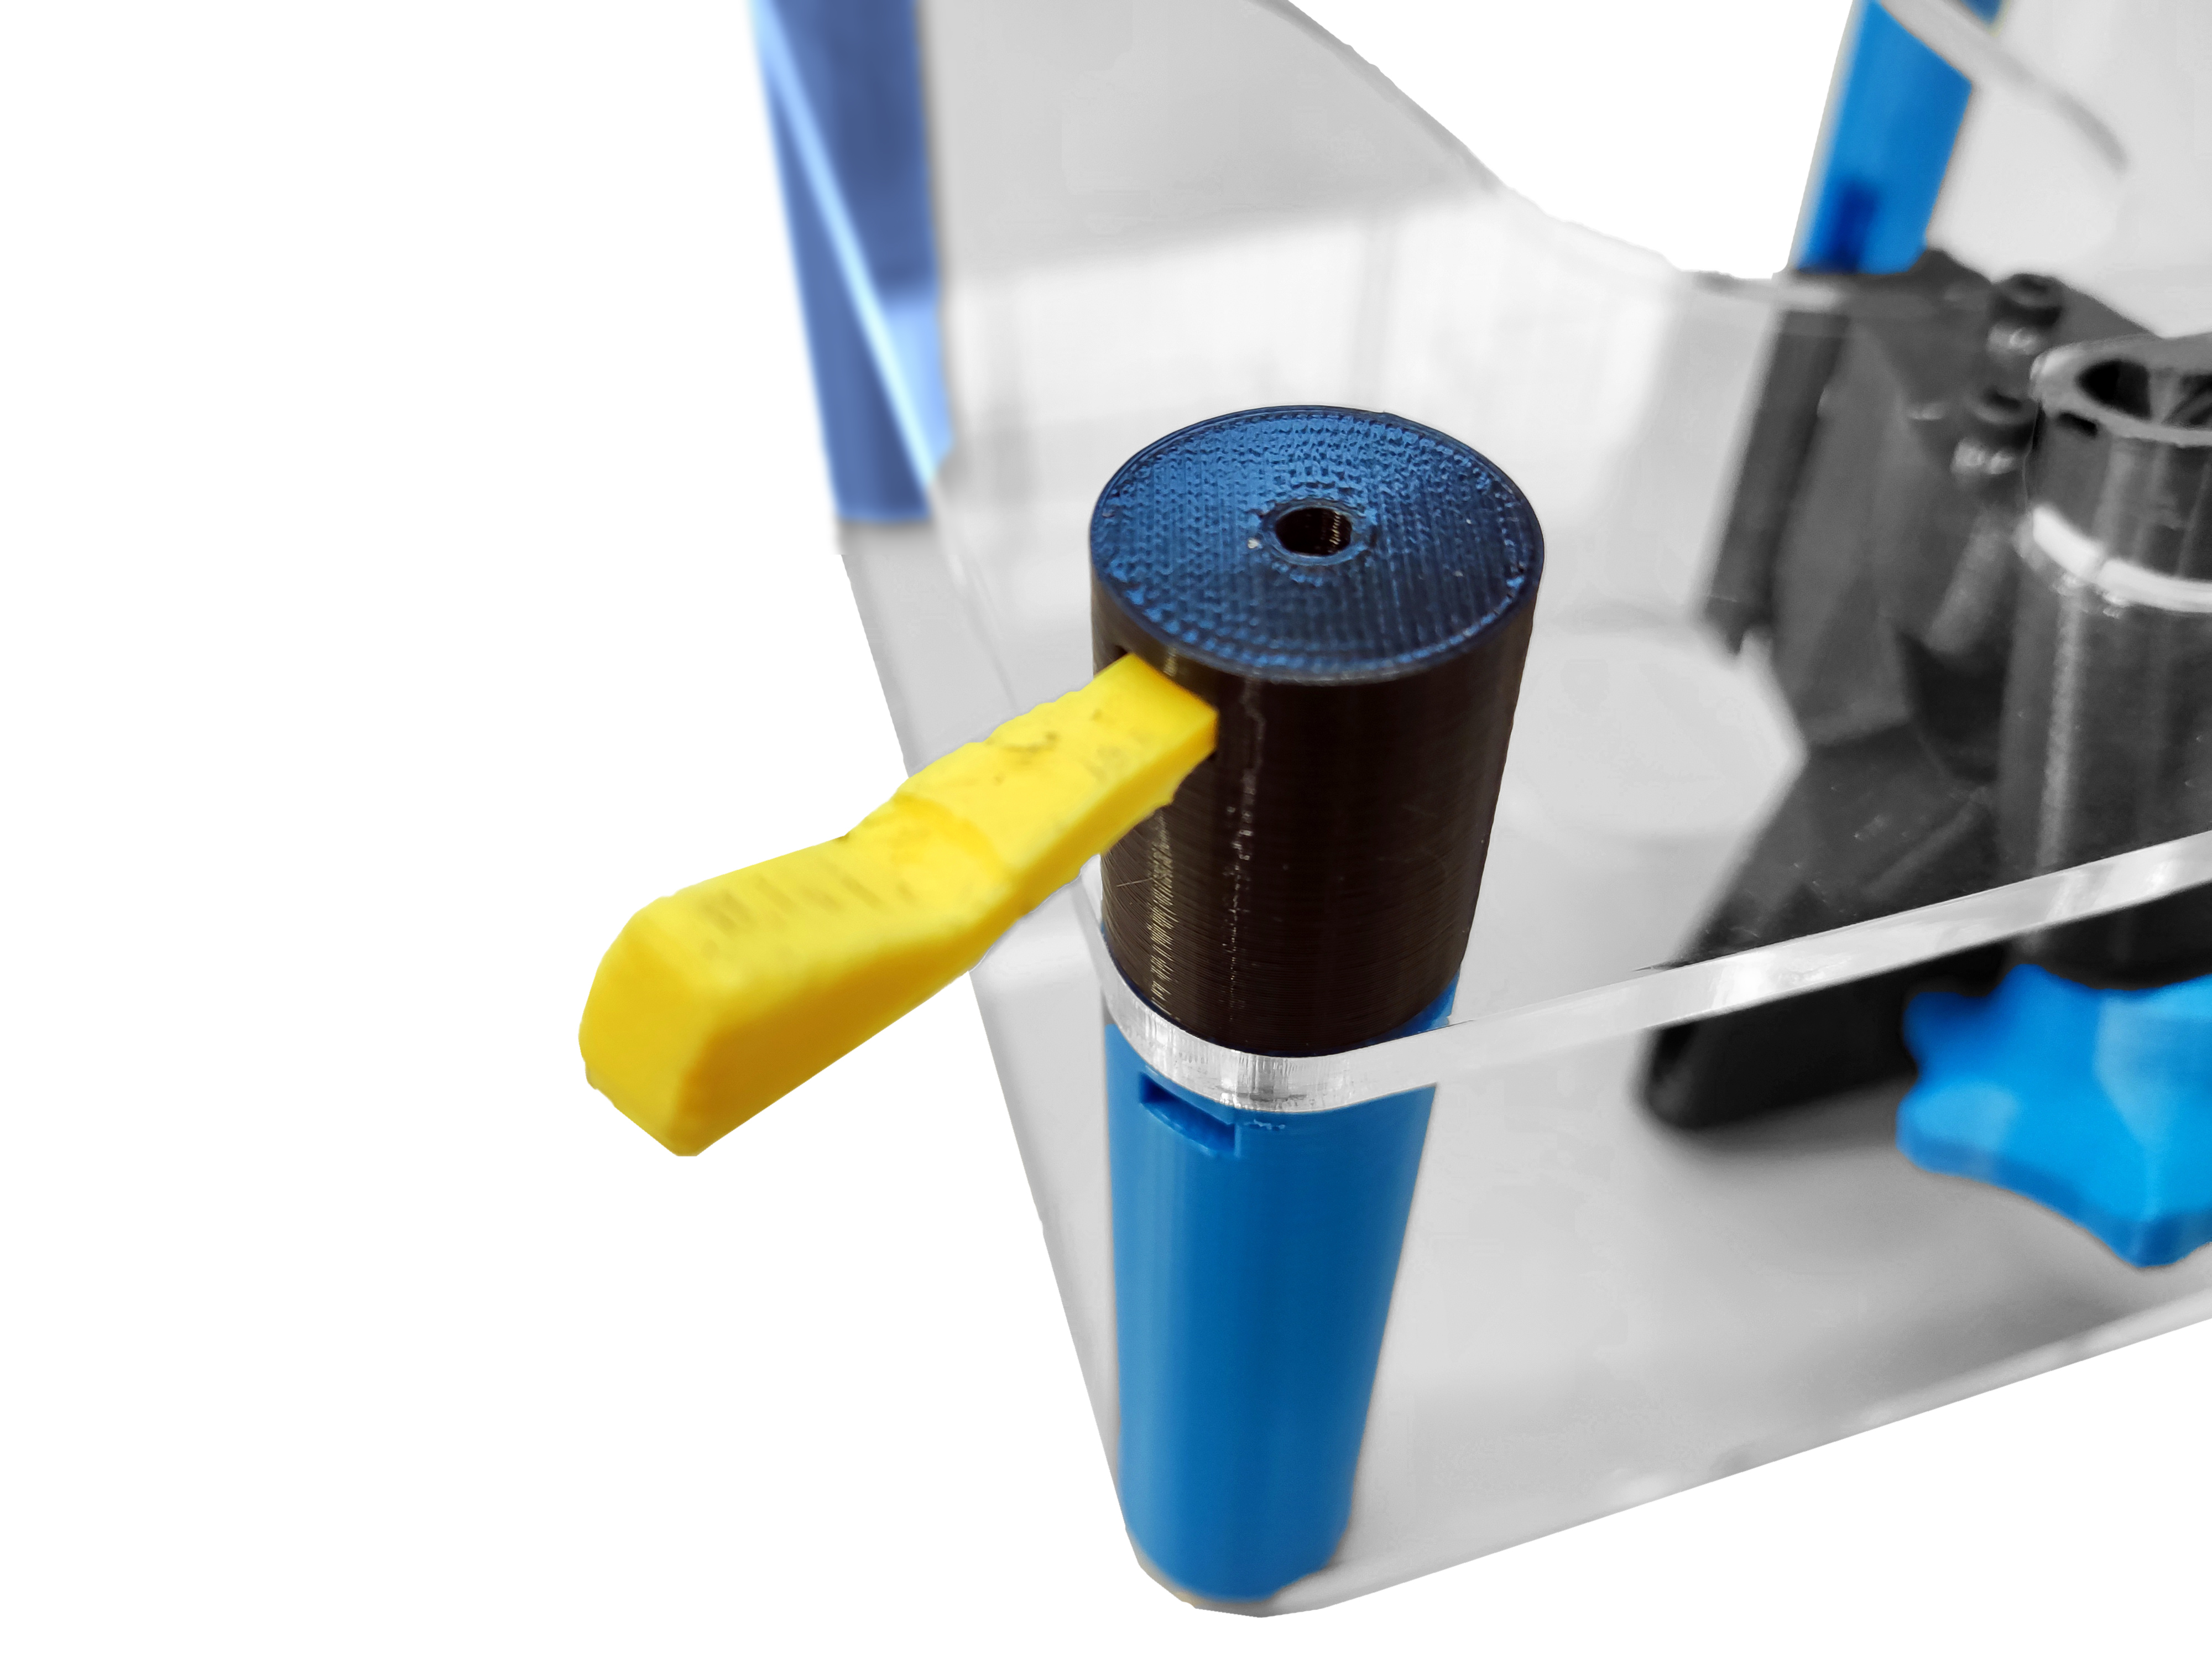

Step 2: Prepare the feet
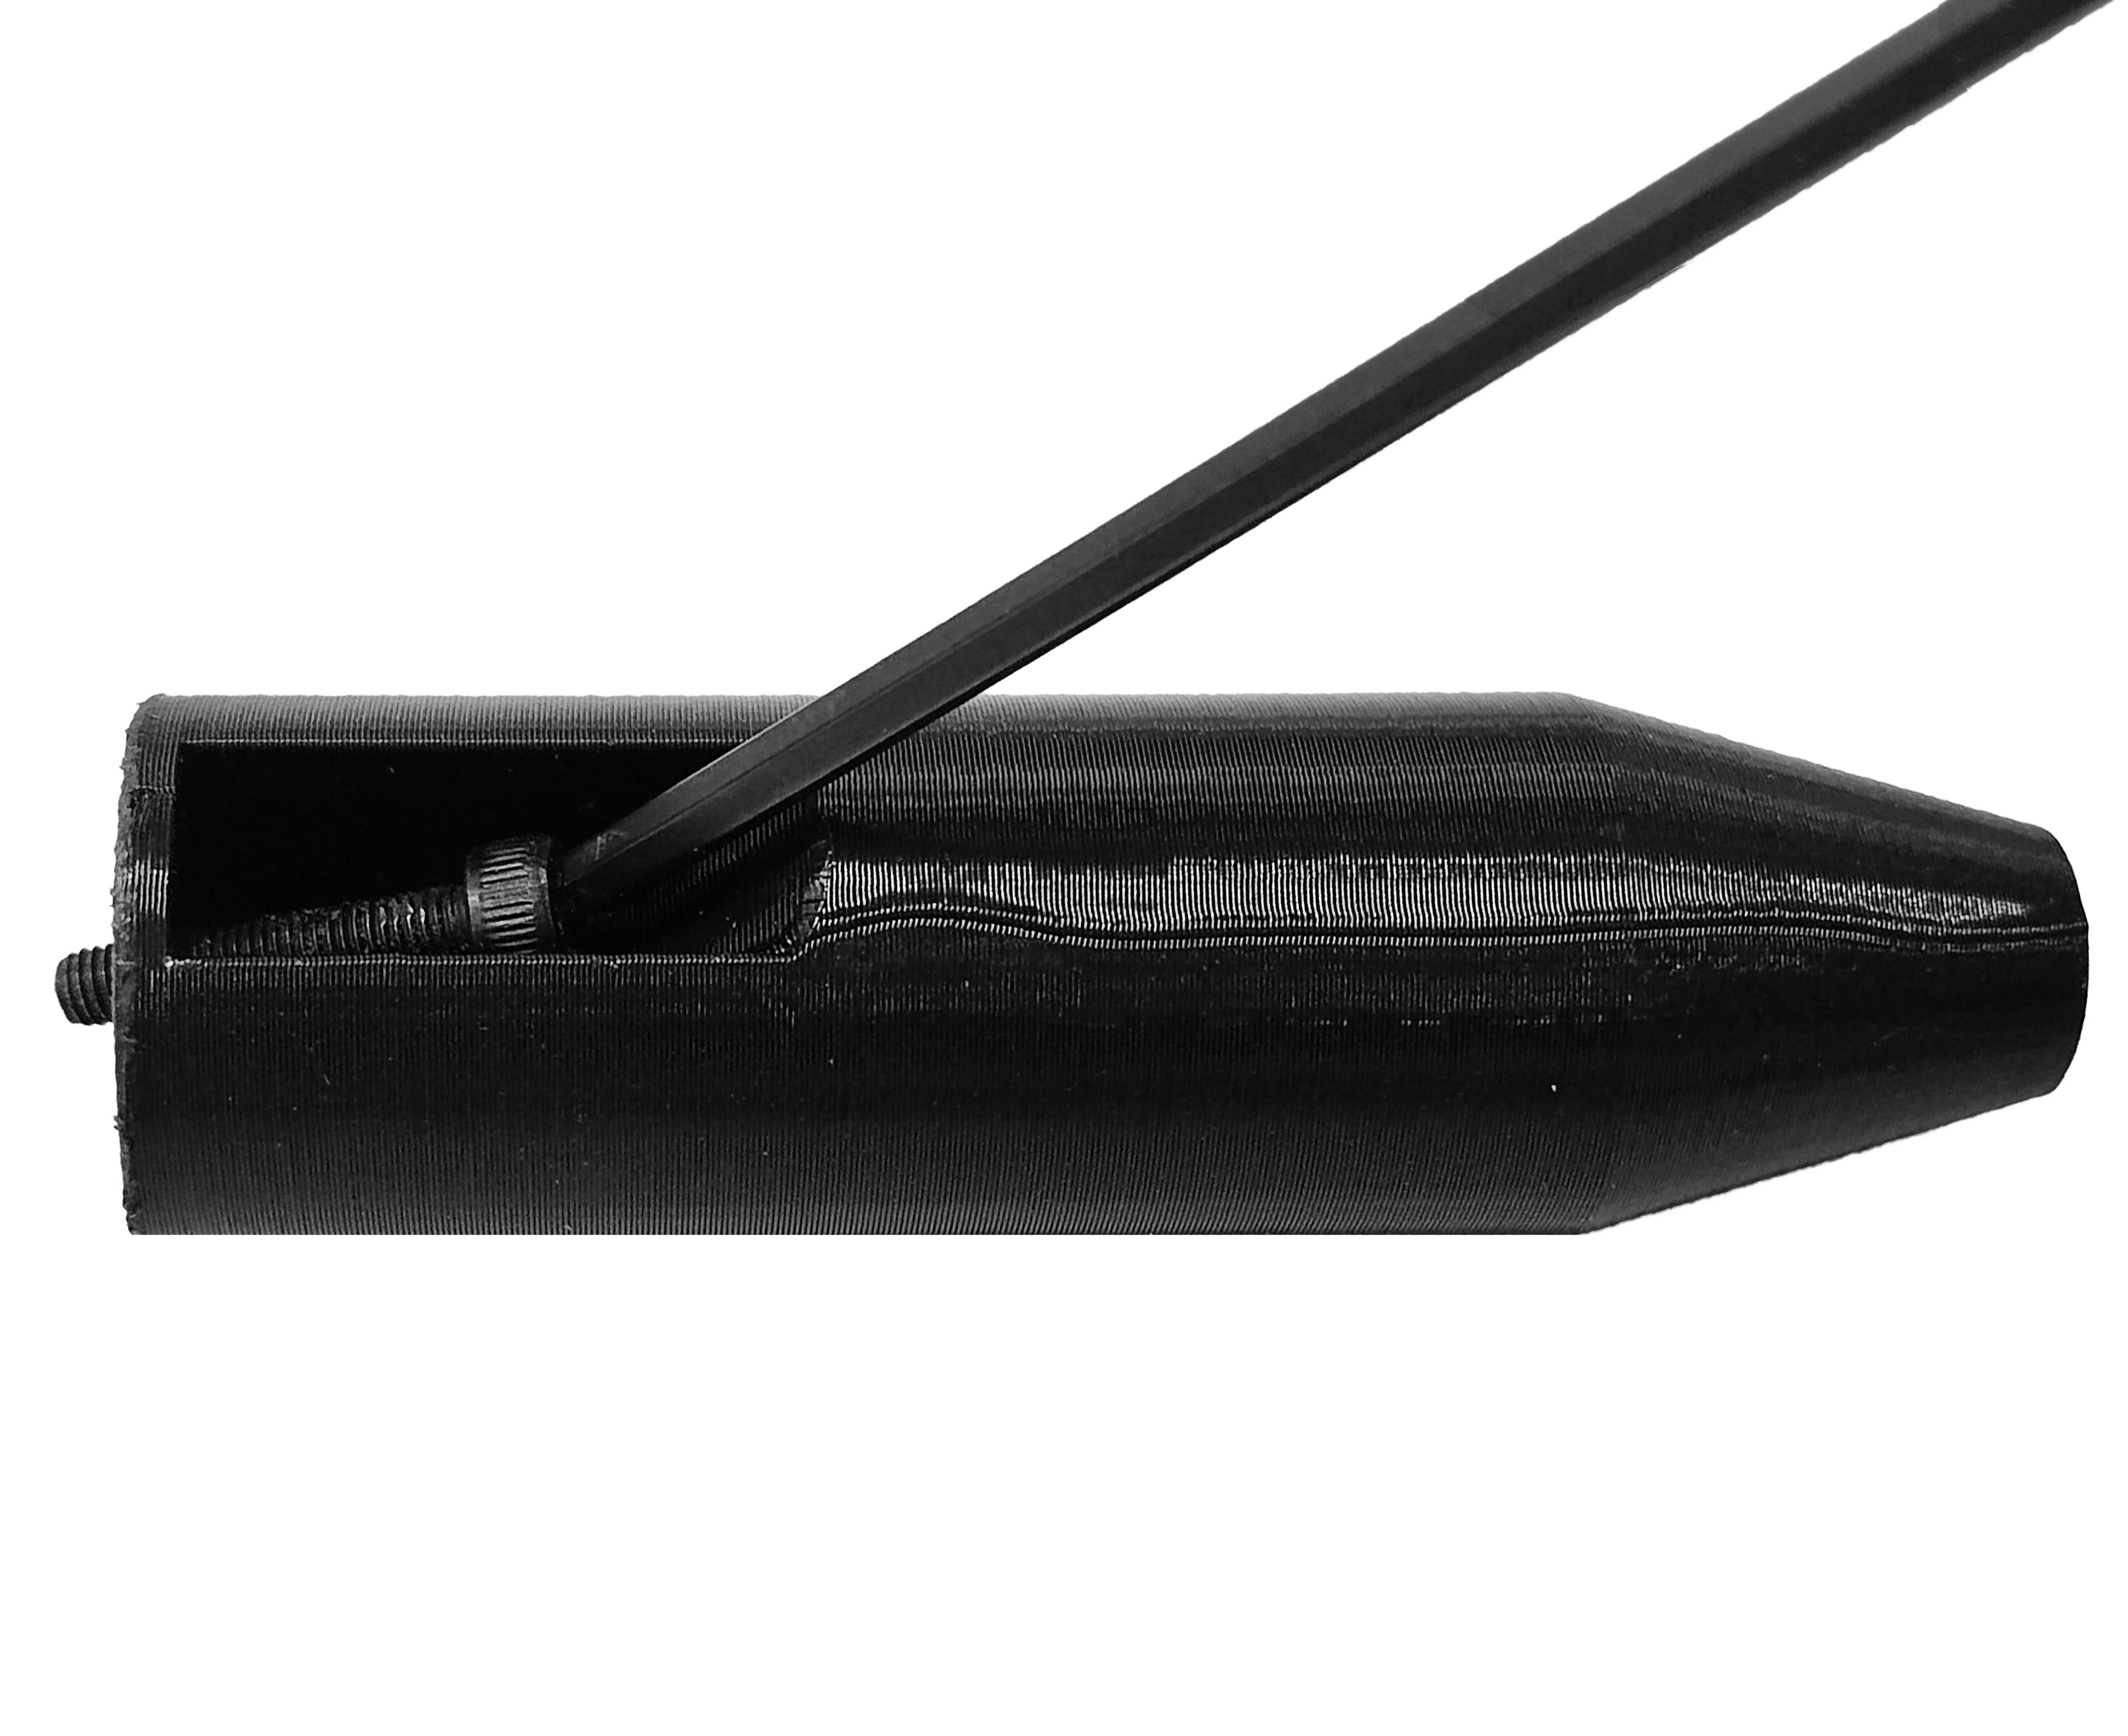
- Insert a M3x15mm cap head screw into each foot using the large hole that comes out the side of the foot. The screw should poke out the end of the part as shown.
- Use a 2.5mm ball-ended hex key to turn the screw.
Step 3: Attach the bottom plate and the foot
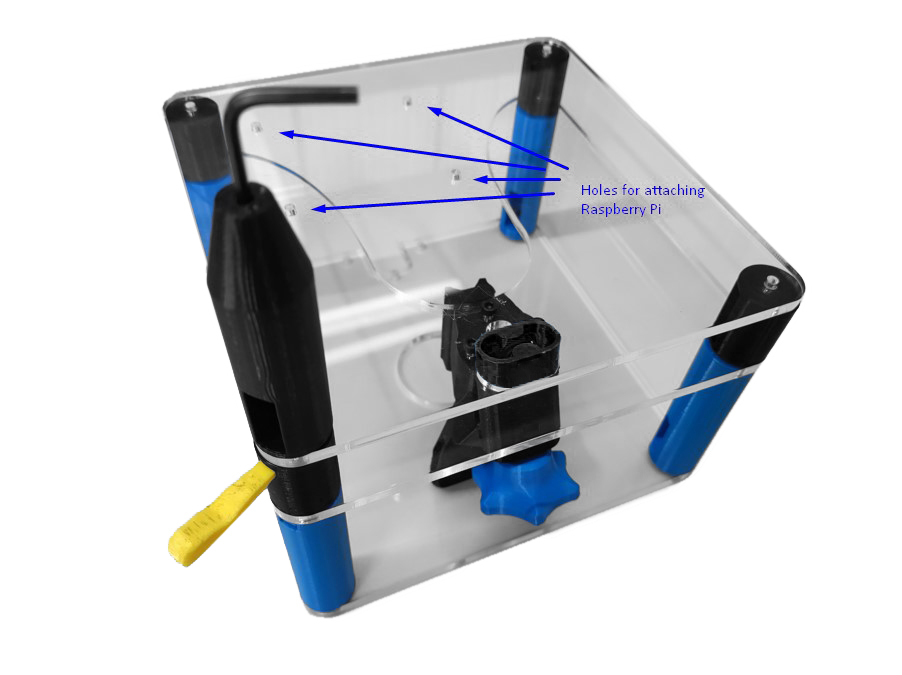
- Place the bottom plate above the small standoffs. The four holes for attaching the Raspberry Pi should be on the opposite side of the focusing mechanism, as shown.
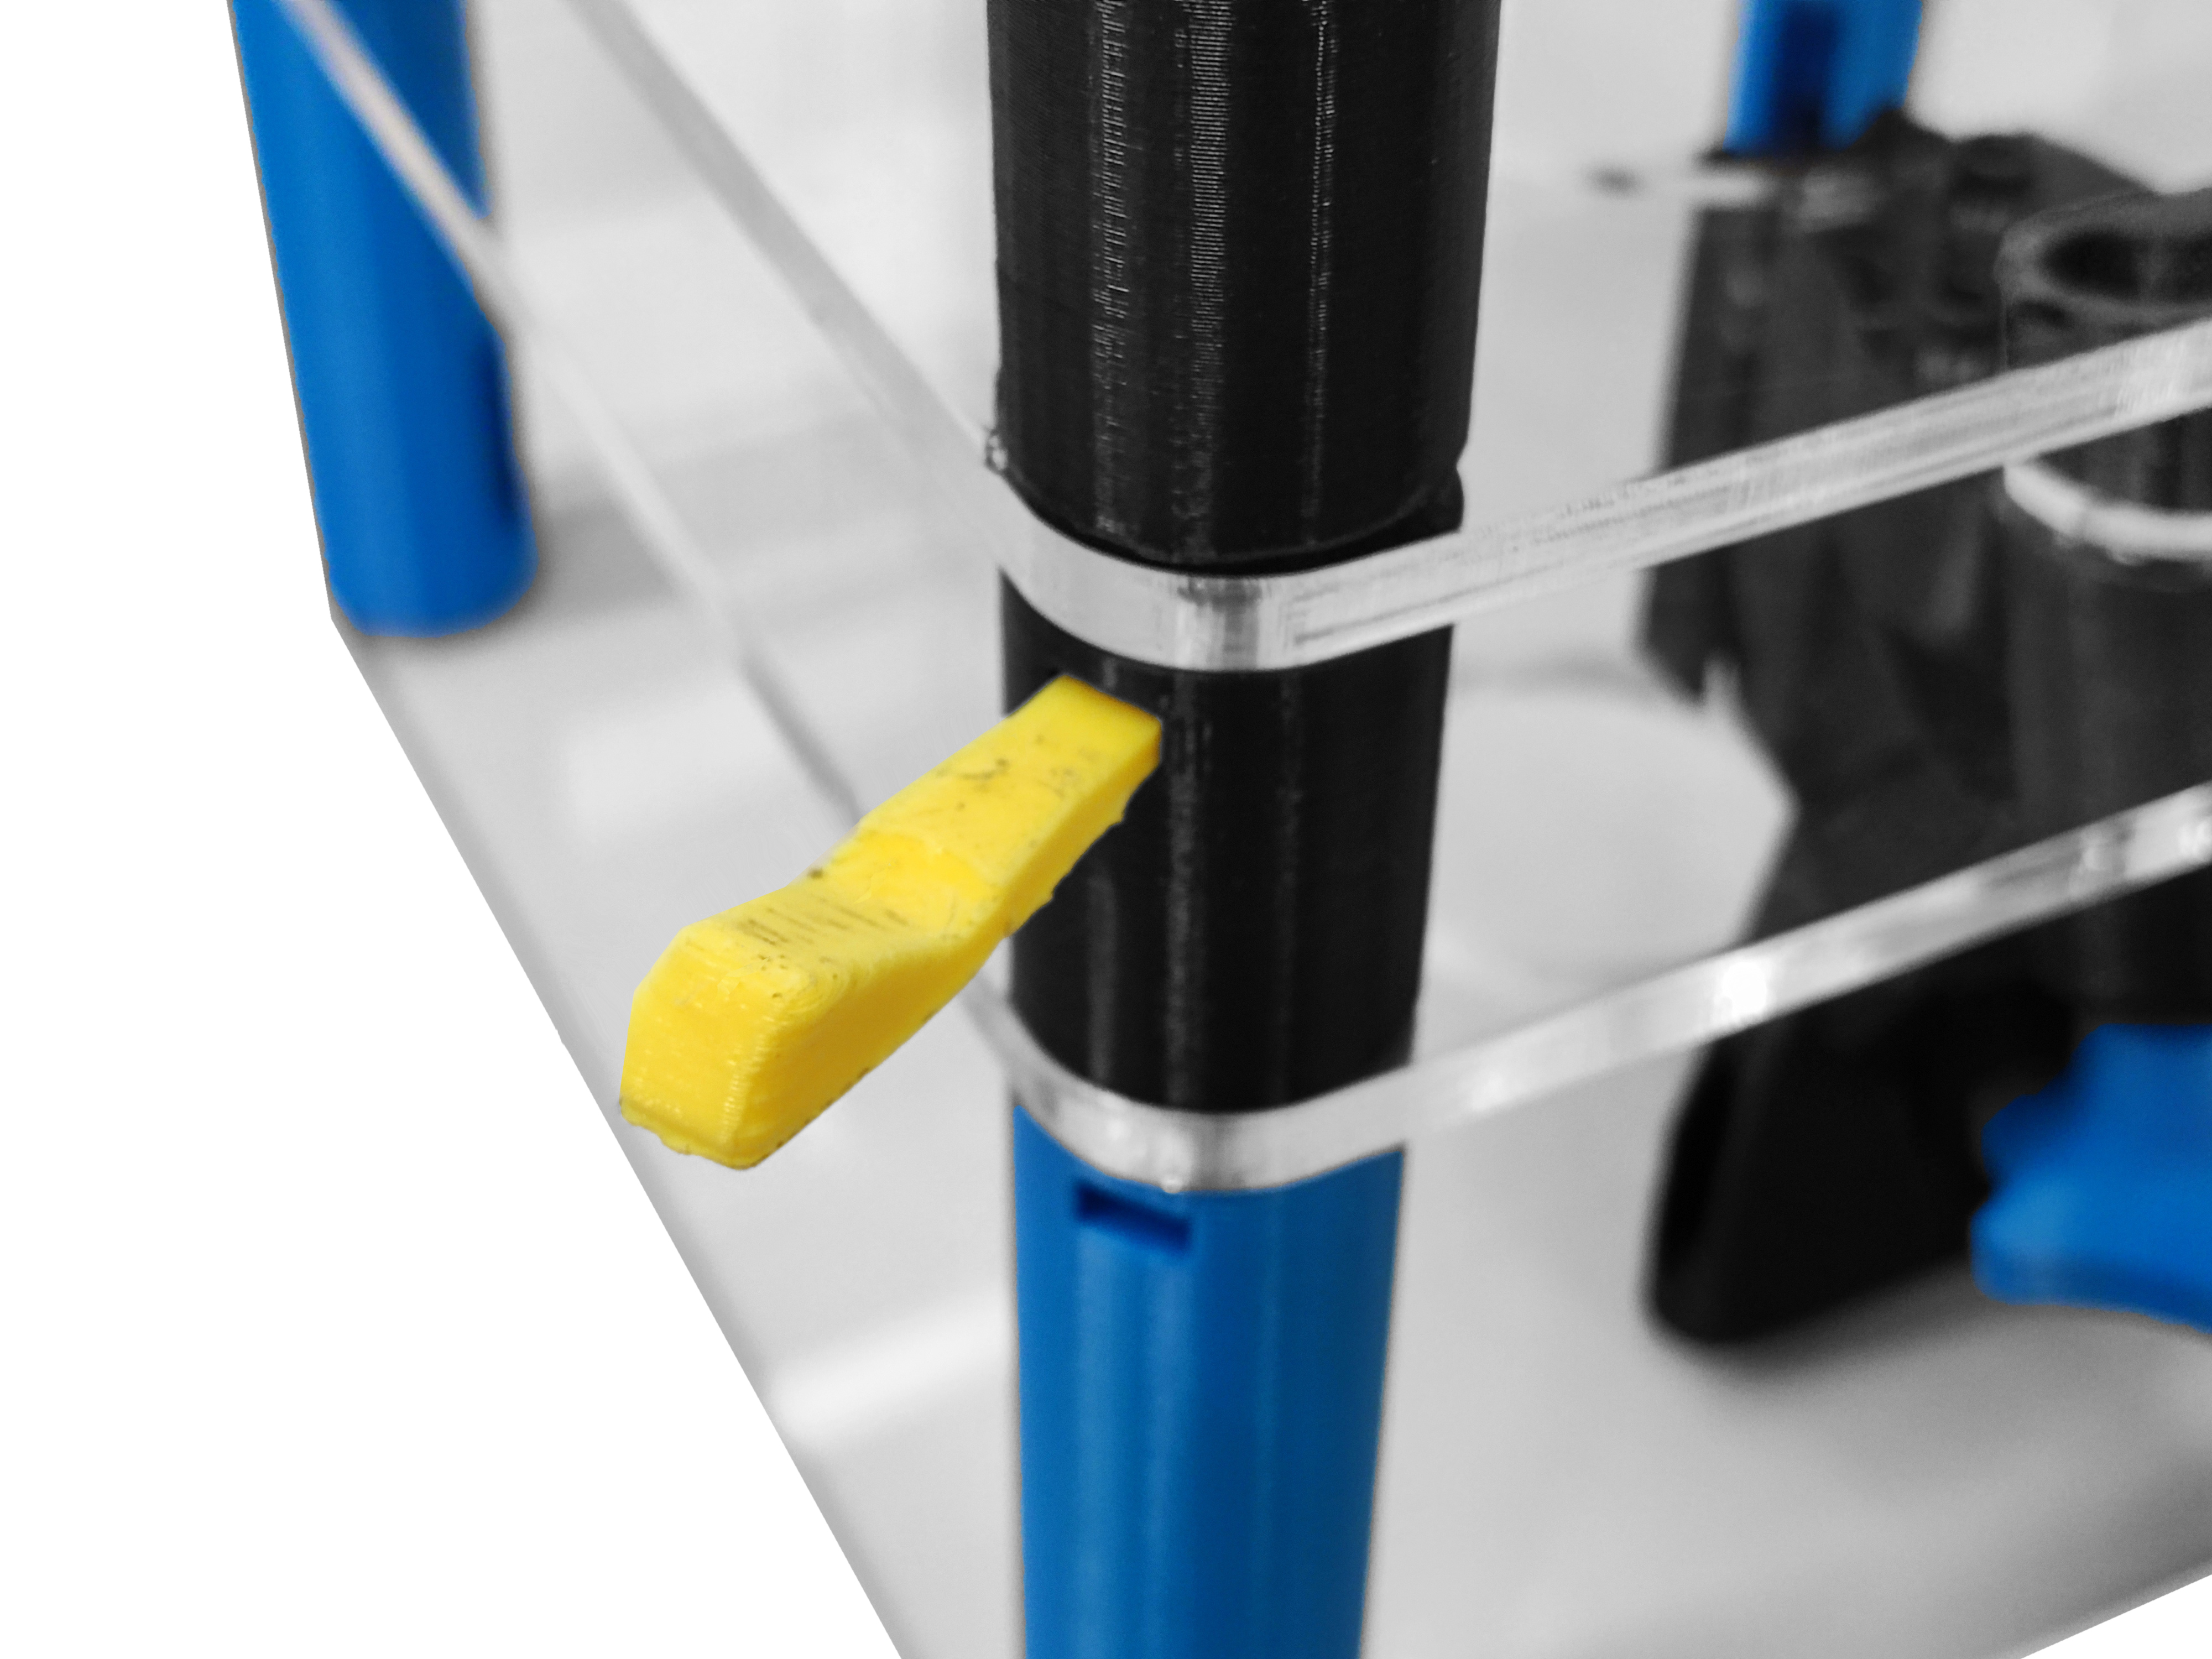
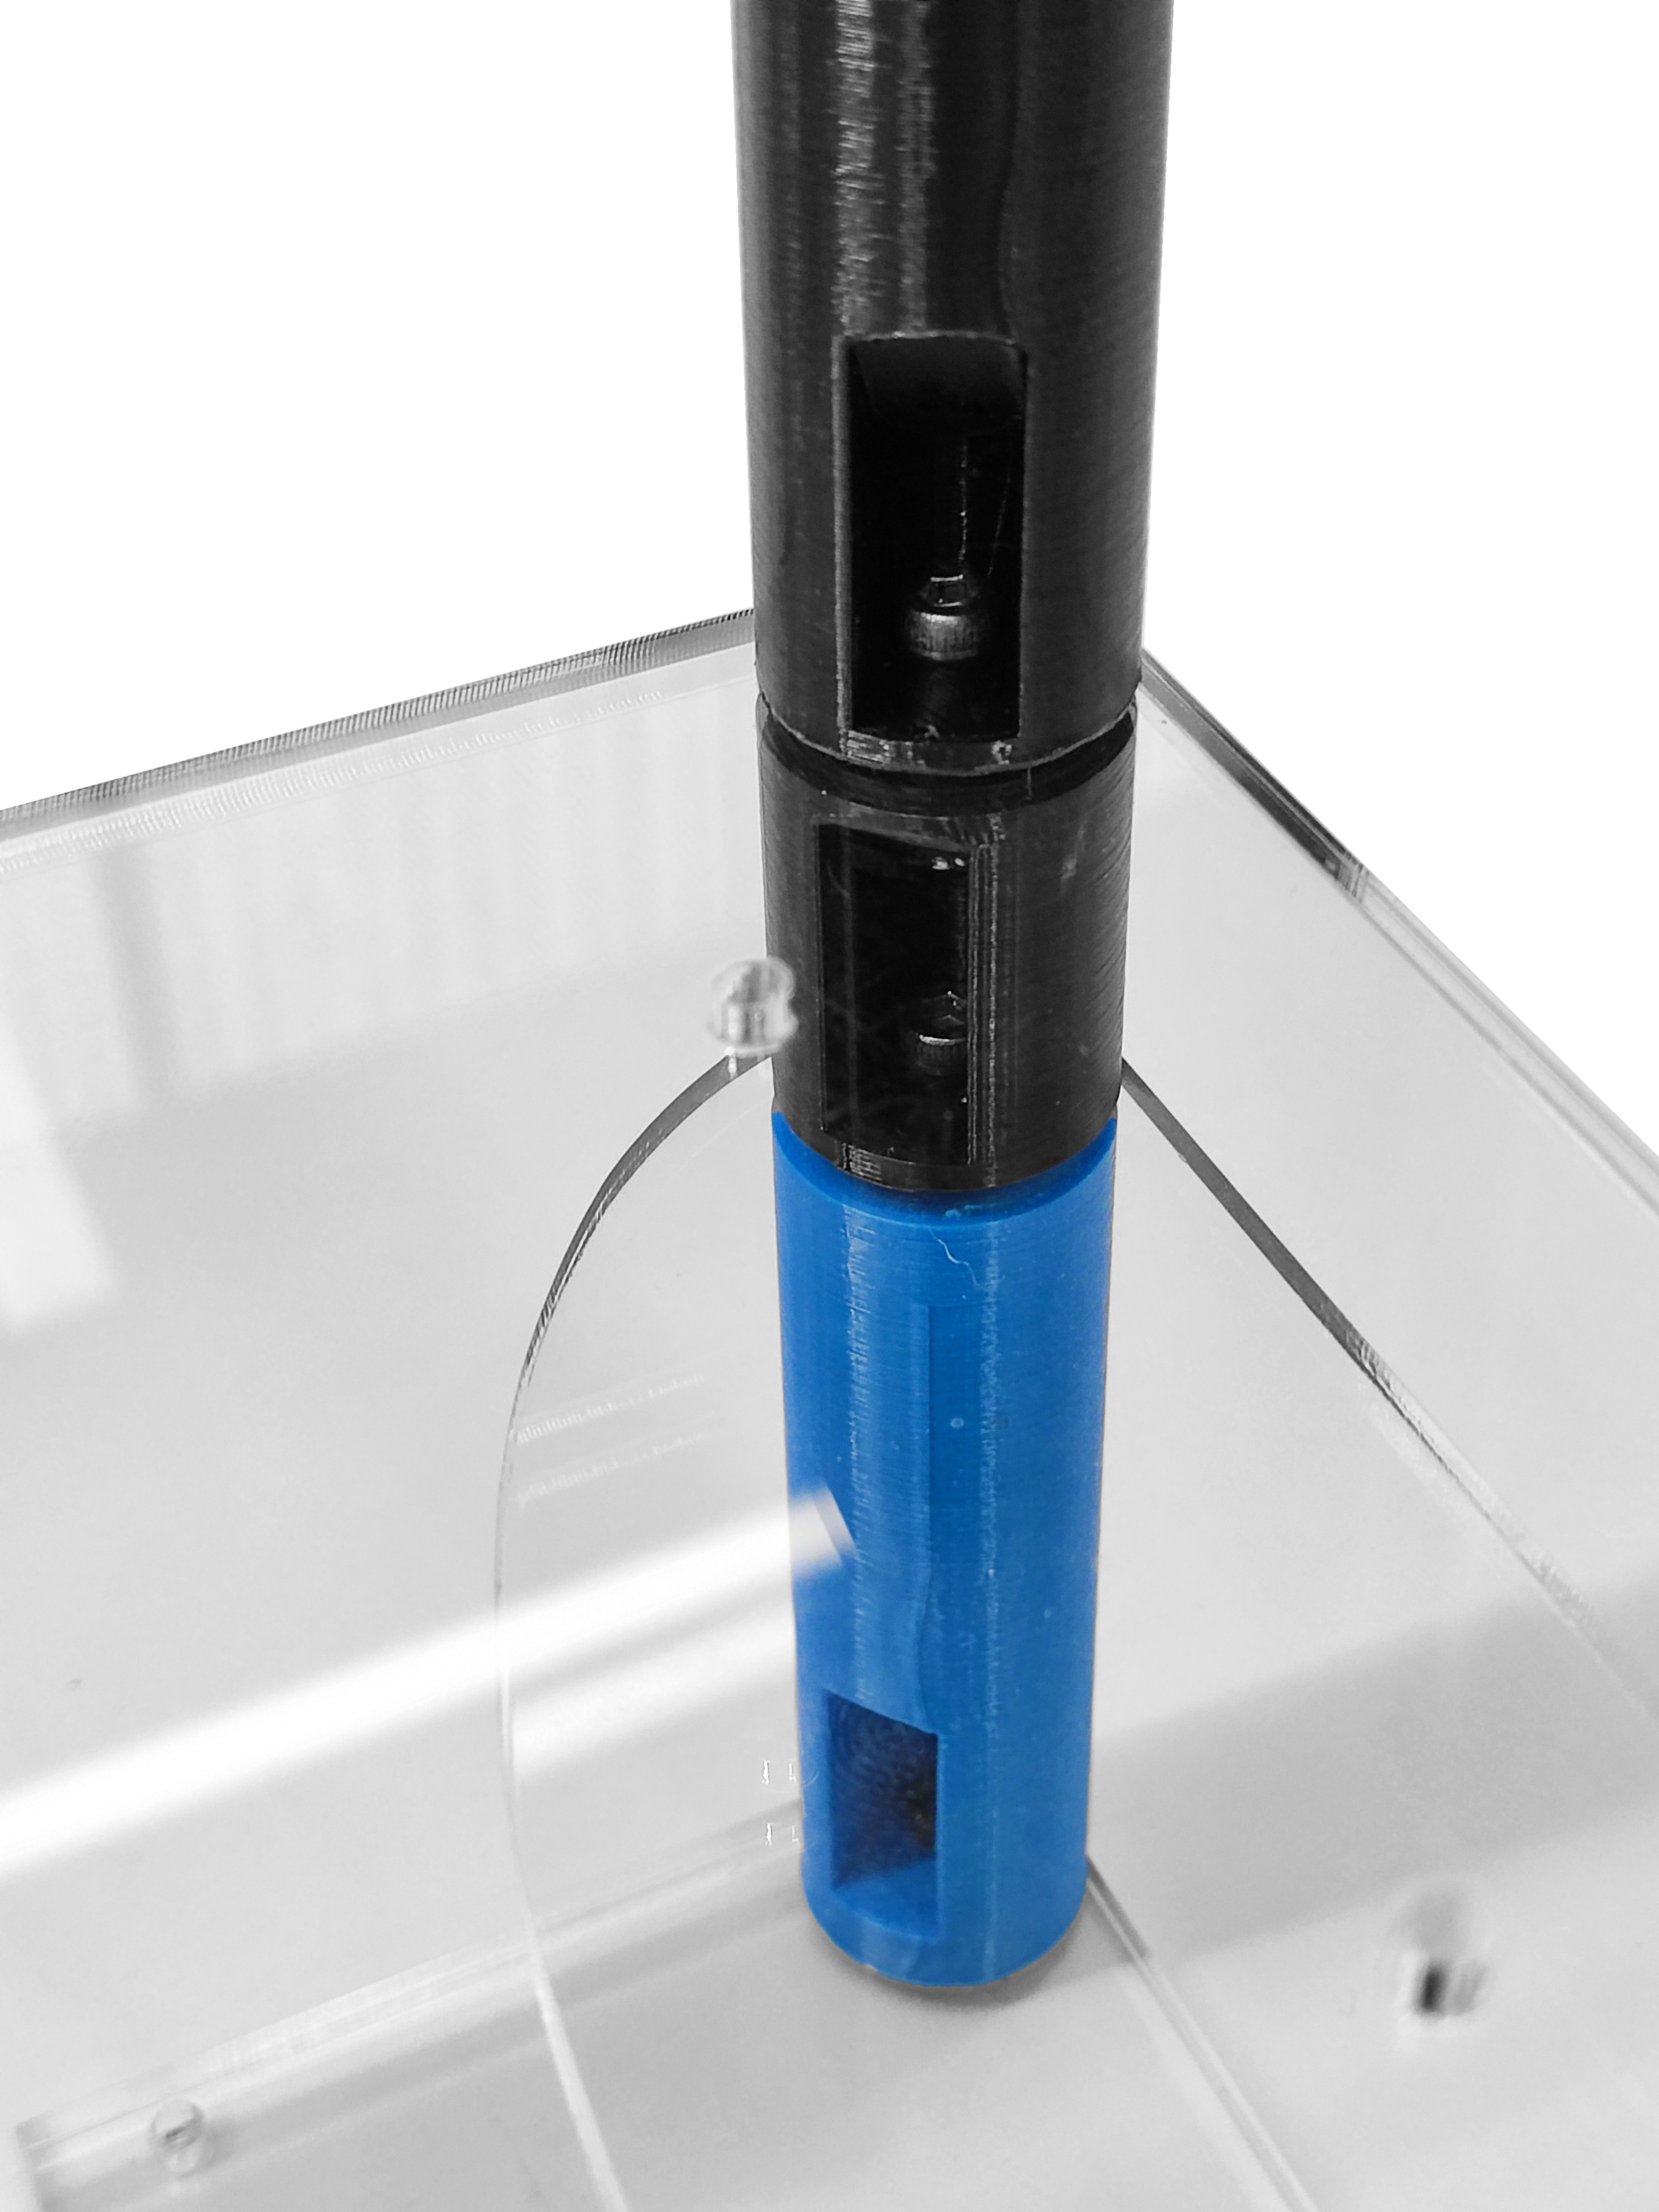
- Attach each foot to one of the corners of the bottom plate.
- Use the nut insertion tool and the 2.5mm ball-ended hex key to secure the three parts together.
- Nut traps should be accessible for future calibrations and upgrades.
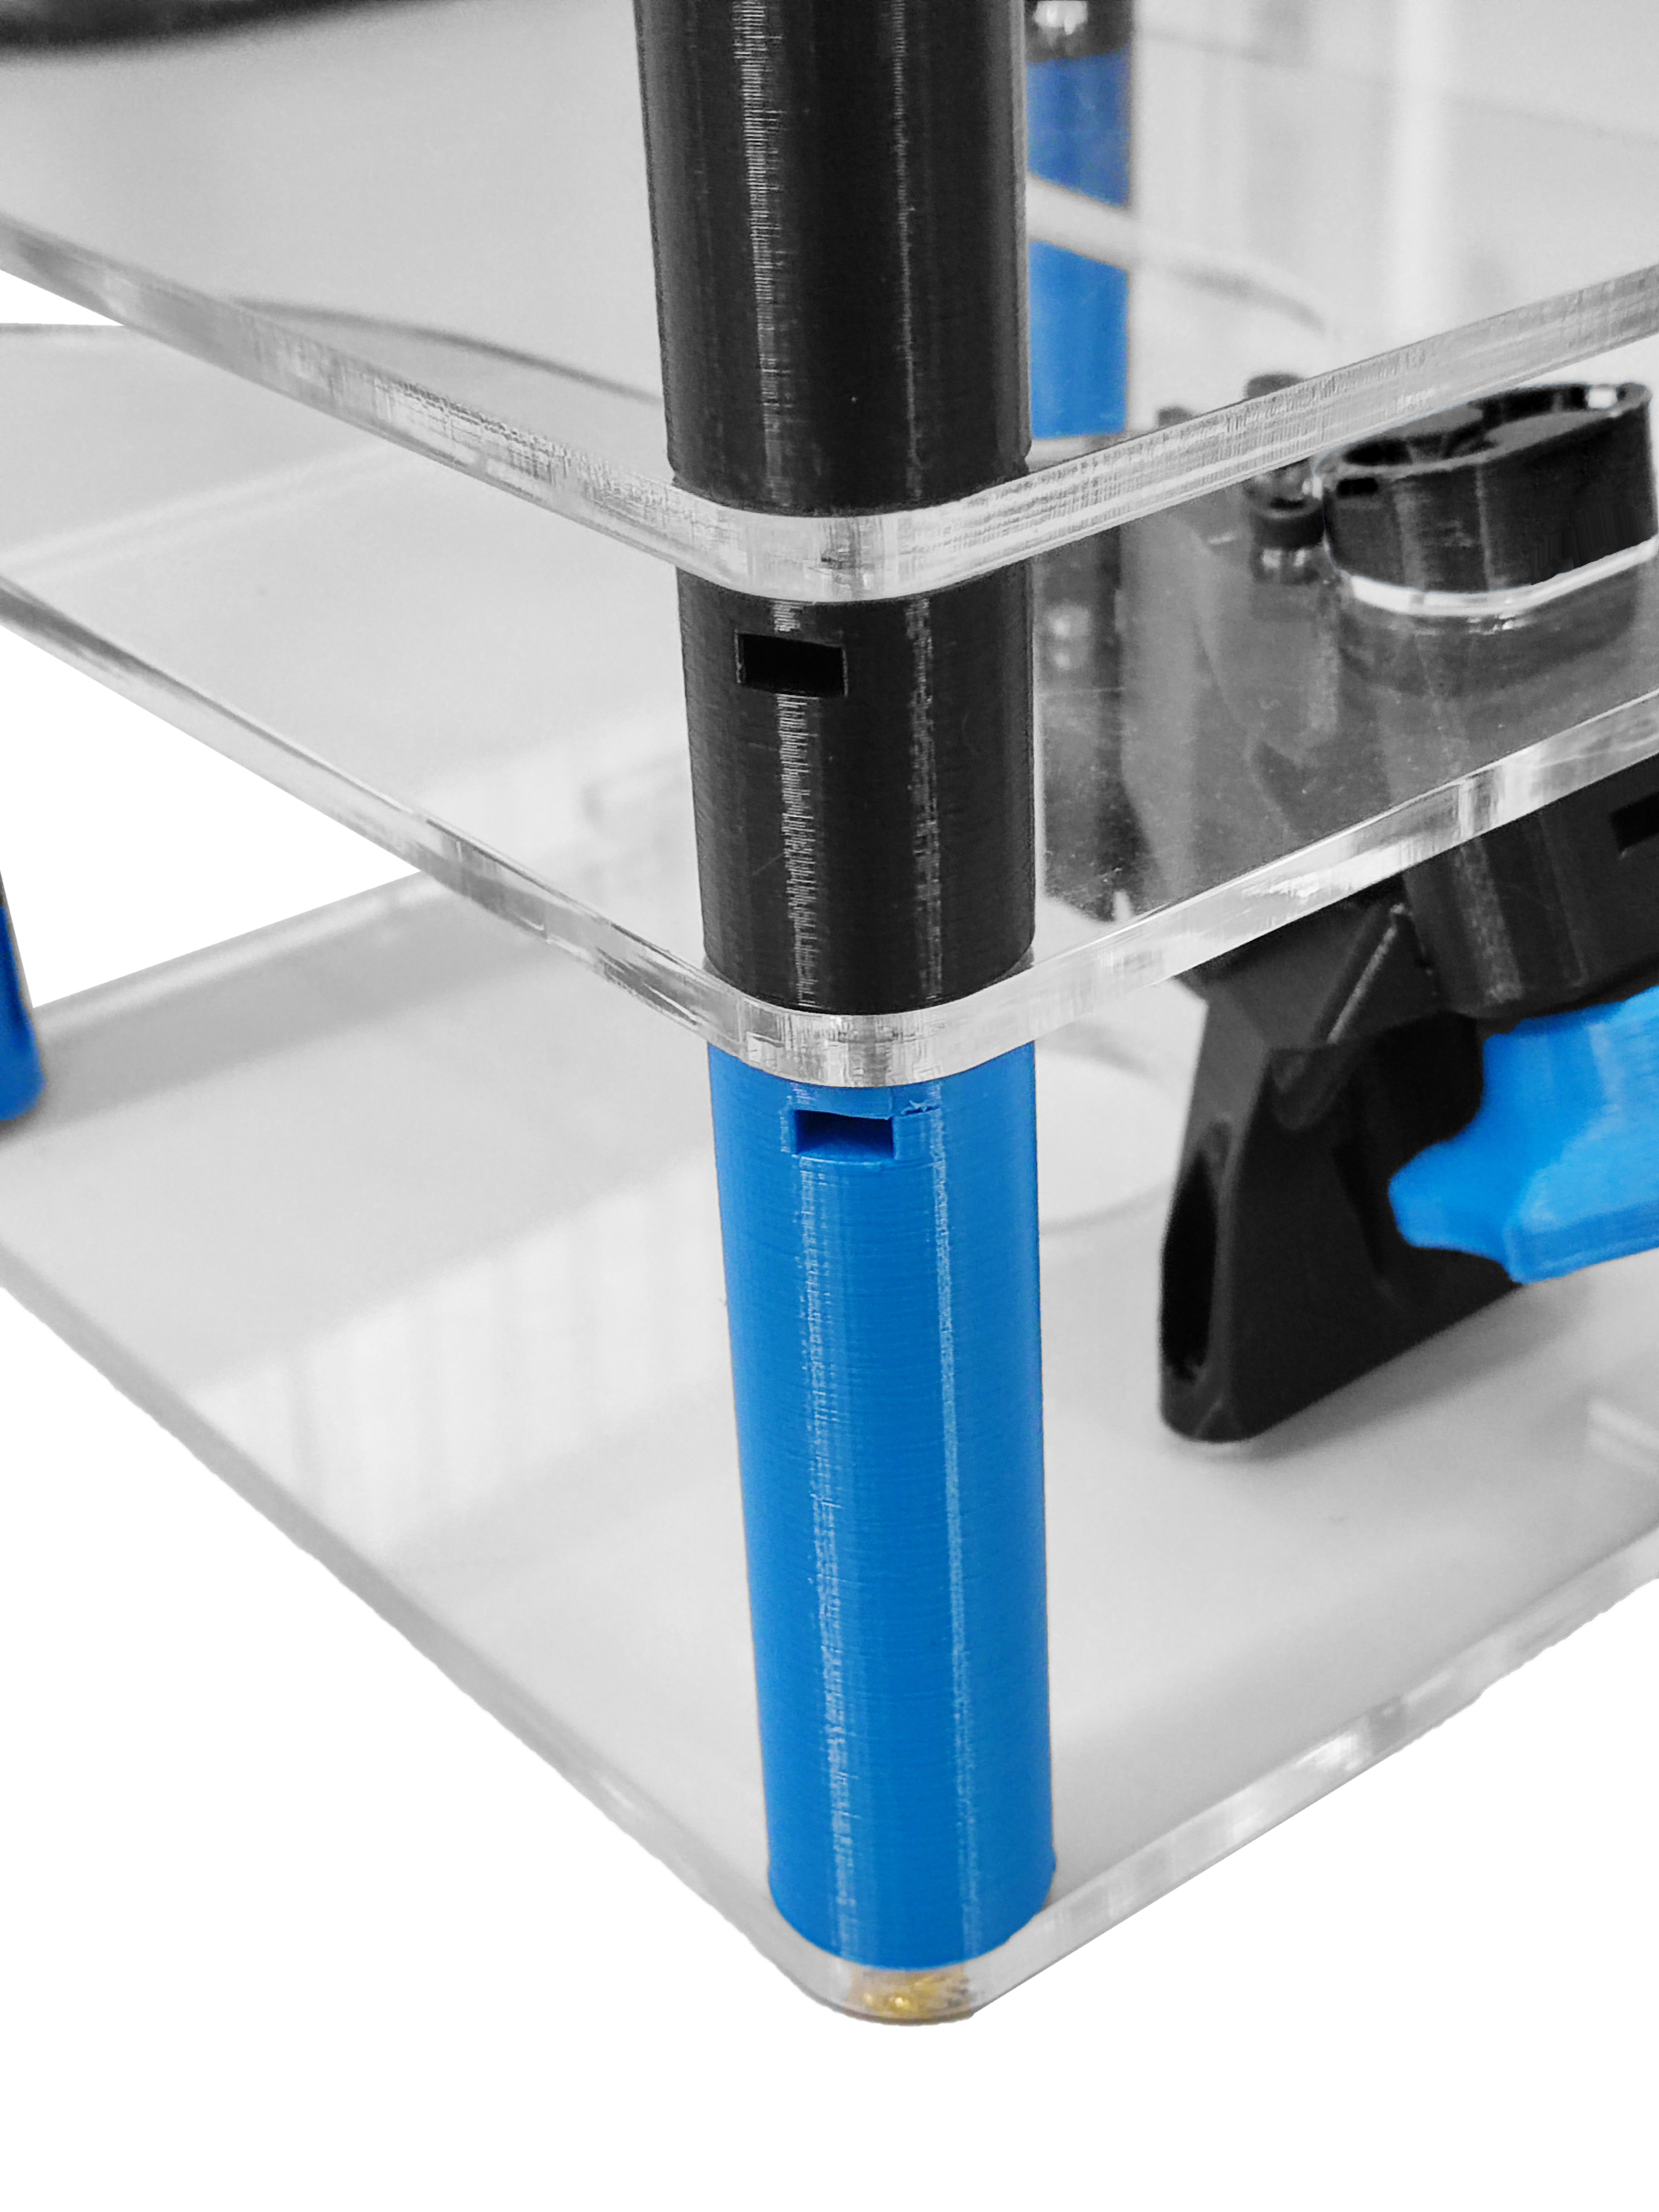

At this point, the main structure is complete.
