Print the plastic parts
For this section you will need:
Tools
- 1 Precision wire cutter
- 1 RepRap-style printer
- 1 Utility knife - Not a scalpel!
Materials
- 205 g of PLA filament - Of any colour you want
Step 1: Set your printer settings
Almost all controller parts can be printed out of PLA filament on most RepRap-style printers.
We recommend the following printer settings:
| Setting | Value |
|---|---|
| Material | PLA |
| Material Temperature | Recommended by the PLA brand |
| Layer height | 0.2mm or less |
| Infill | 20% or more |
| Brim | Optional |
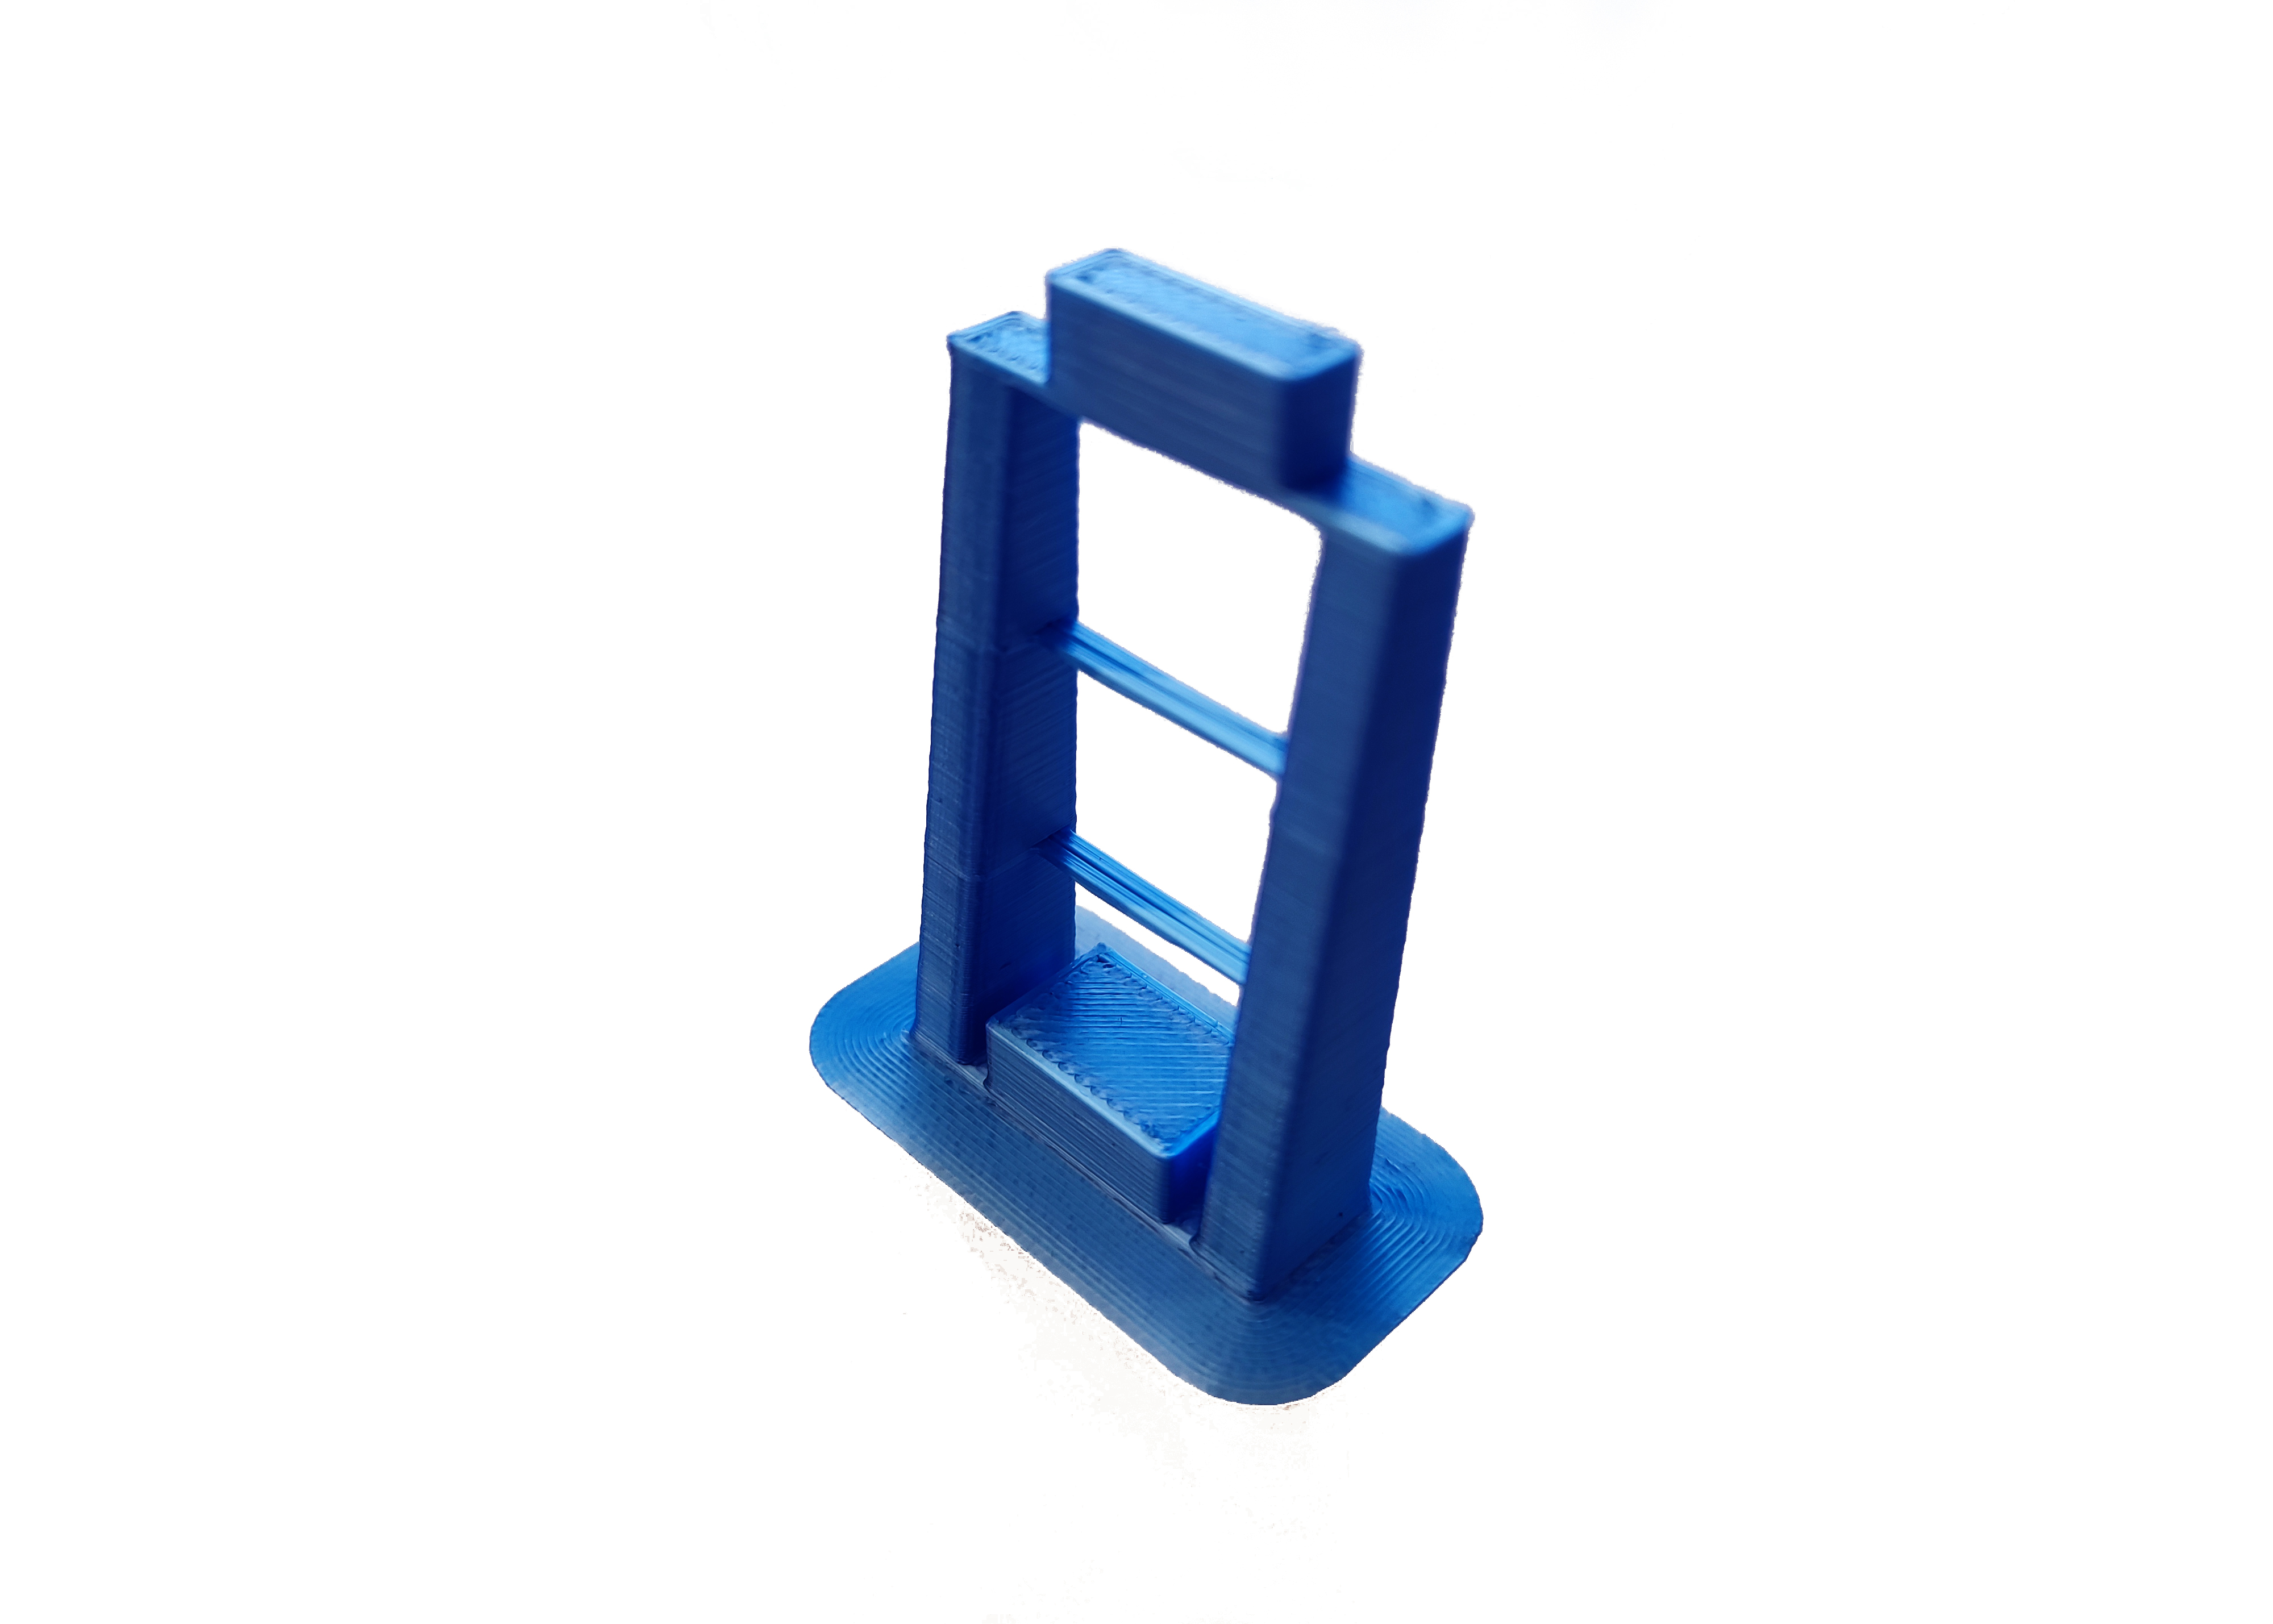
Test whether your printer can print the pieces for this pump controller or other open-source designs. Download and print the leg test file. This will only use about 5 grams of PLA.
The result should look like this (this has been printed with a brim):
As a general rule, strength is more important than surface finish, so very thin layers (less than 0.15mm or so) are unlikely to result in a controller that performs any better, though it may improve the appearance.
Step 2: Printing
Now you have tested your 3D printer and filament you can print the following parts:
Control Interface
- Base: controller-base.stl
- Lid: controller-lid.stl
- LCD spacer: controller-lcd-spacer.stl
Step 3: Clean-up of printed parts
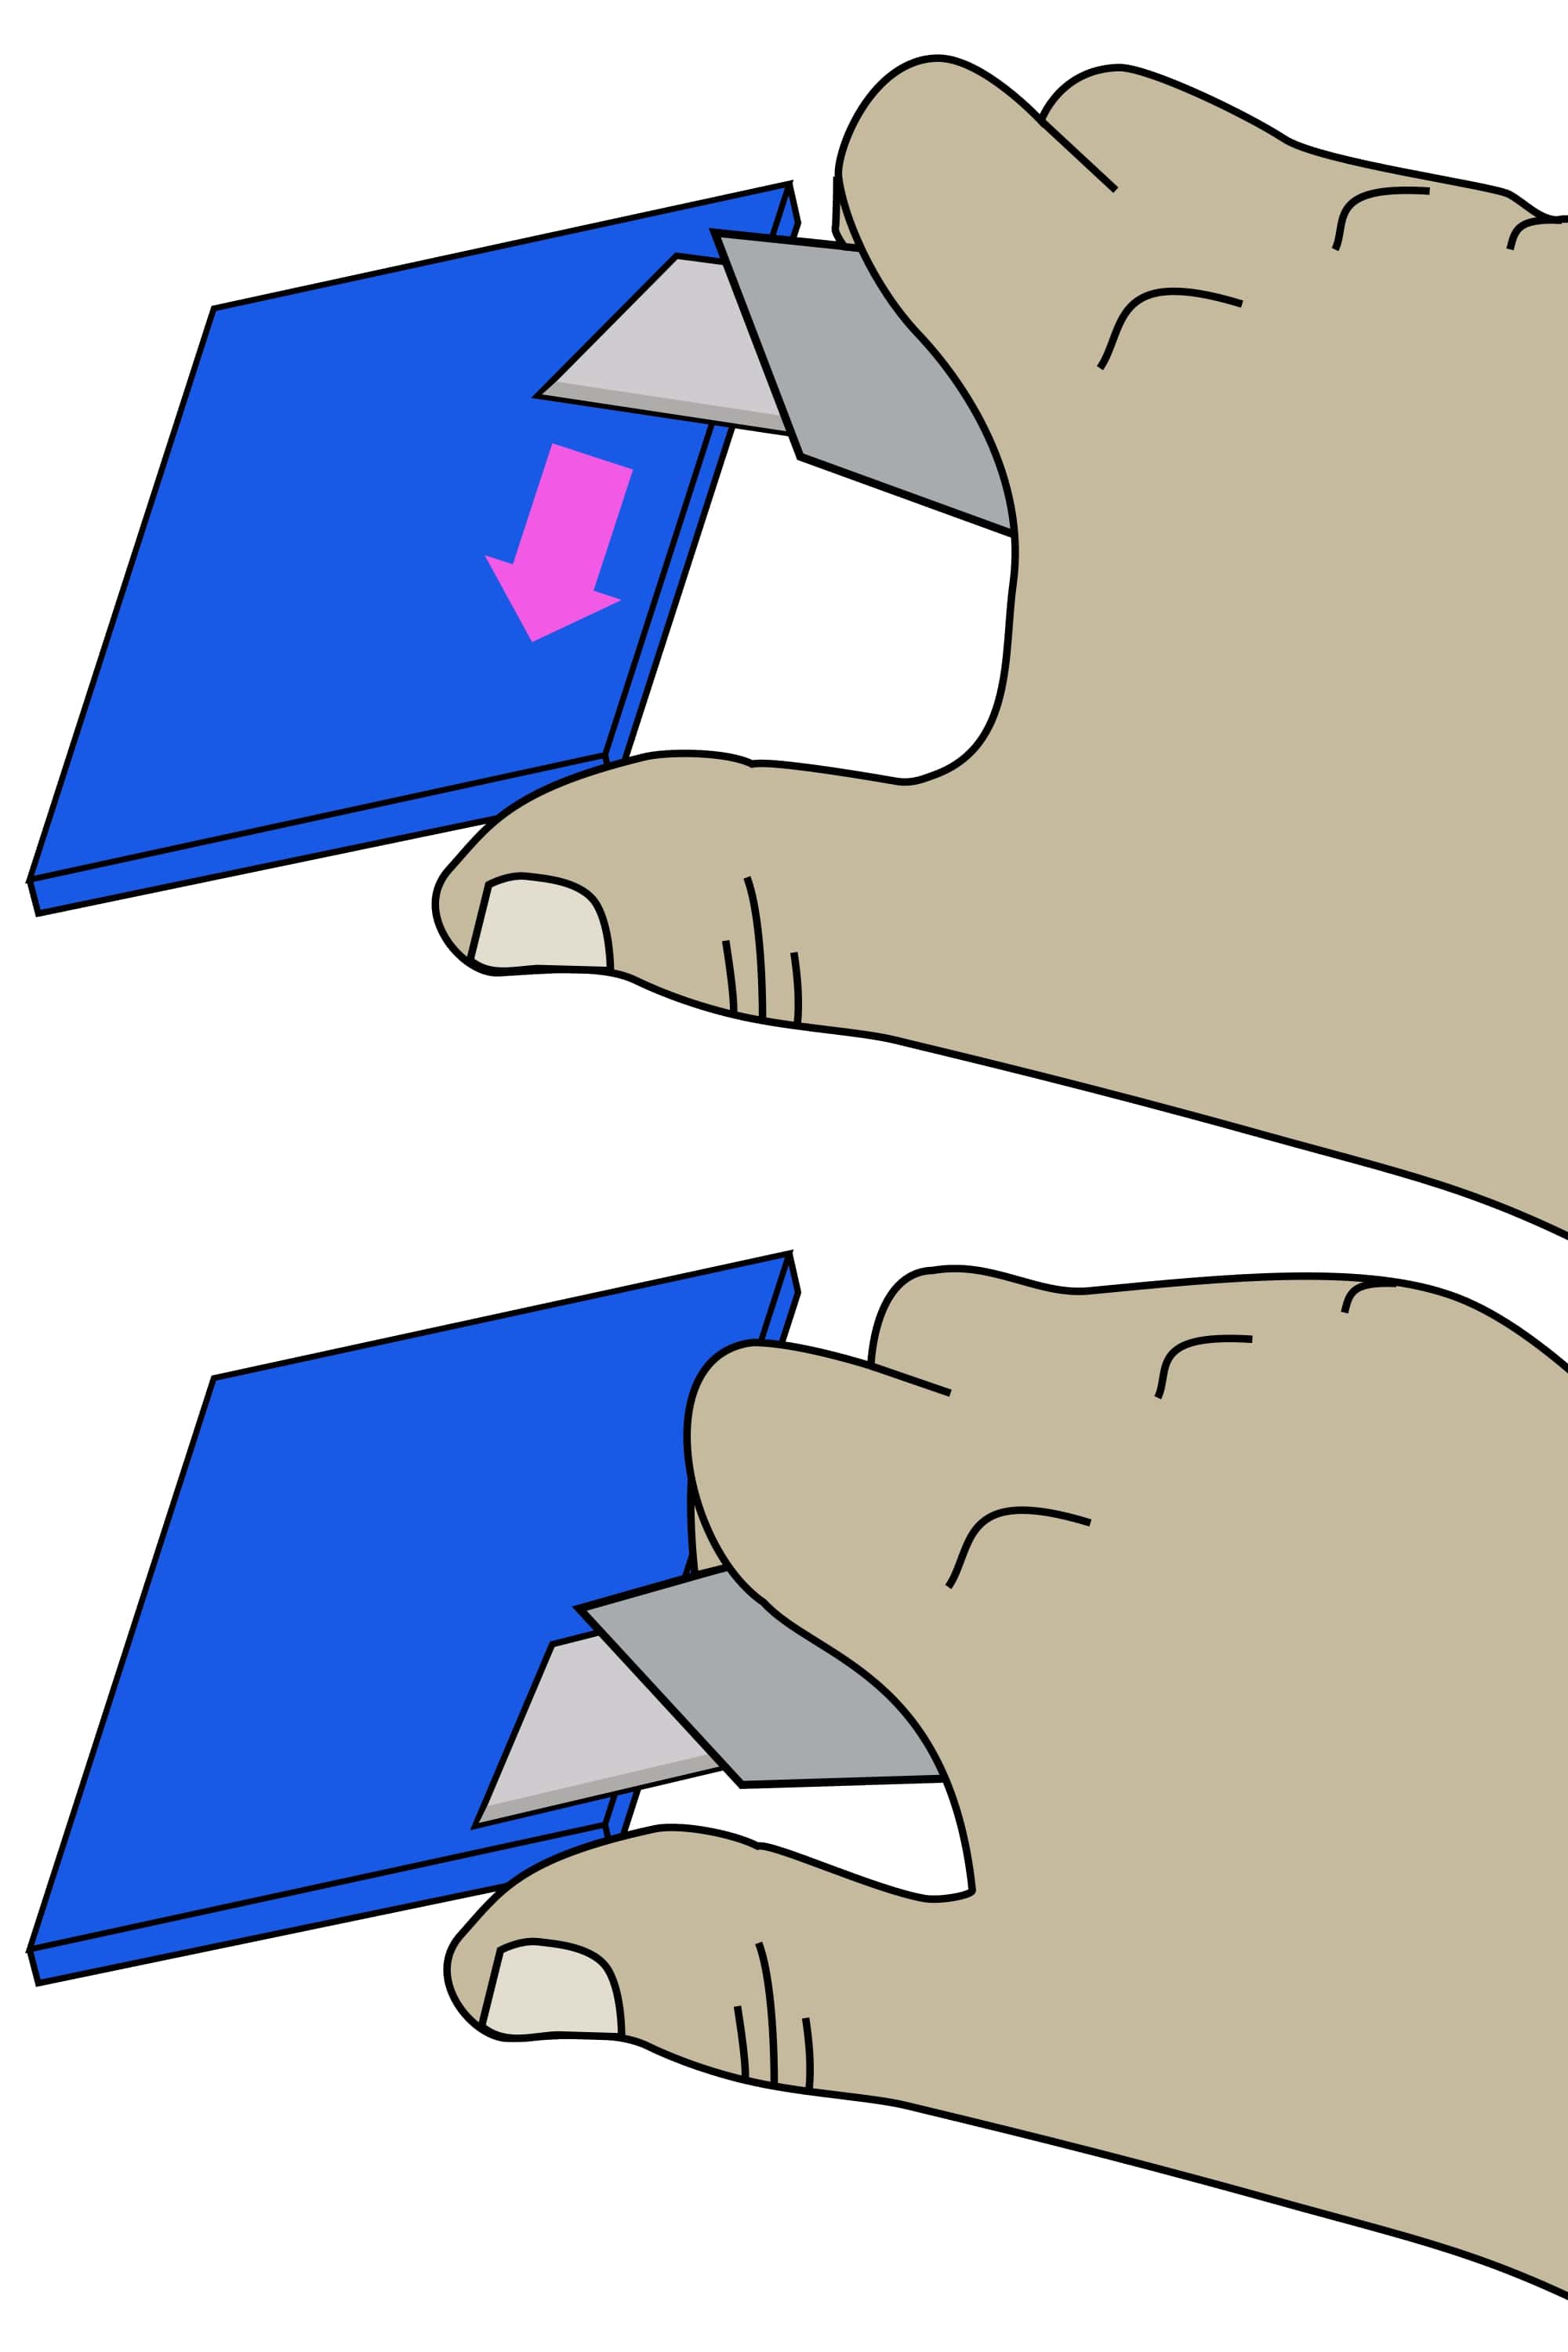
Be careful when removing the brim: To avoid injury, first remove the bulk of the brim without a knife. Remove the remaining brim with a peeling action as described below.
Carefully remove the printing brim from all parts. To remove brim:
- Use precision wire cutters to remove most of the brim from the part.
- Clean up the remaining brim with a utility knife:
- Hold the knife in your dominant hand with 4 fingers curled around the handle, leaving your thumb free.
- Hold the part in your other hand, as far away from the surface, to be cut as possible.
- Support the part with the thumb of your dominant hand.
- Place the blade on the surface to be cut, and carefully close your dominant hand, moving the blade, under control, towards your thumb.