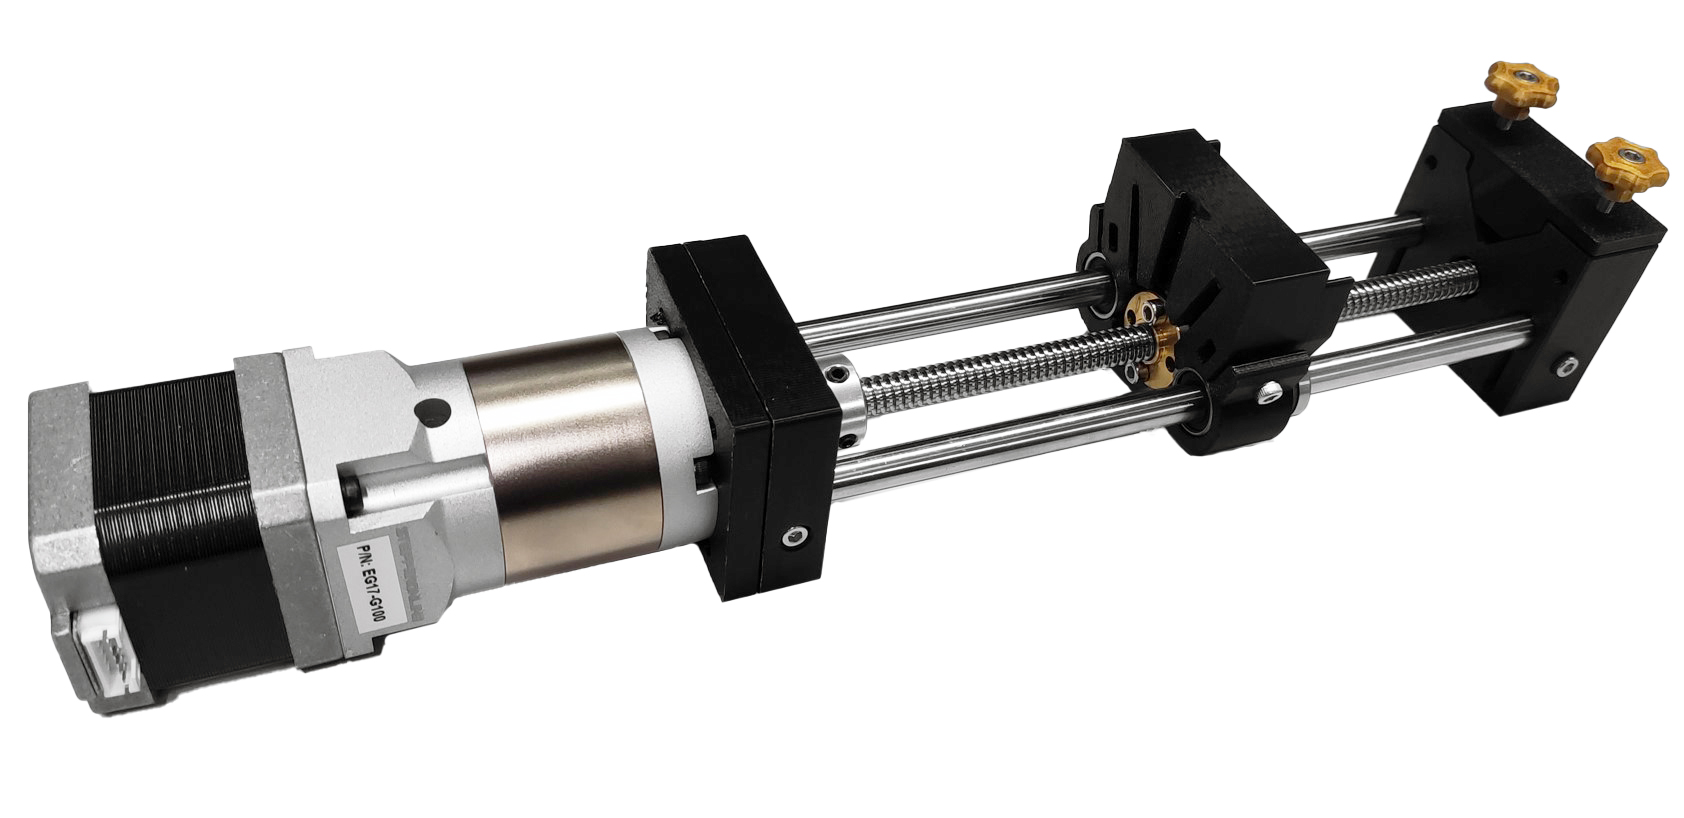
Assemble the low-cost syringe pump
For this section you will need:
Tools
Electronic Components
Mechanical Components
- 2 Heat insert
- 1 Lead screw
- 1 Lead screw nut
- 2 Linear bearing
- 2 Linear motion rod 100mm
- 2 M3 10mm screw
- 6 M3 16mm screw
- 6 M3 20mm screw
- 9 M3 nut
- 1 Motor coupling
Printed Parts
You should build two syringe pumps for droplet microfluidic assays
Step 1: Assemble the stepper motor and lead screw
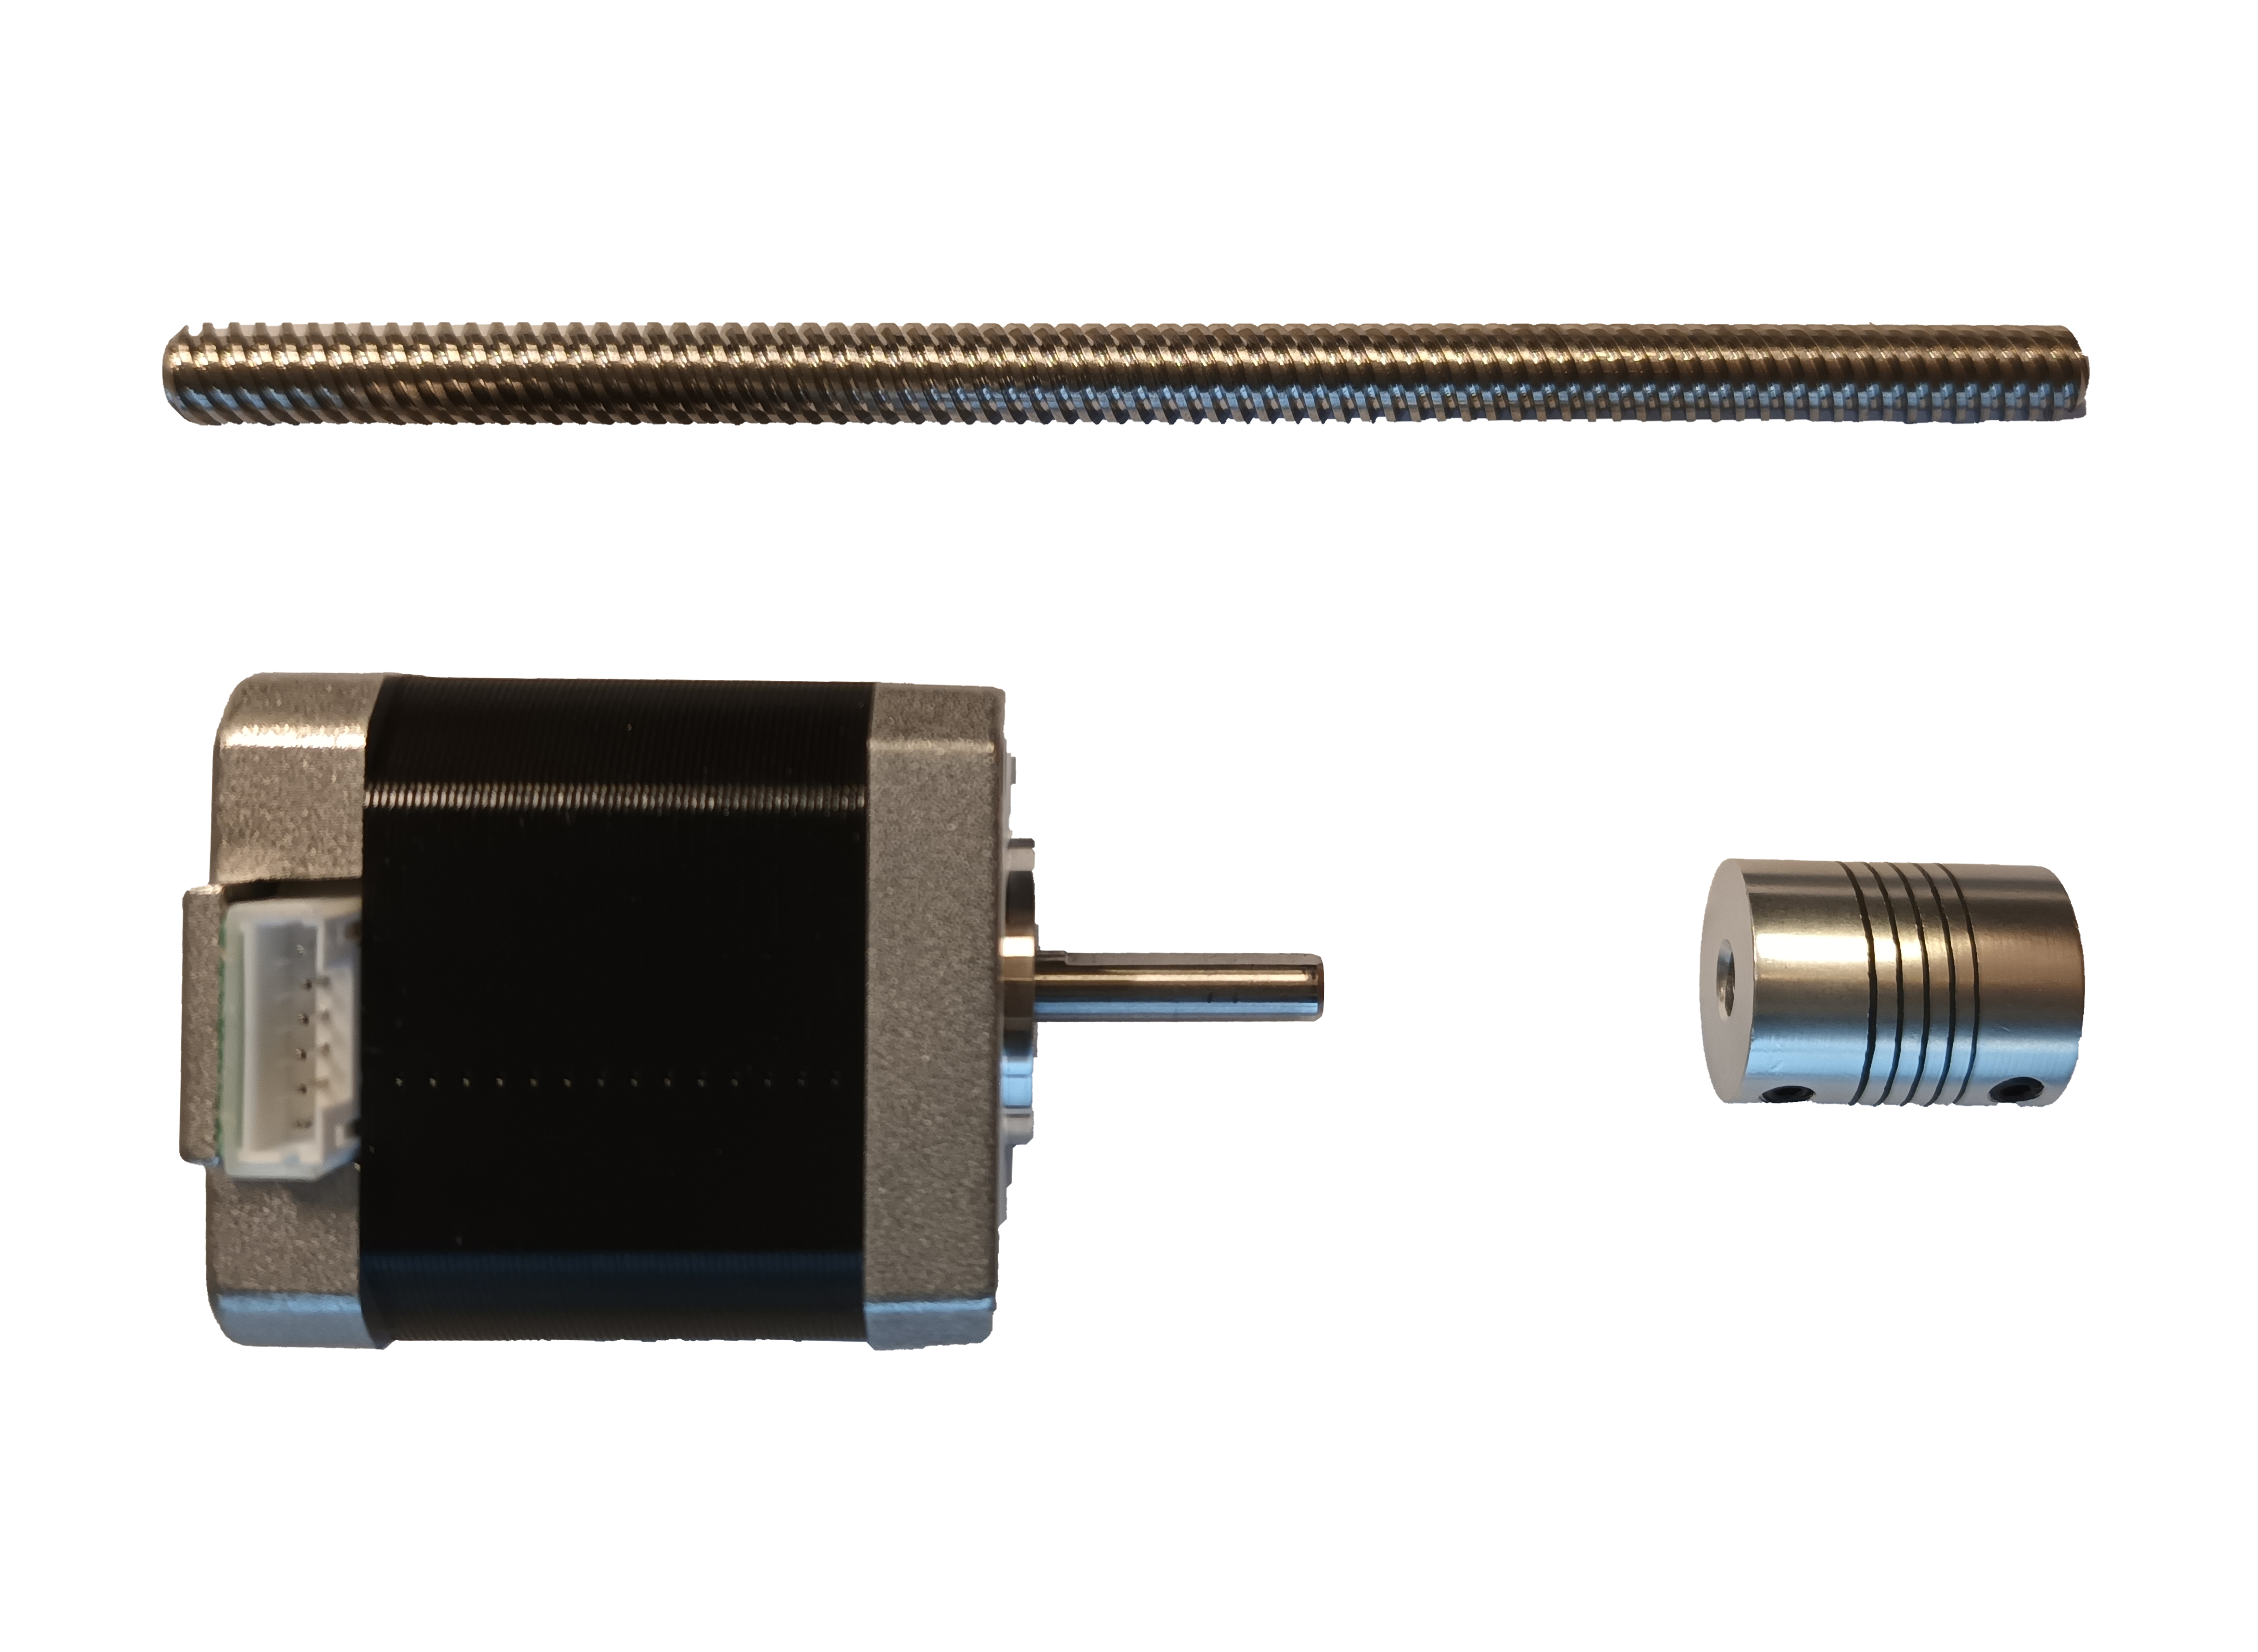
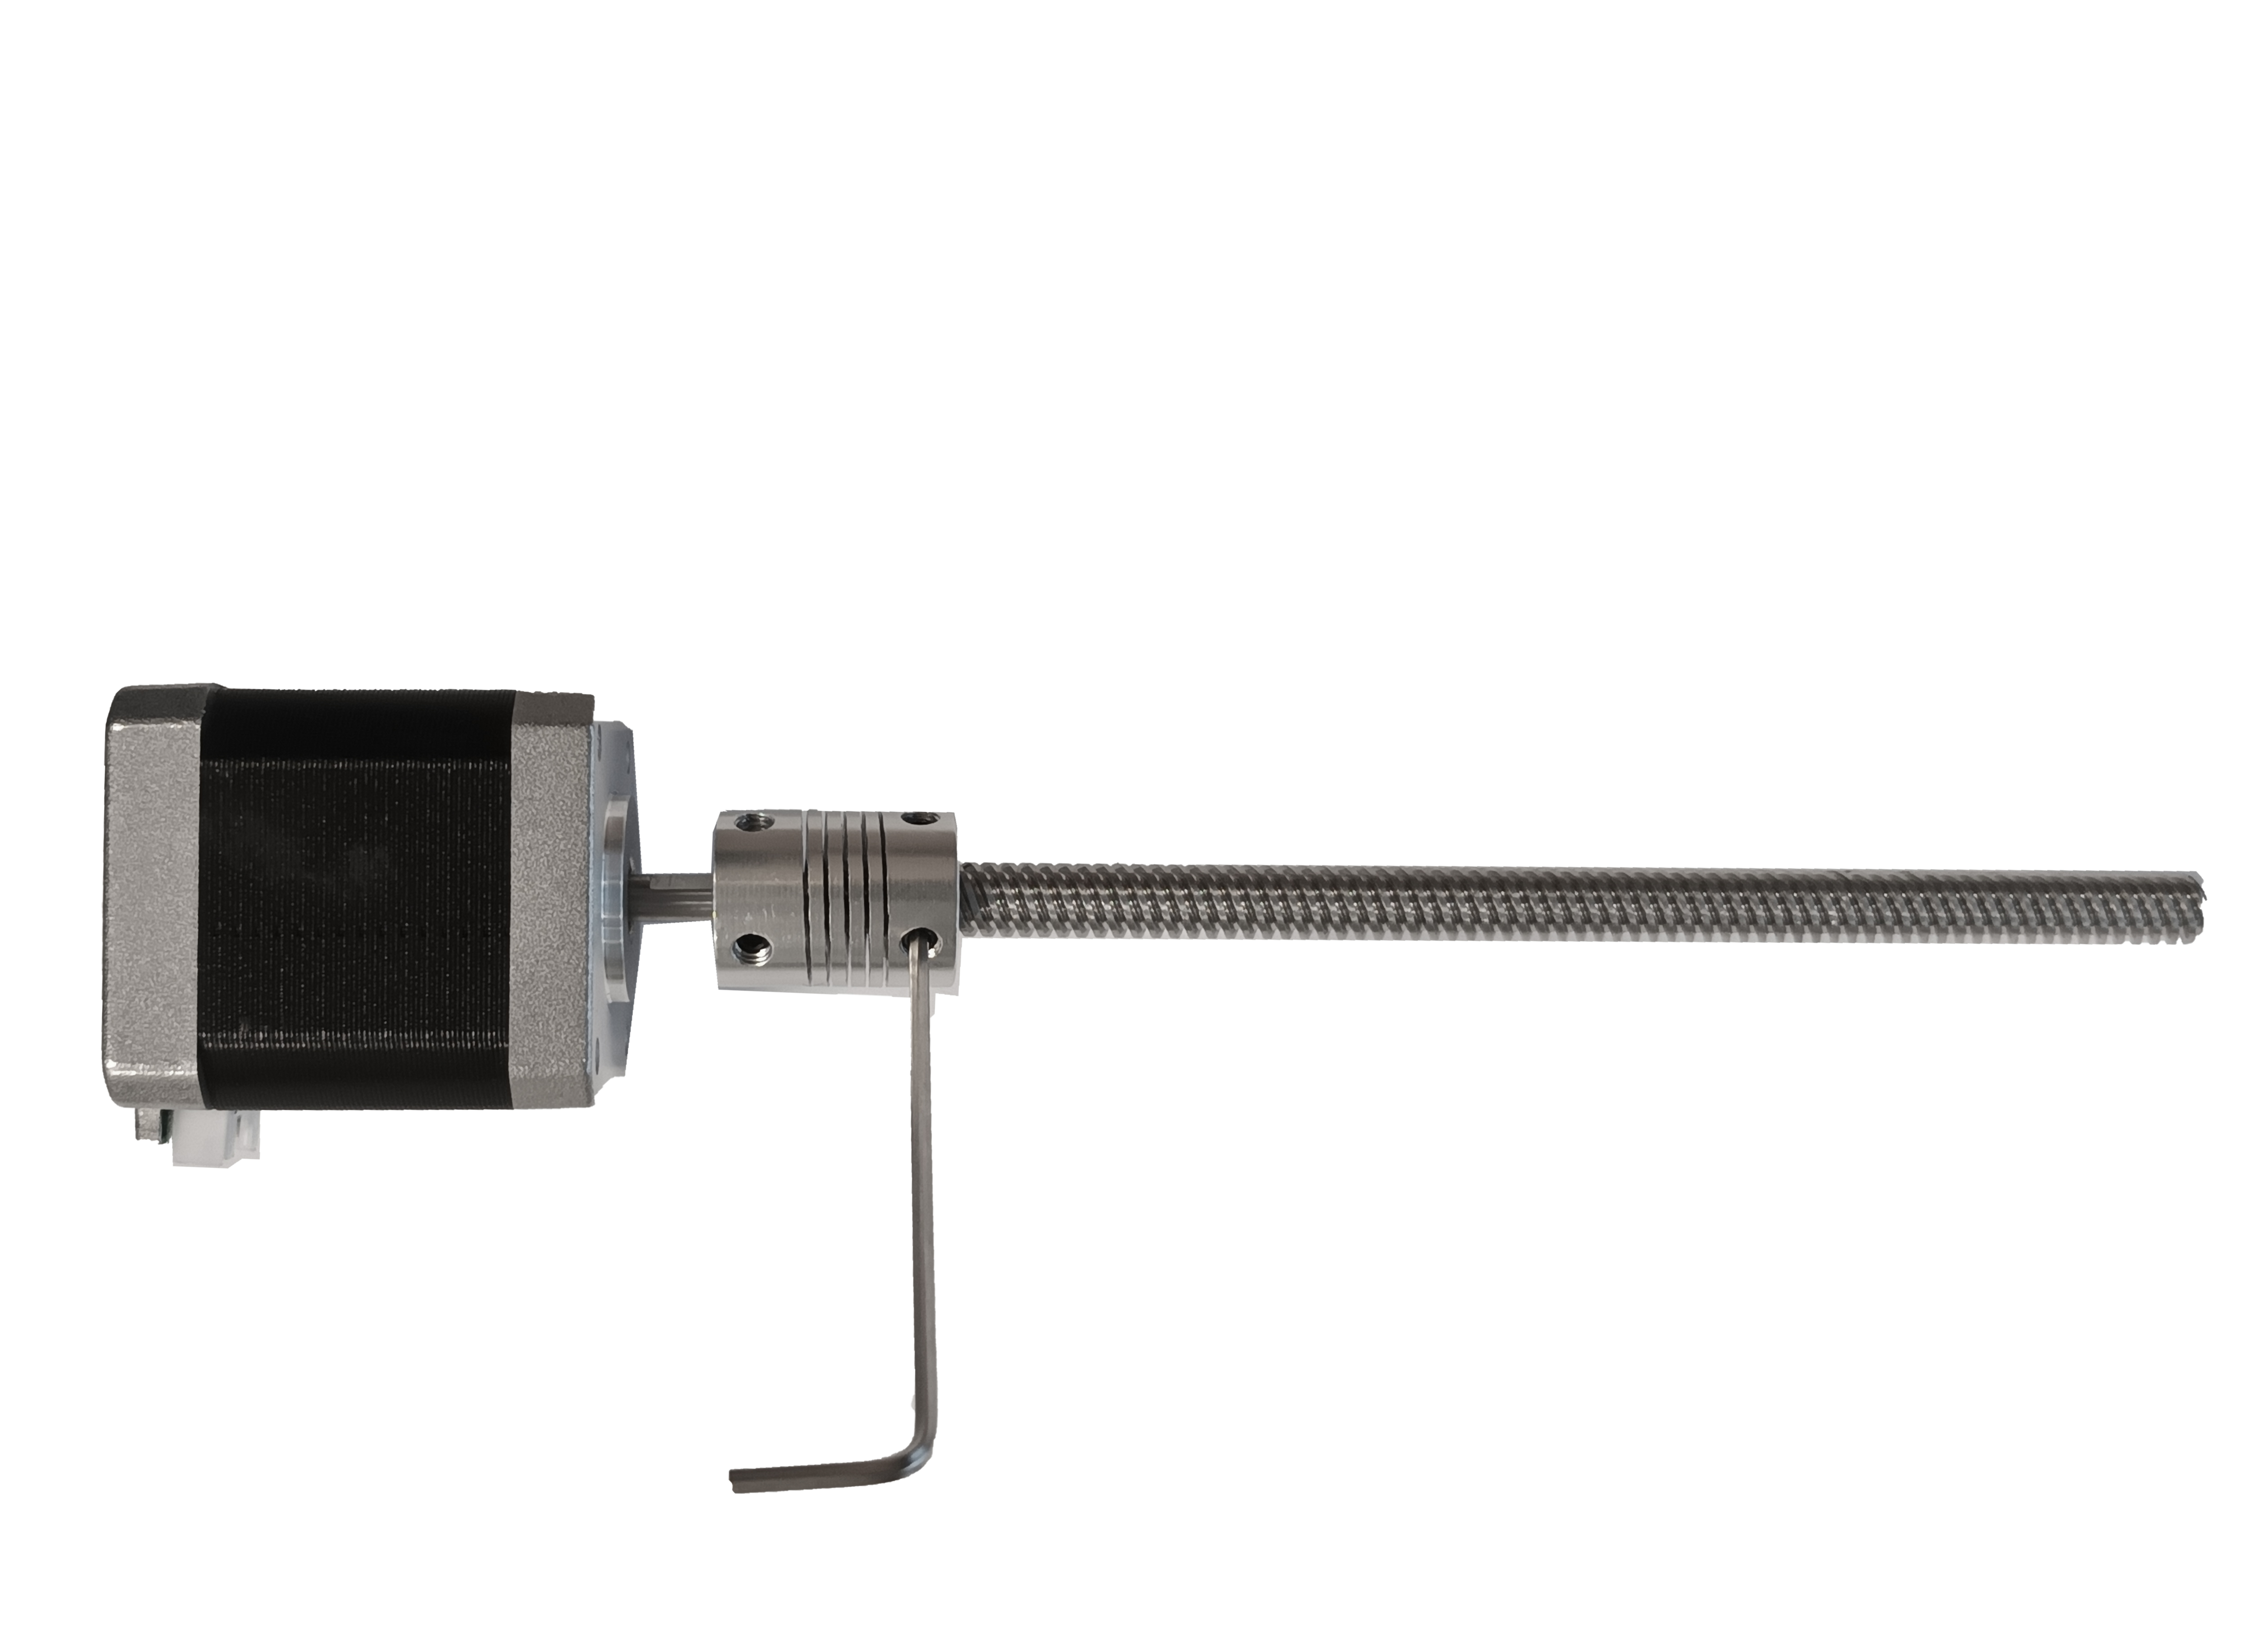
Insert the motor shaft of the NEMA 17 motor halfway into the motor coupling and then tighten down to the motor coupling. Use a M2.5 hex key to tighten the motor coupling. Take the lead screw, and insert it into the motor coupling. Then, tighten the motor coupling down on the lead screw.
Step 2: Assemble the back support and linear rails
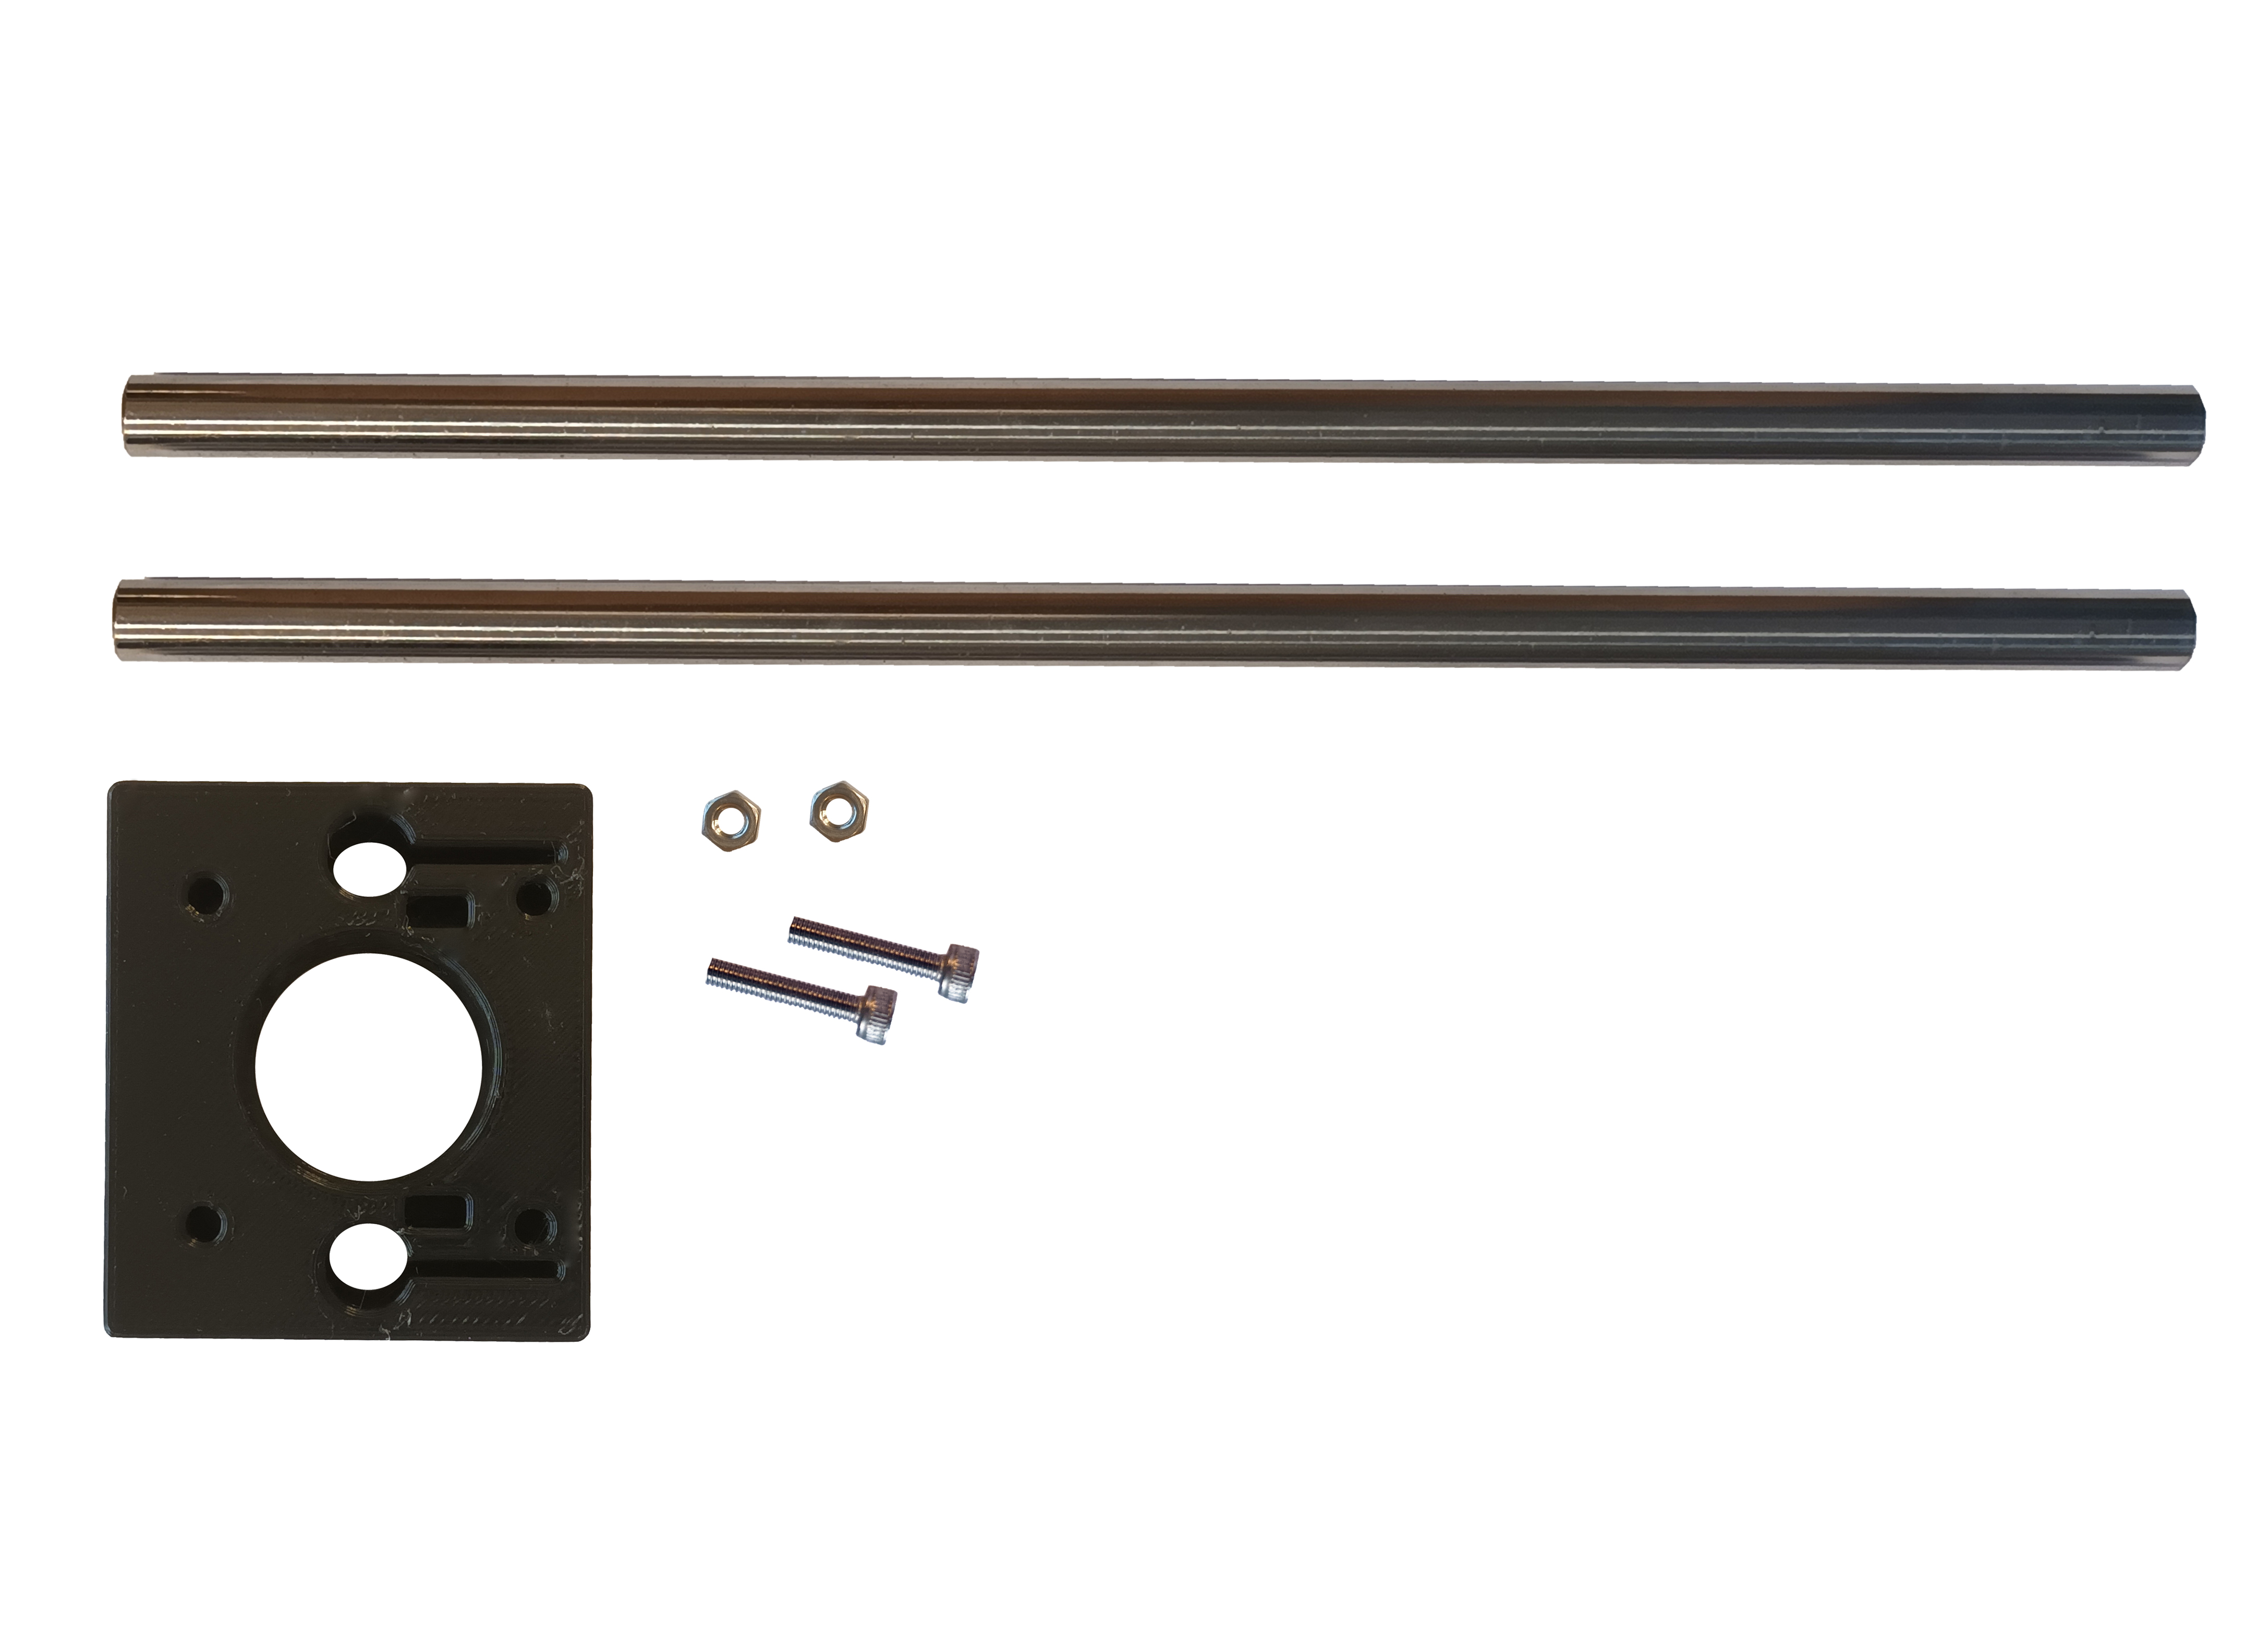
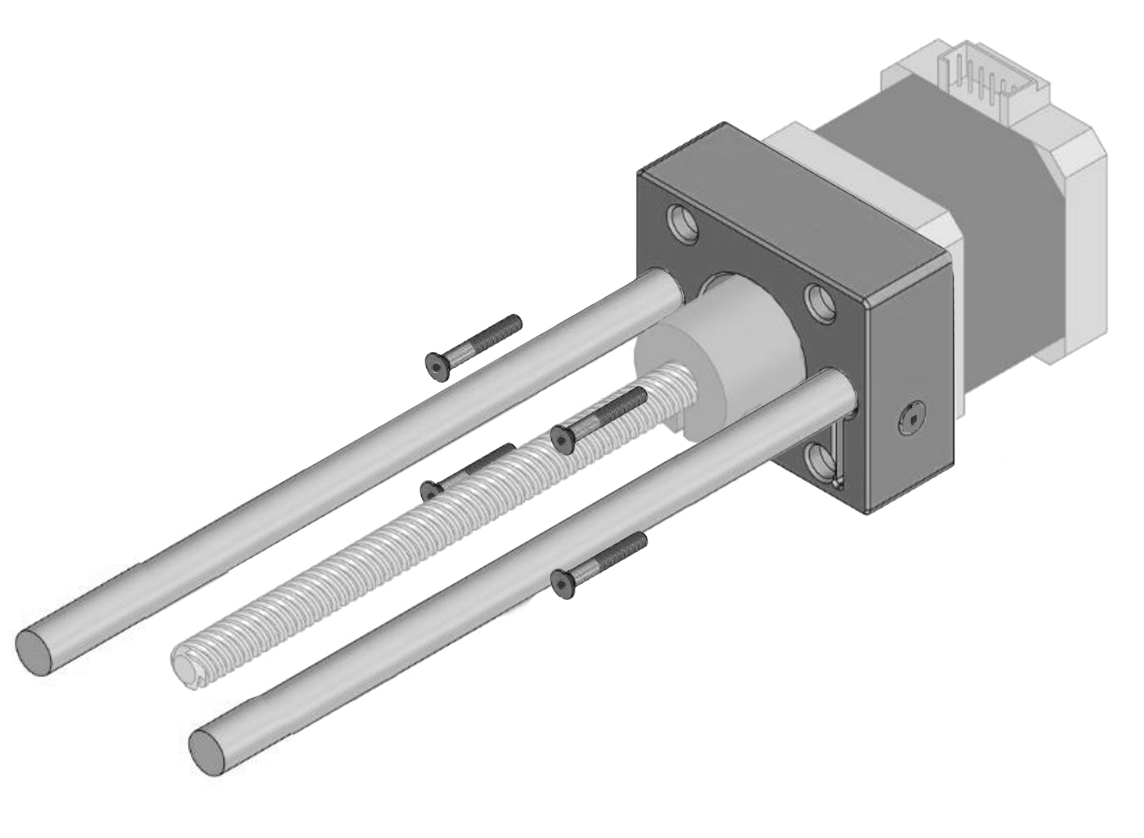
Take two M3 nut, insert them on the back support and push then in. Feel free to grab whatever tools you need to push them in. Make sure they align with the screw holes on the back support. Then, take two M3 16mm and screw them just to hold the nuts. Use a M3 hex key.
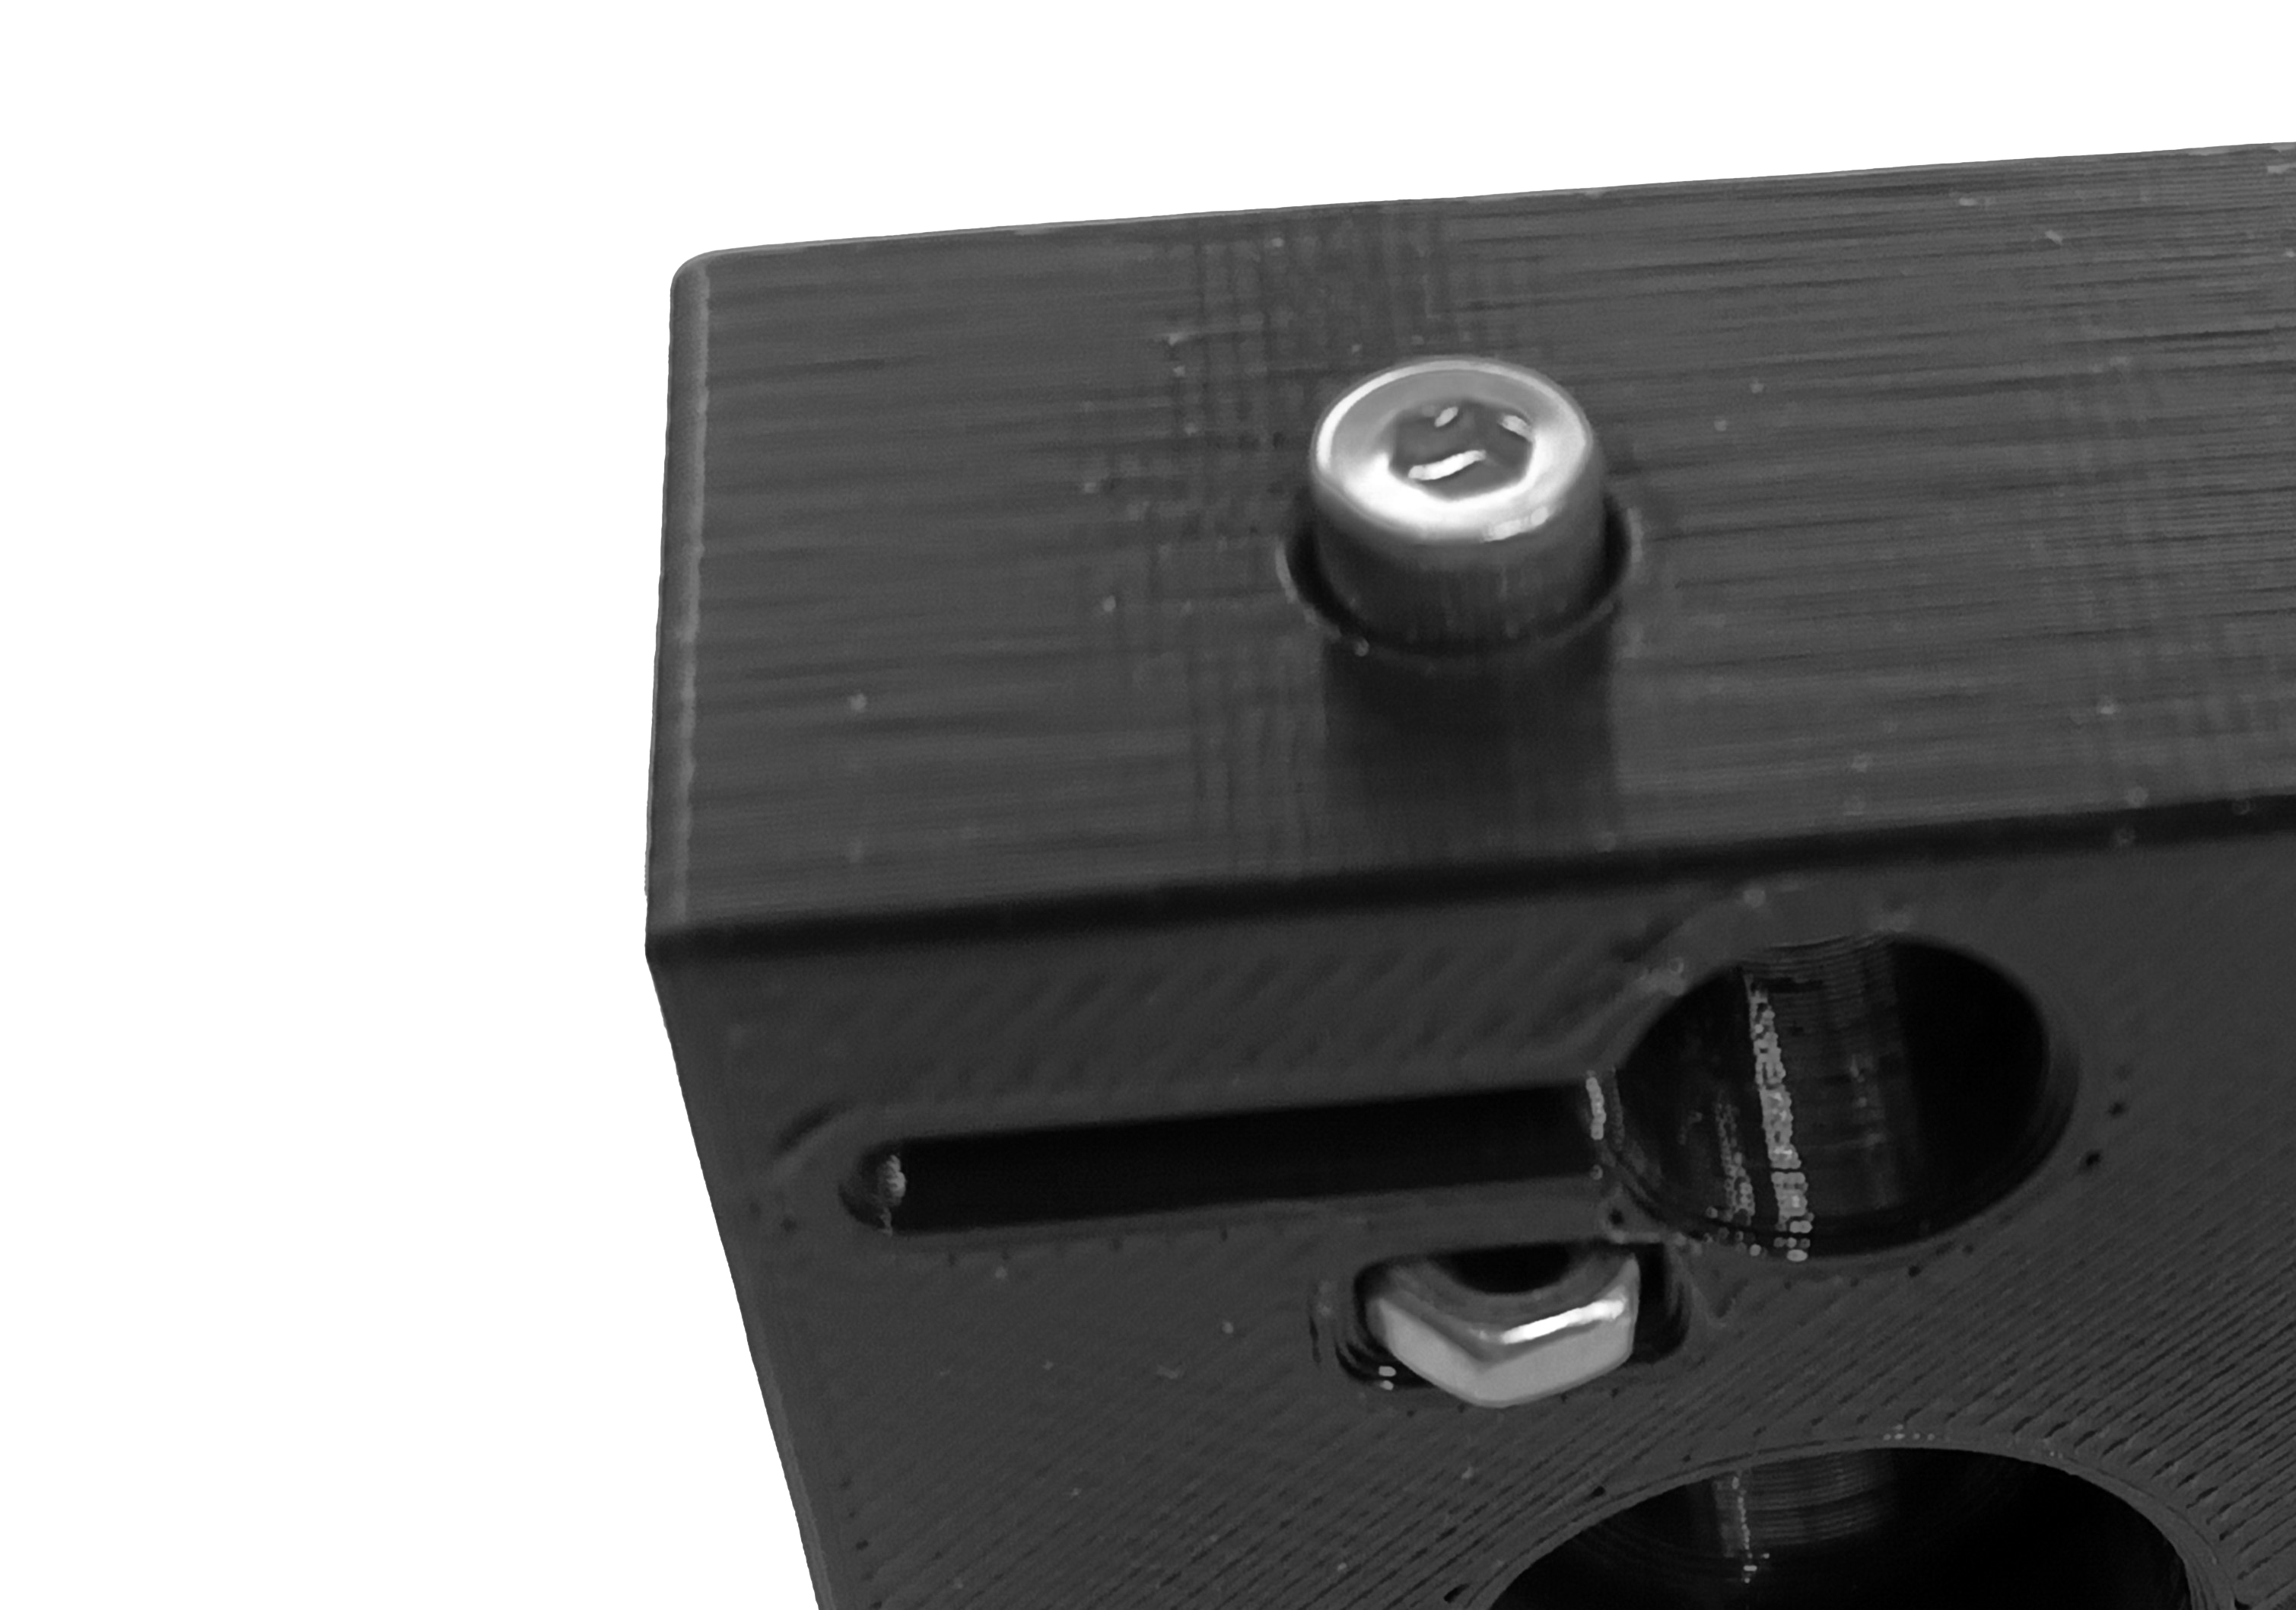
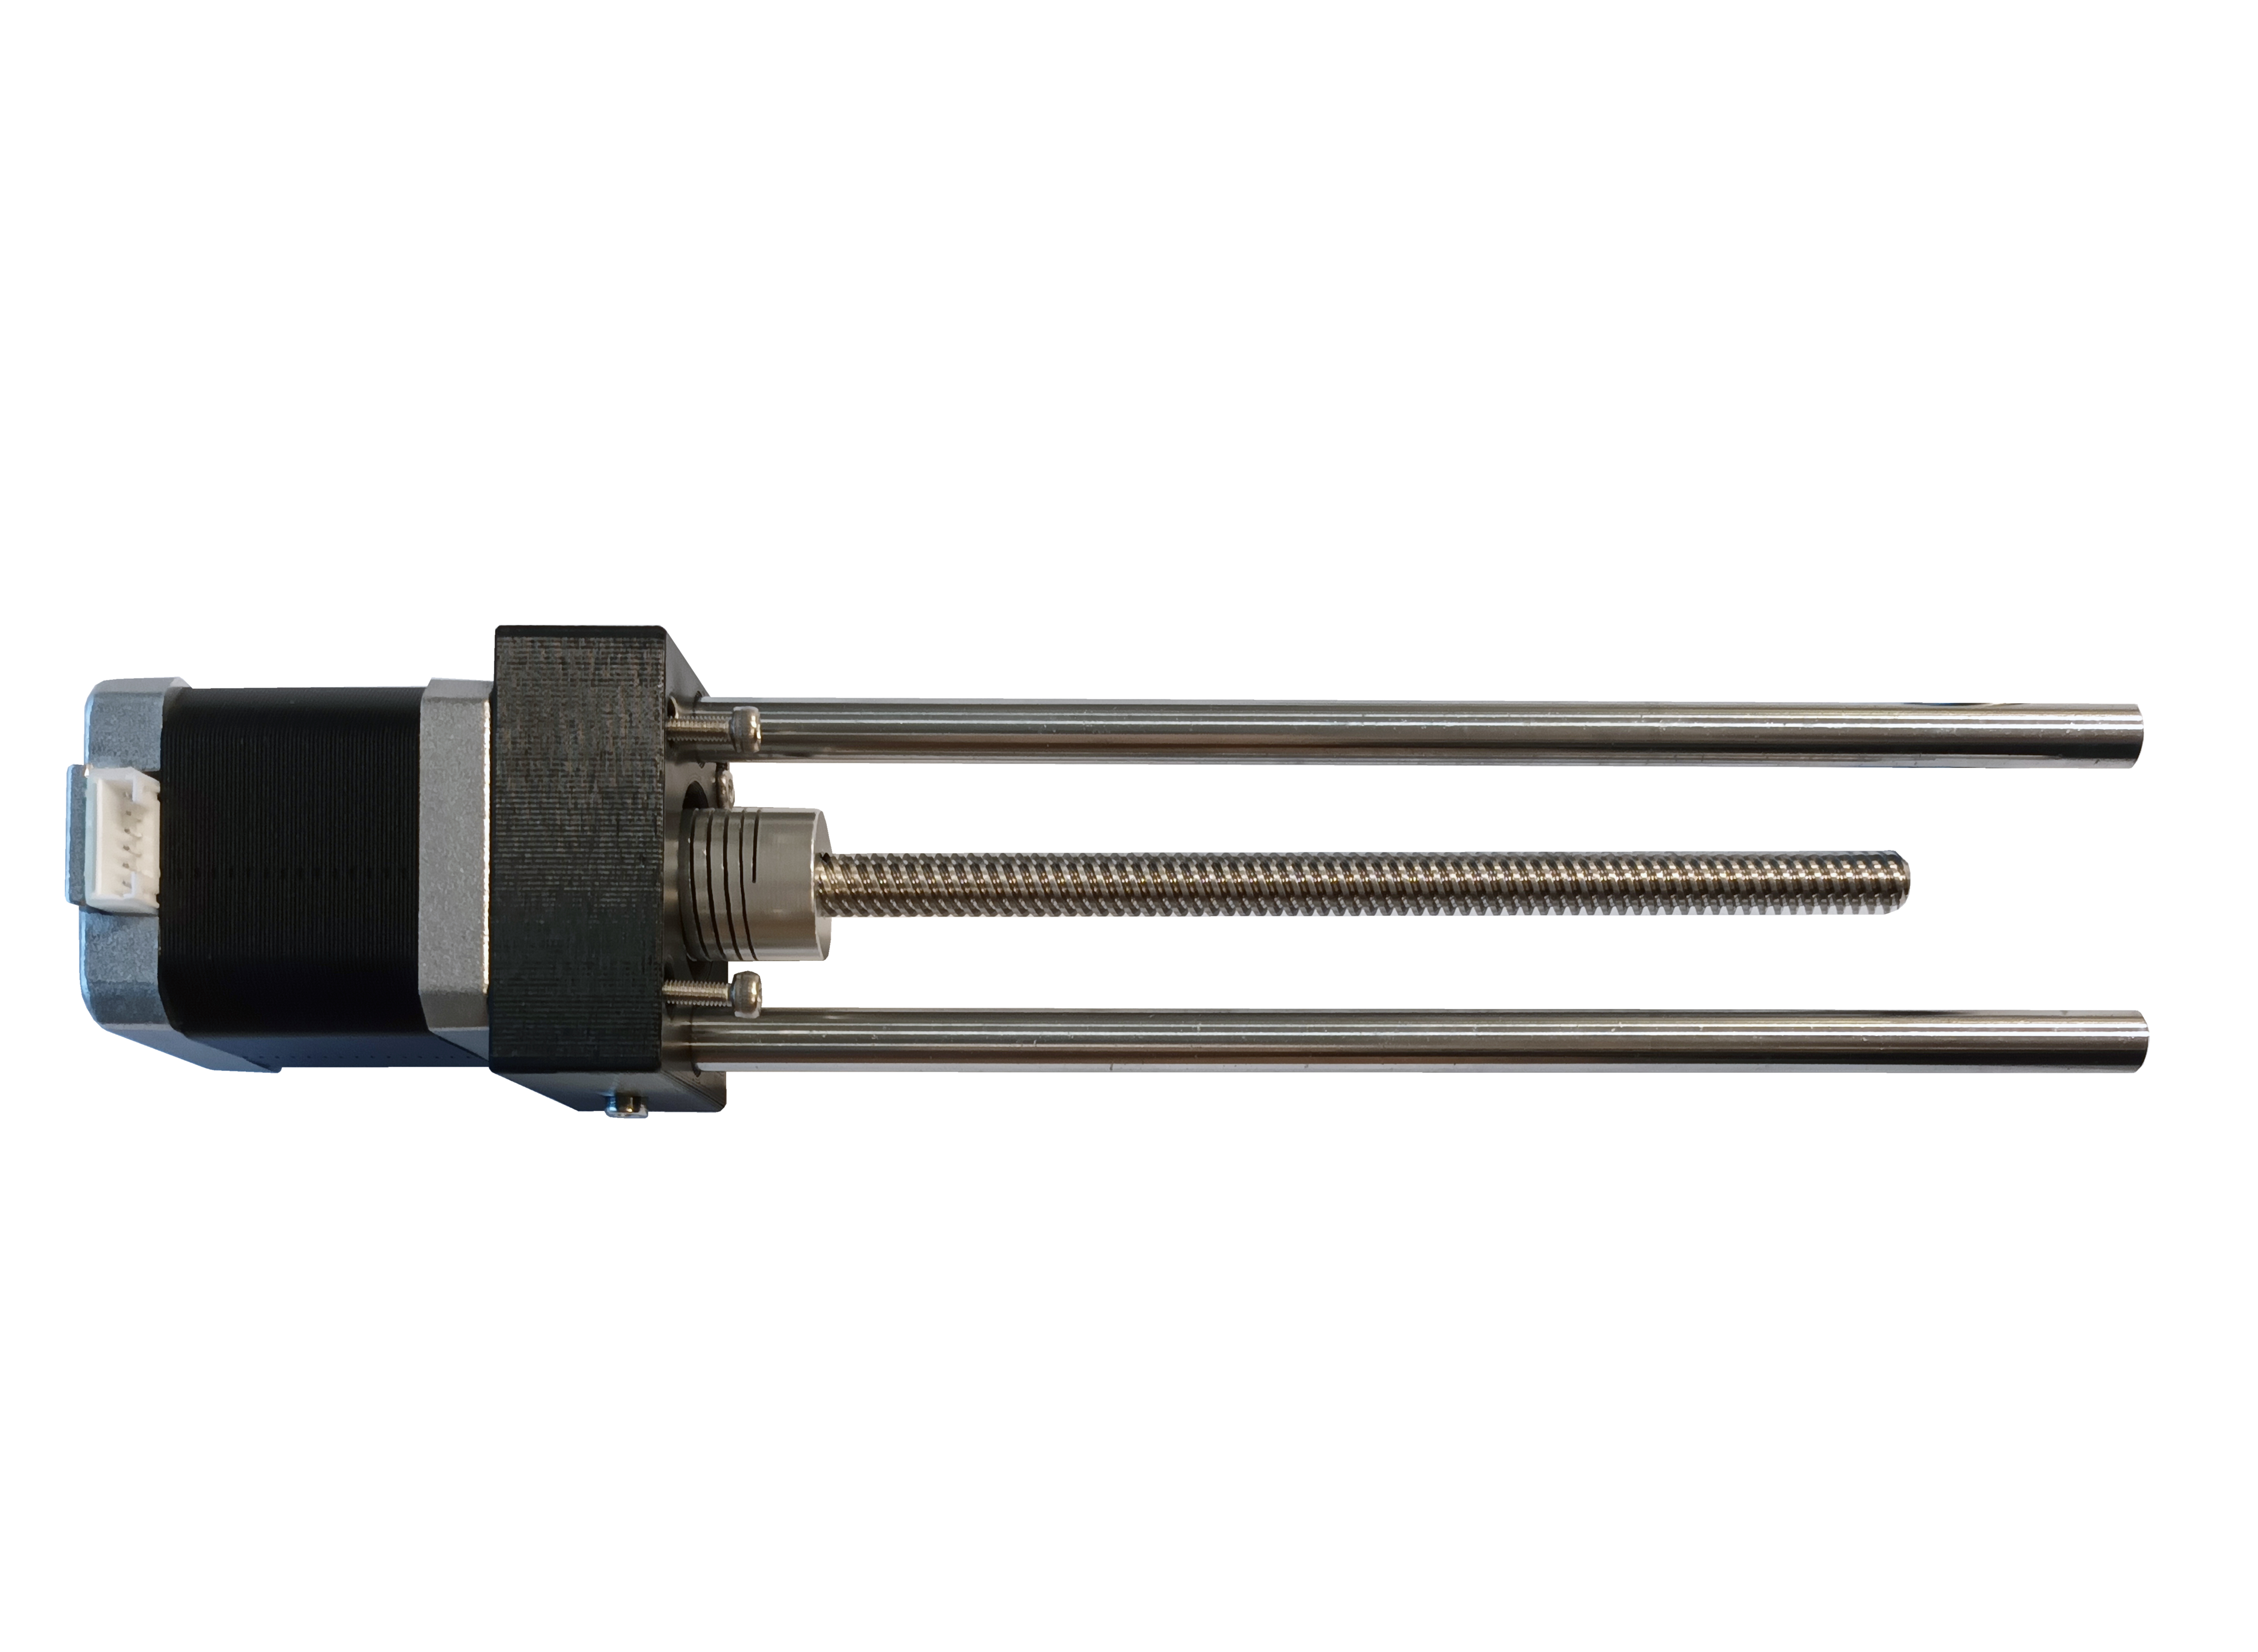
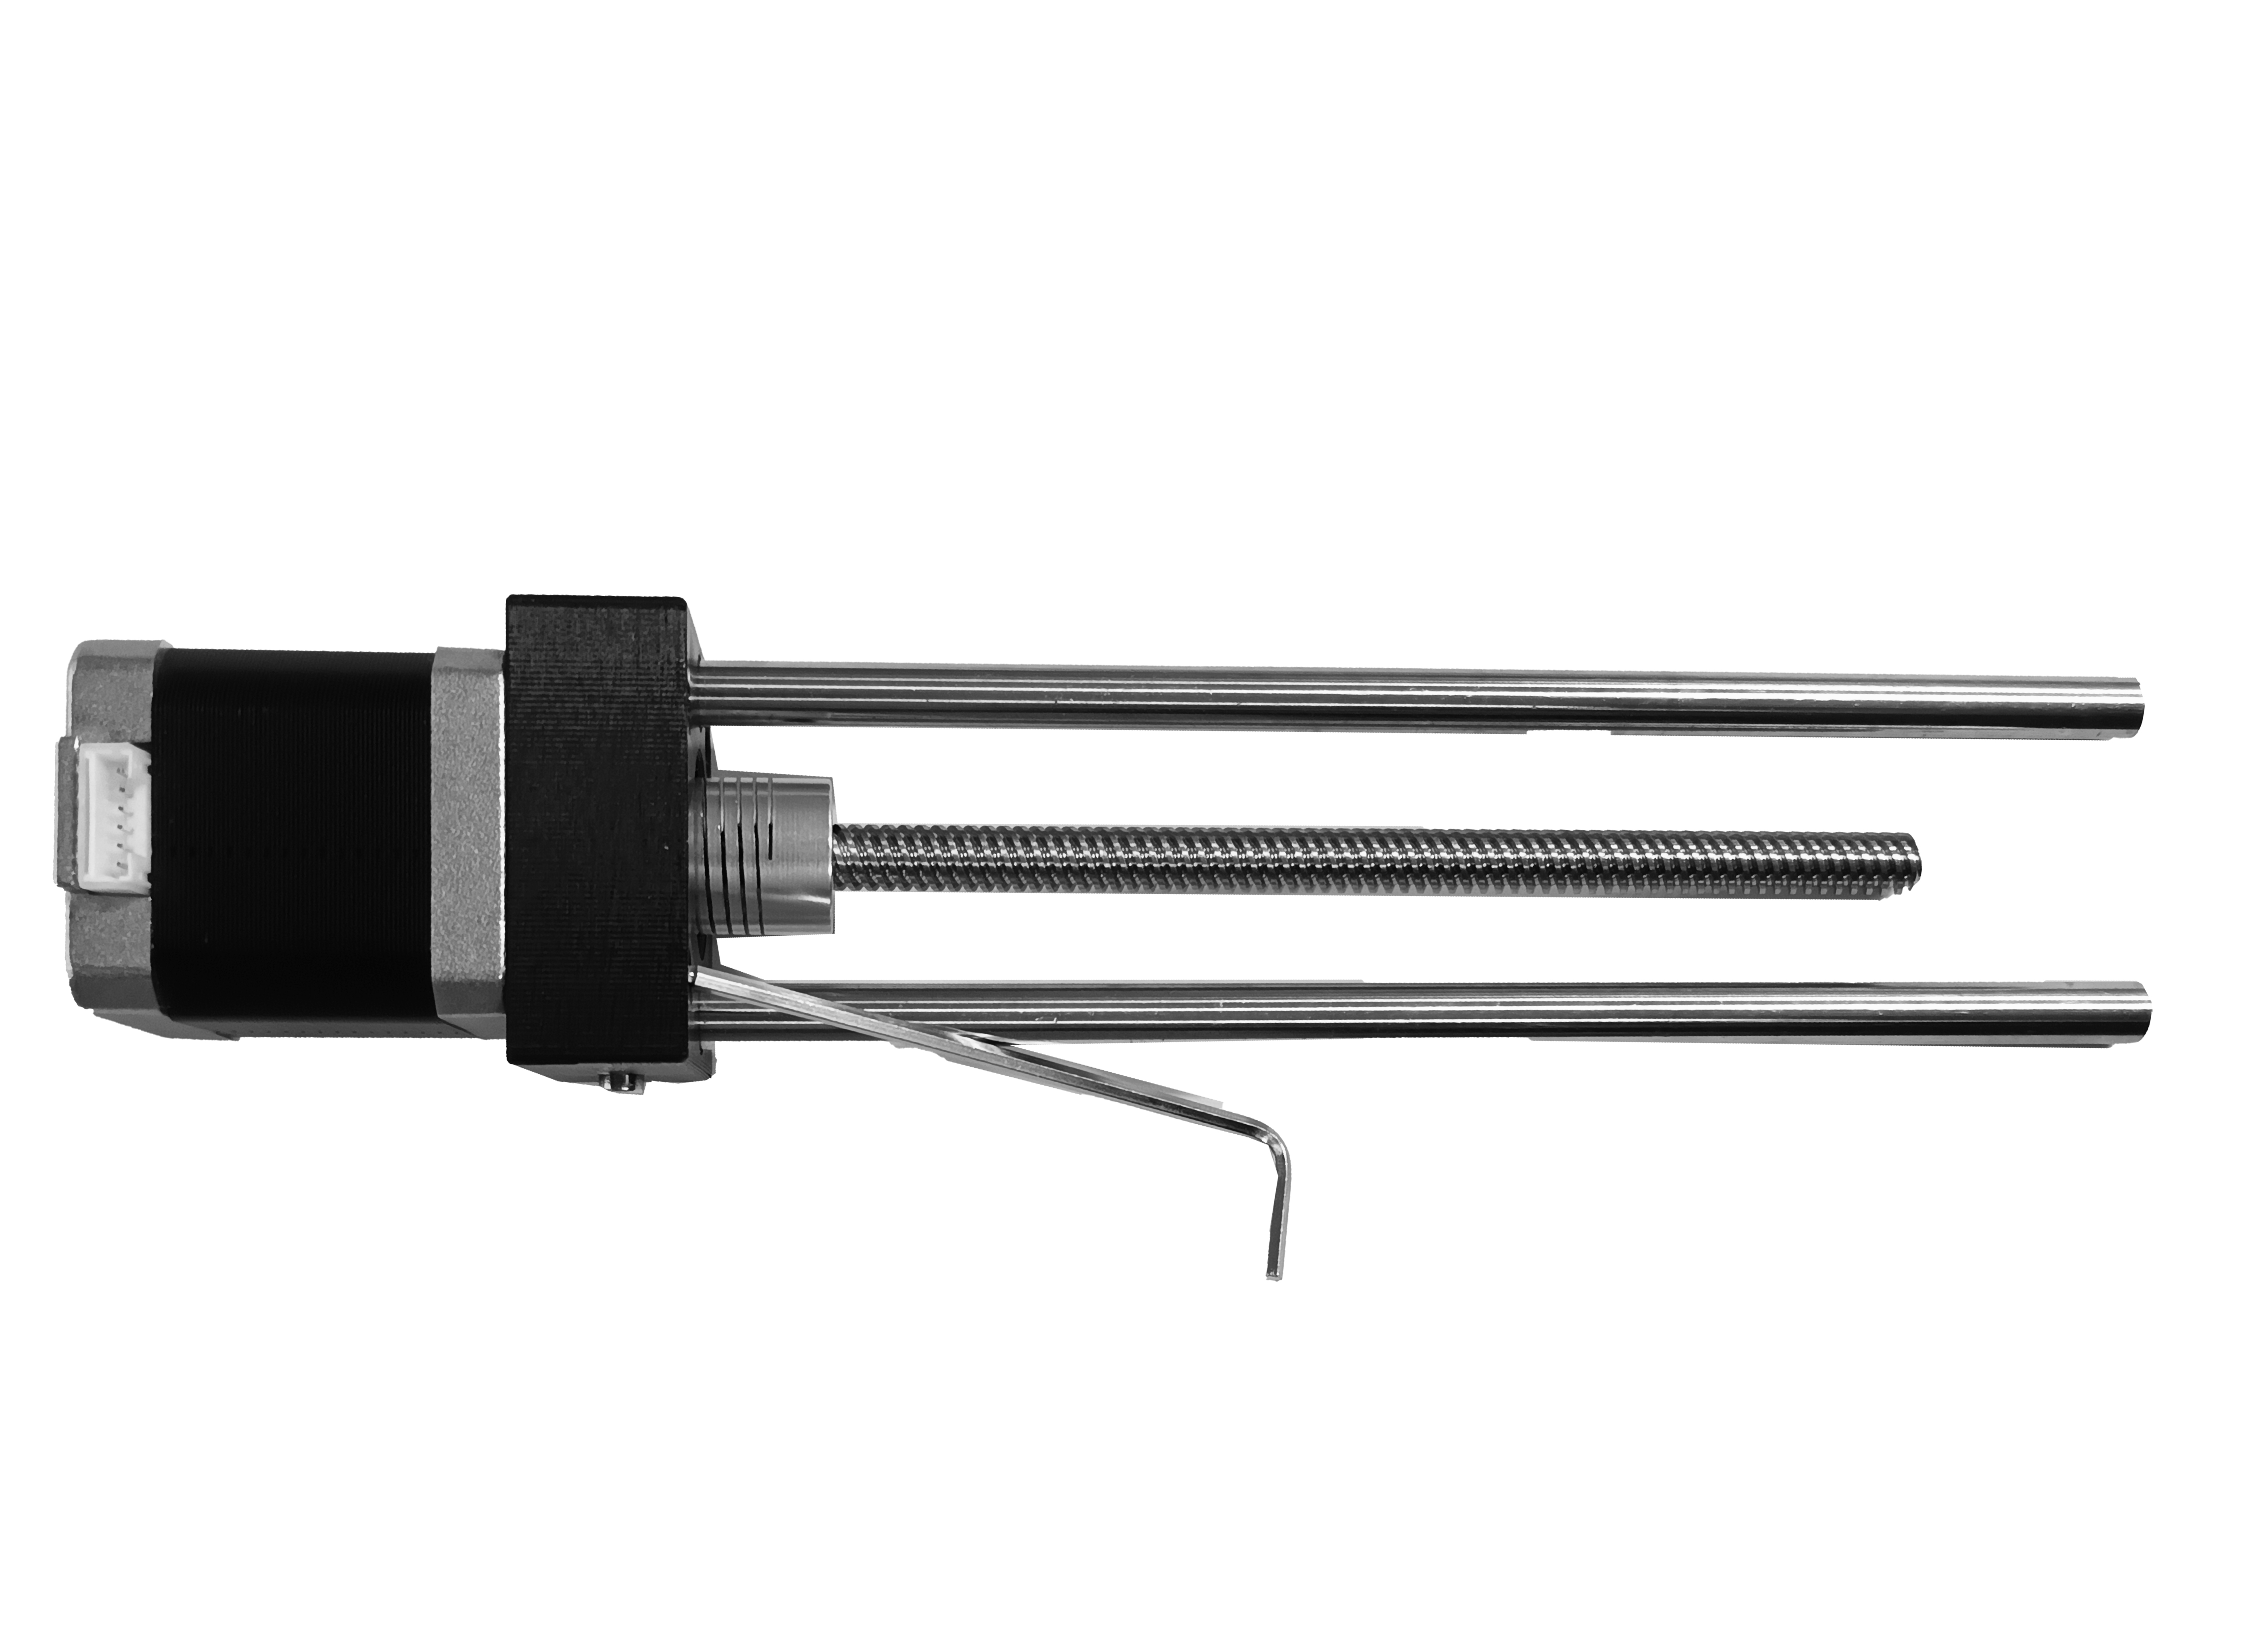
Insert the linear rails, one into the left side and one to the right side. Make sure they insert into the holes properly and then push them through. Tighten the linear rails down on the back support.
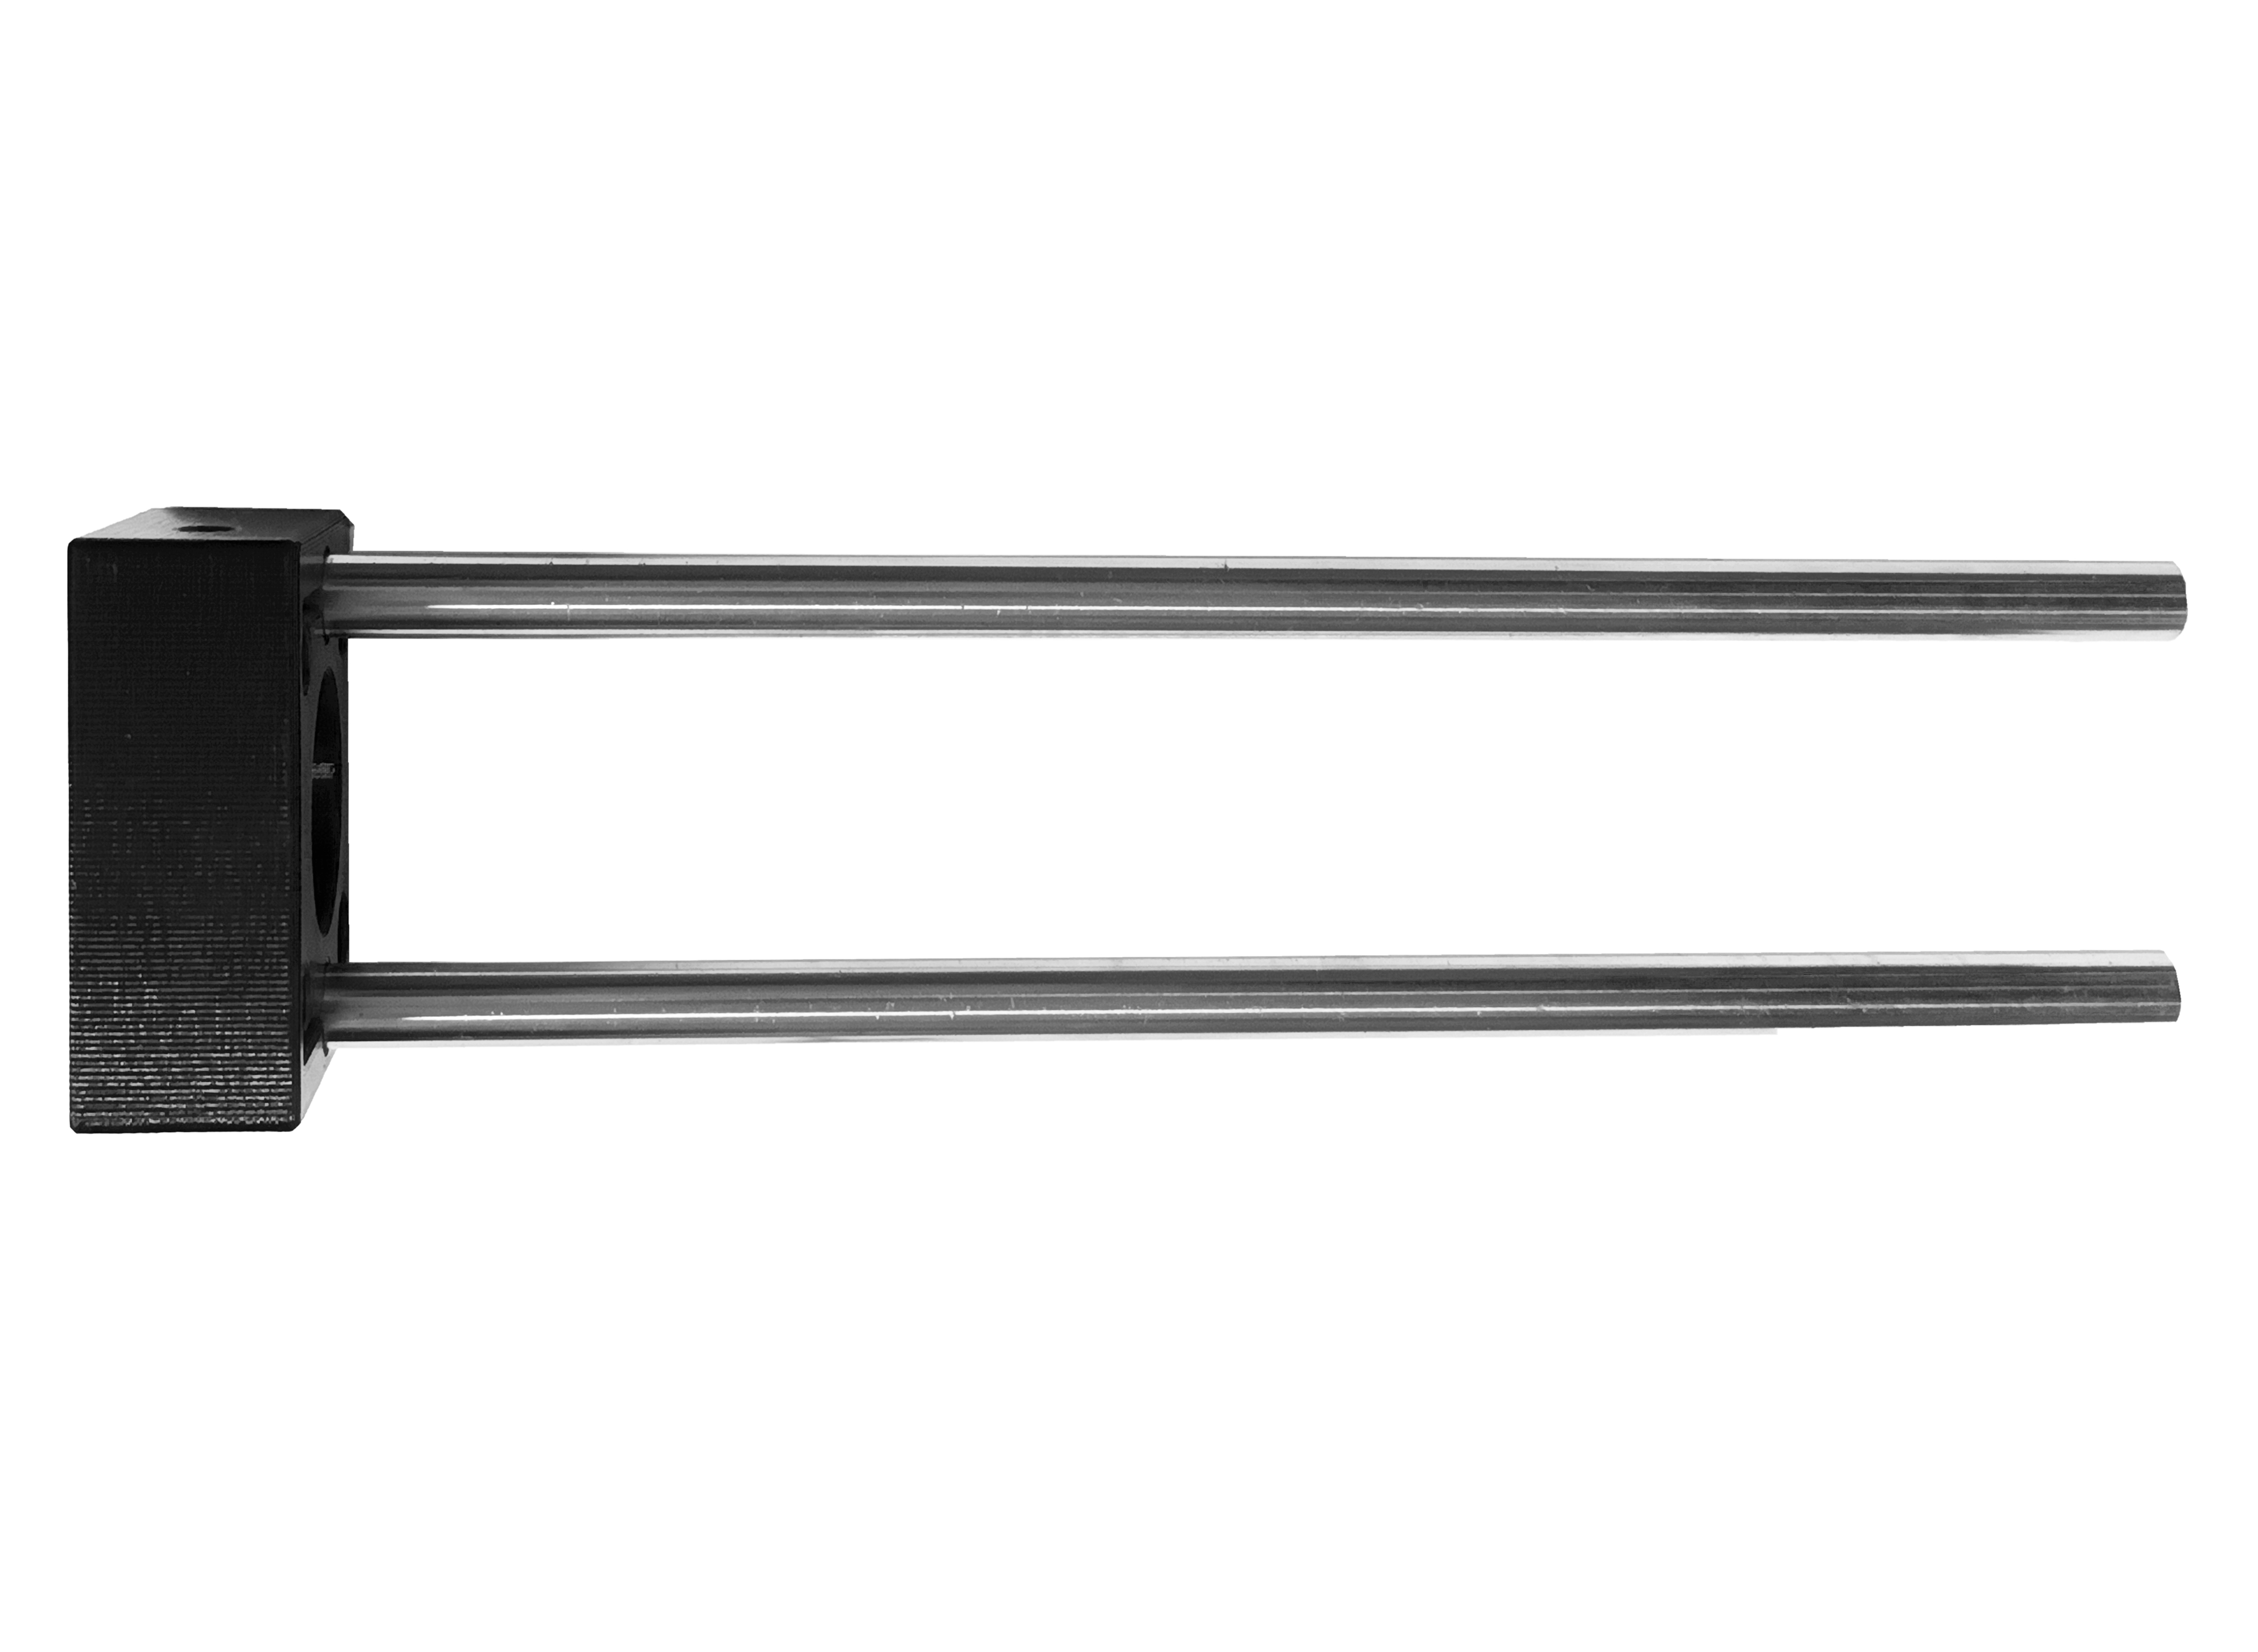
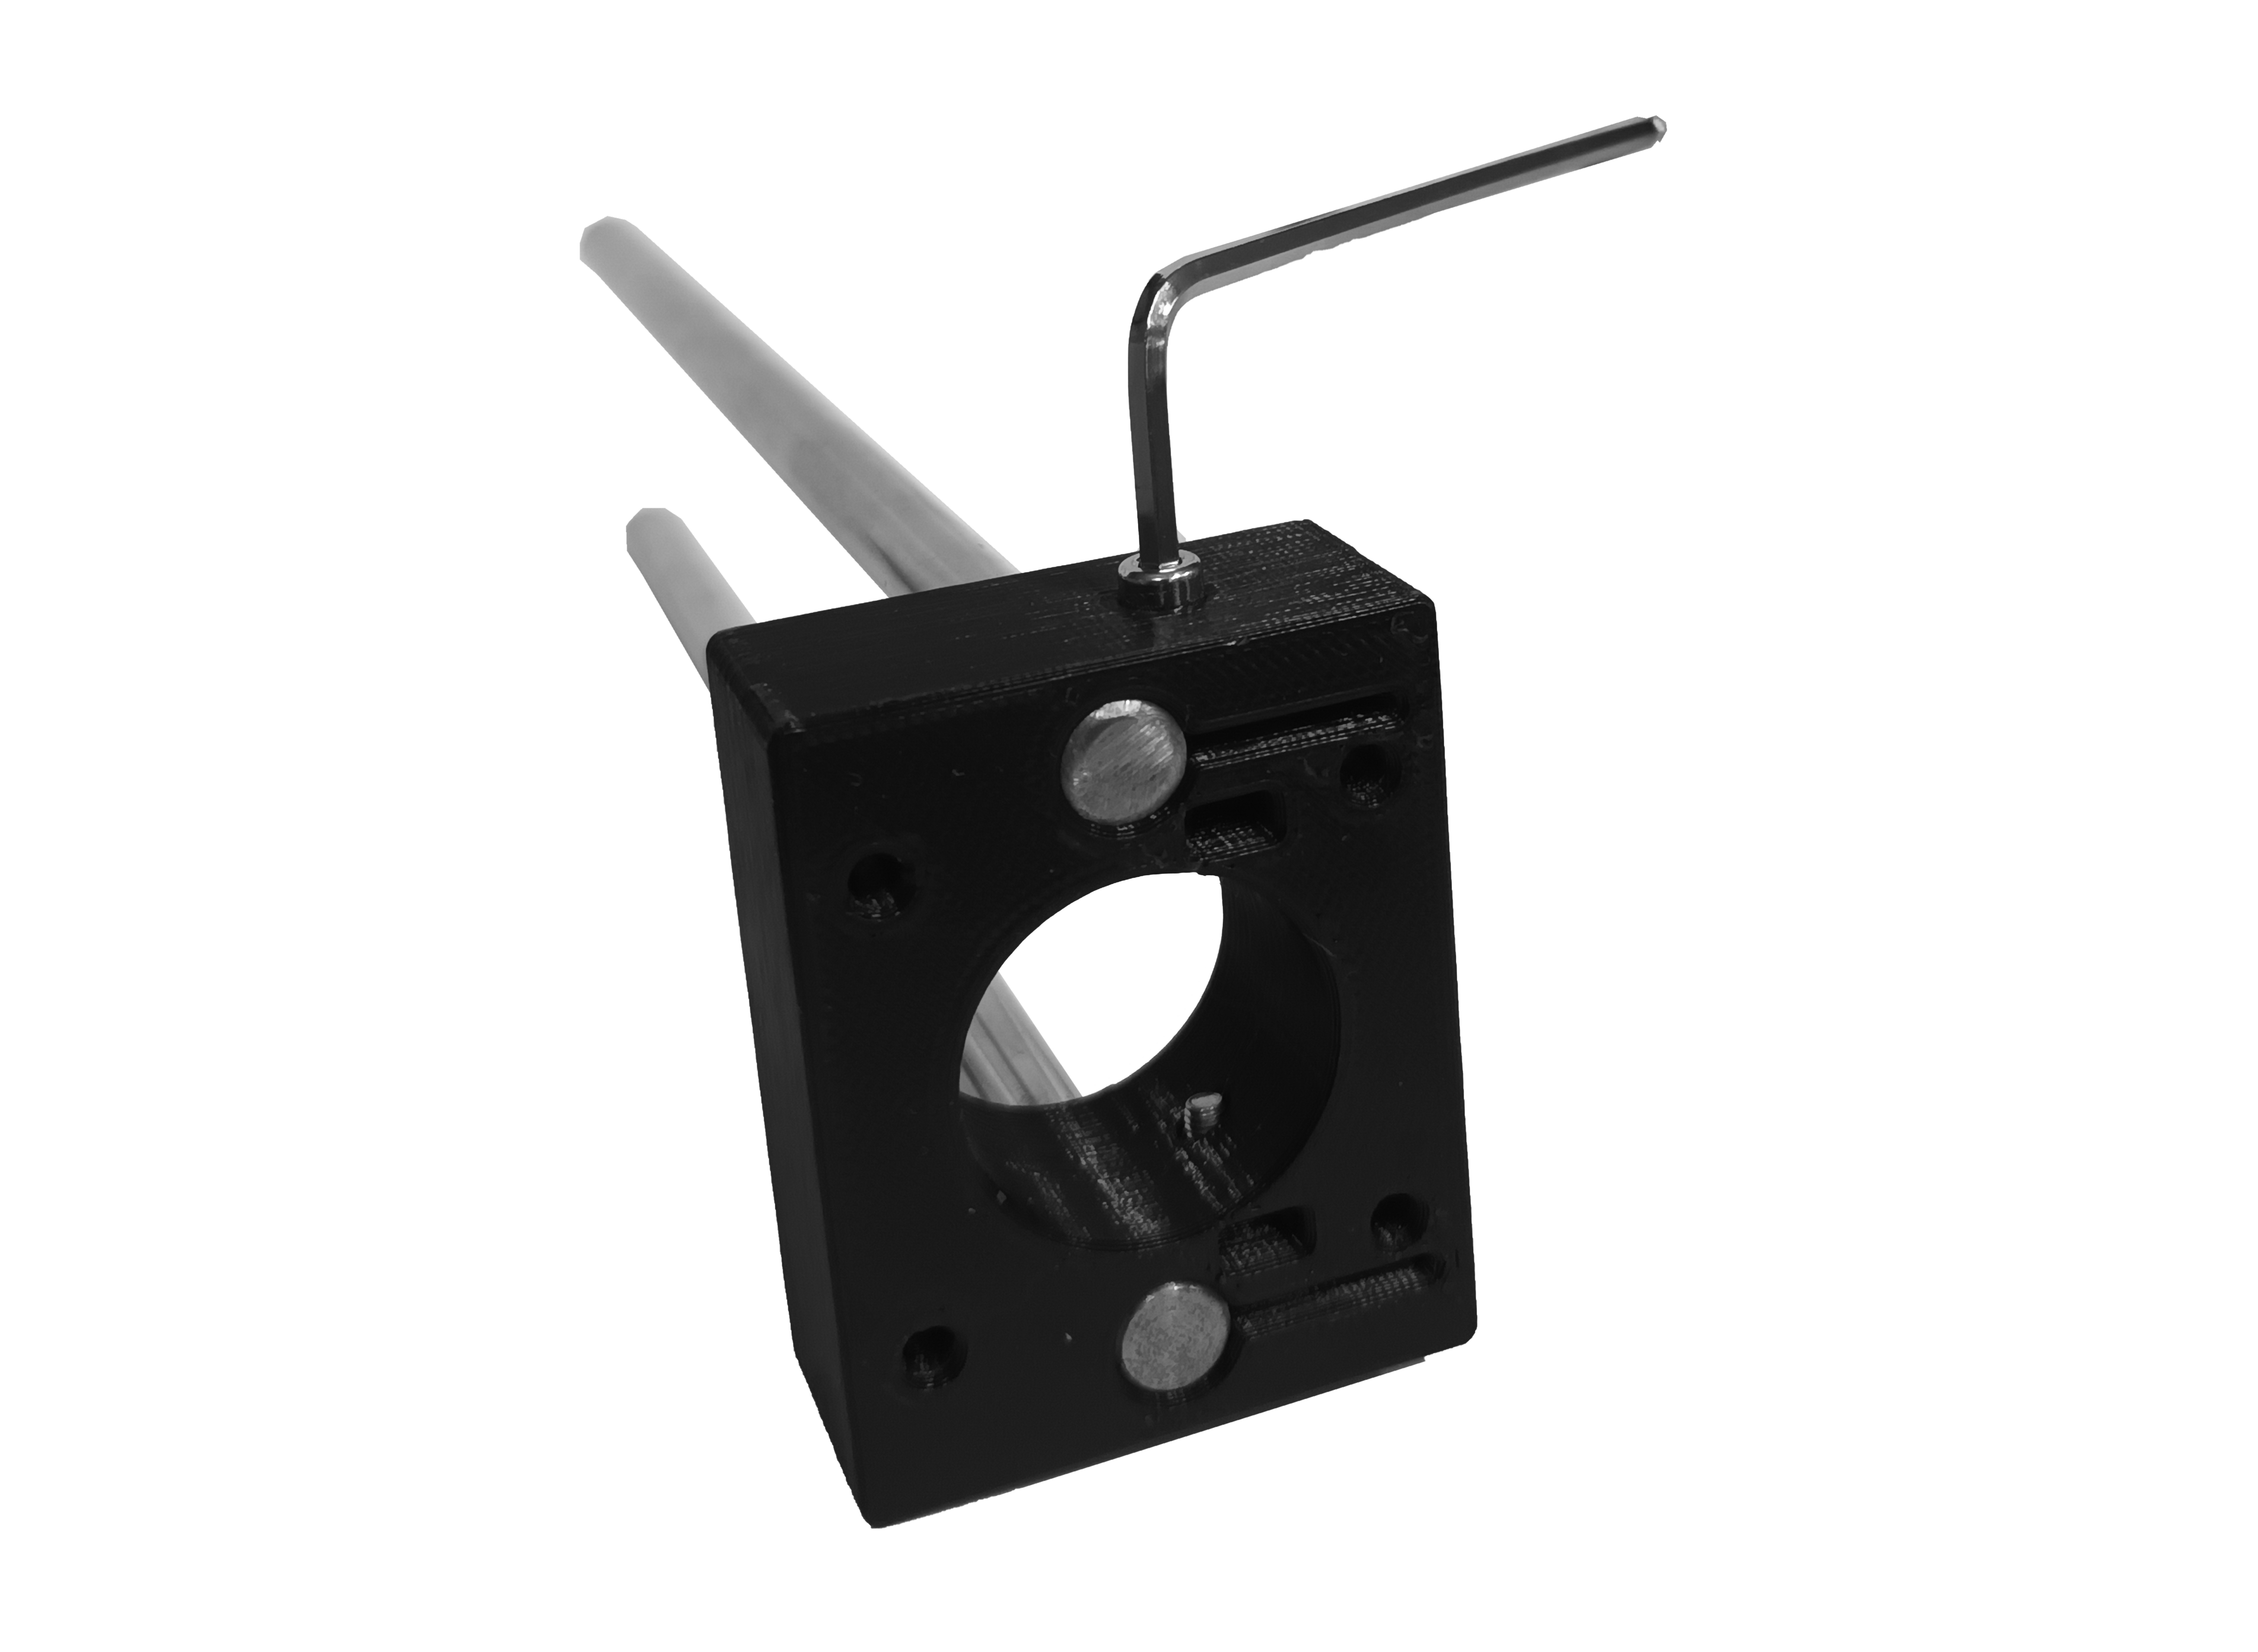
Step 3: Assemble the stepper motor and back support
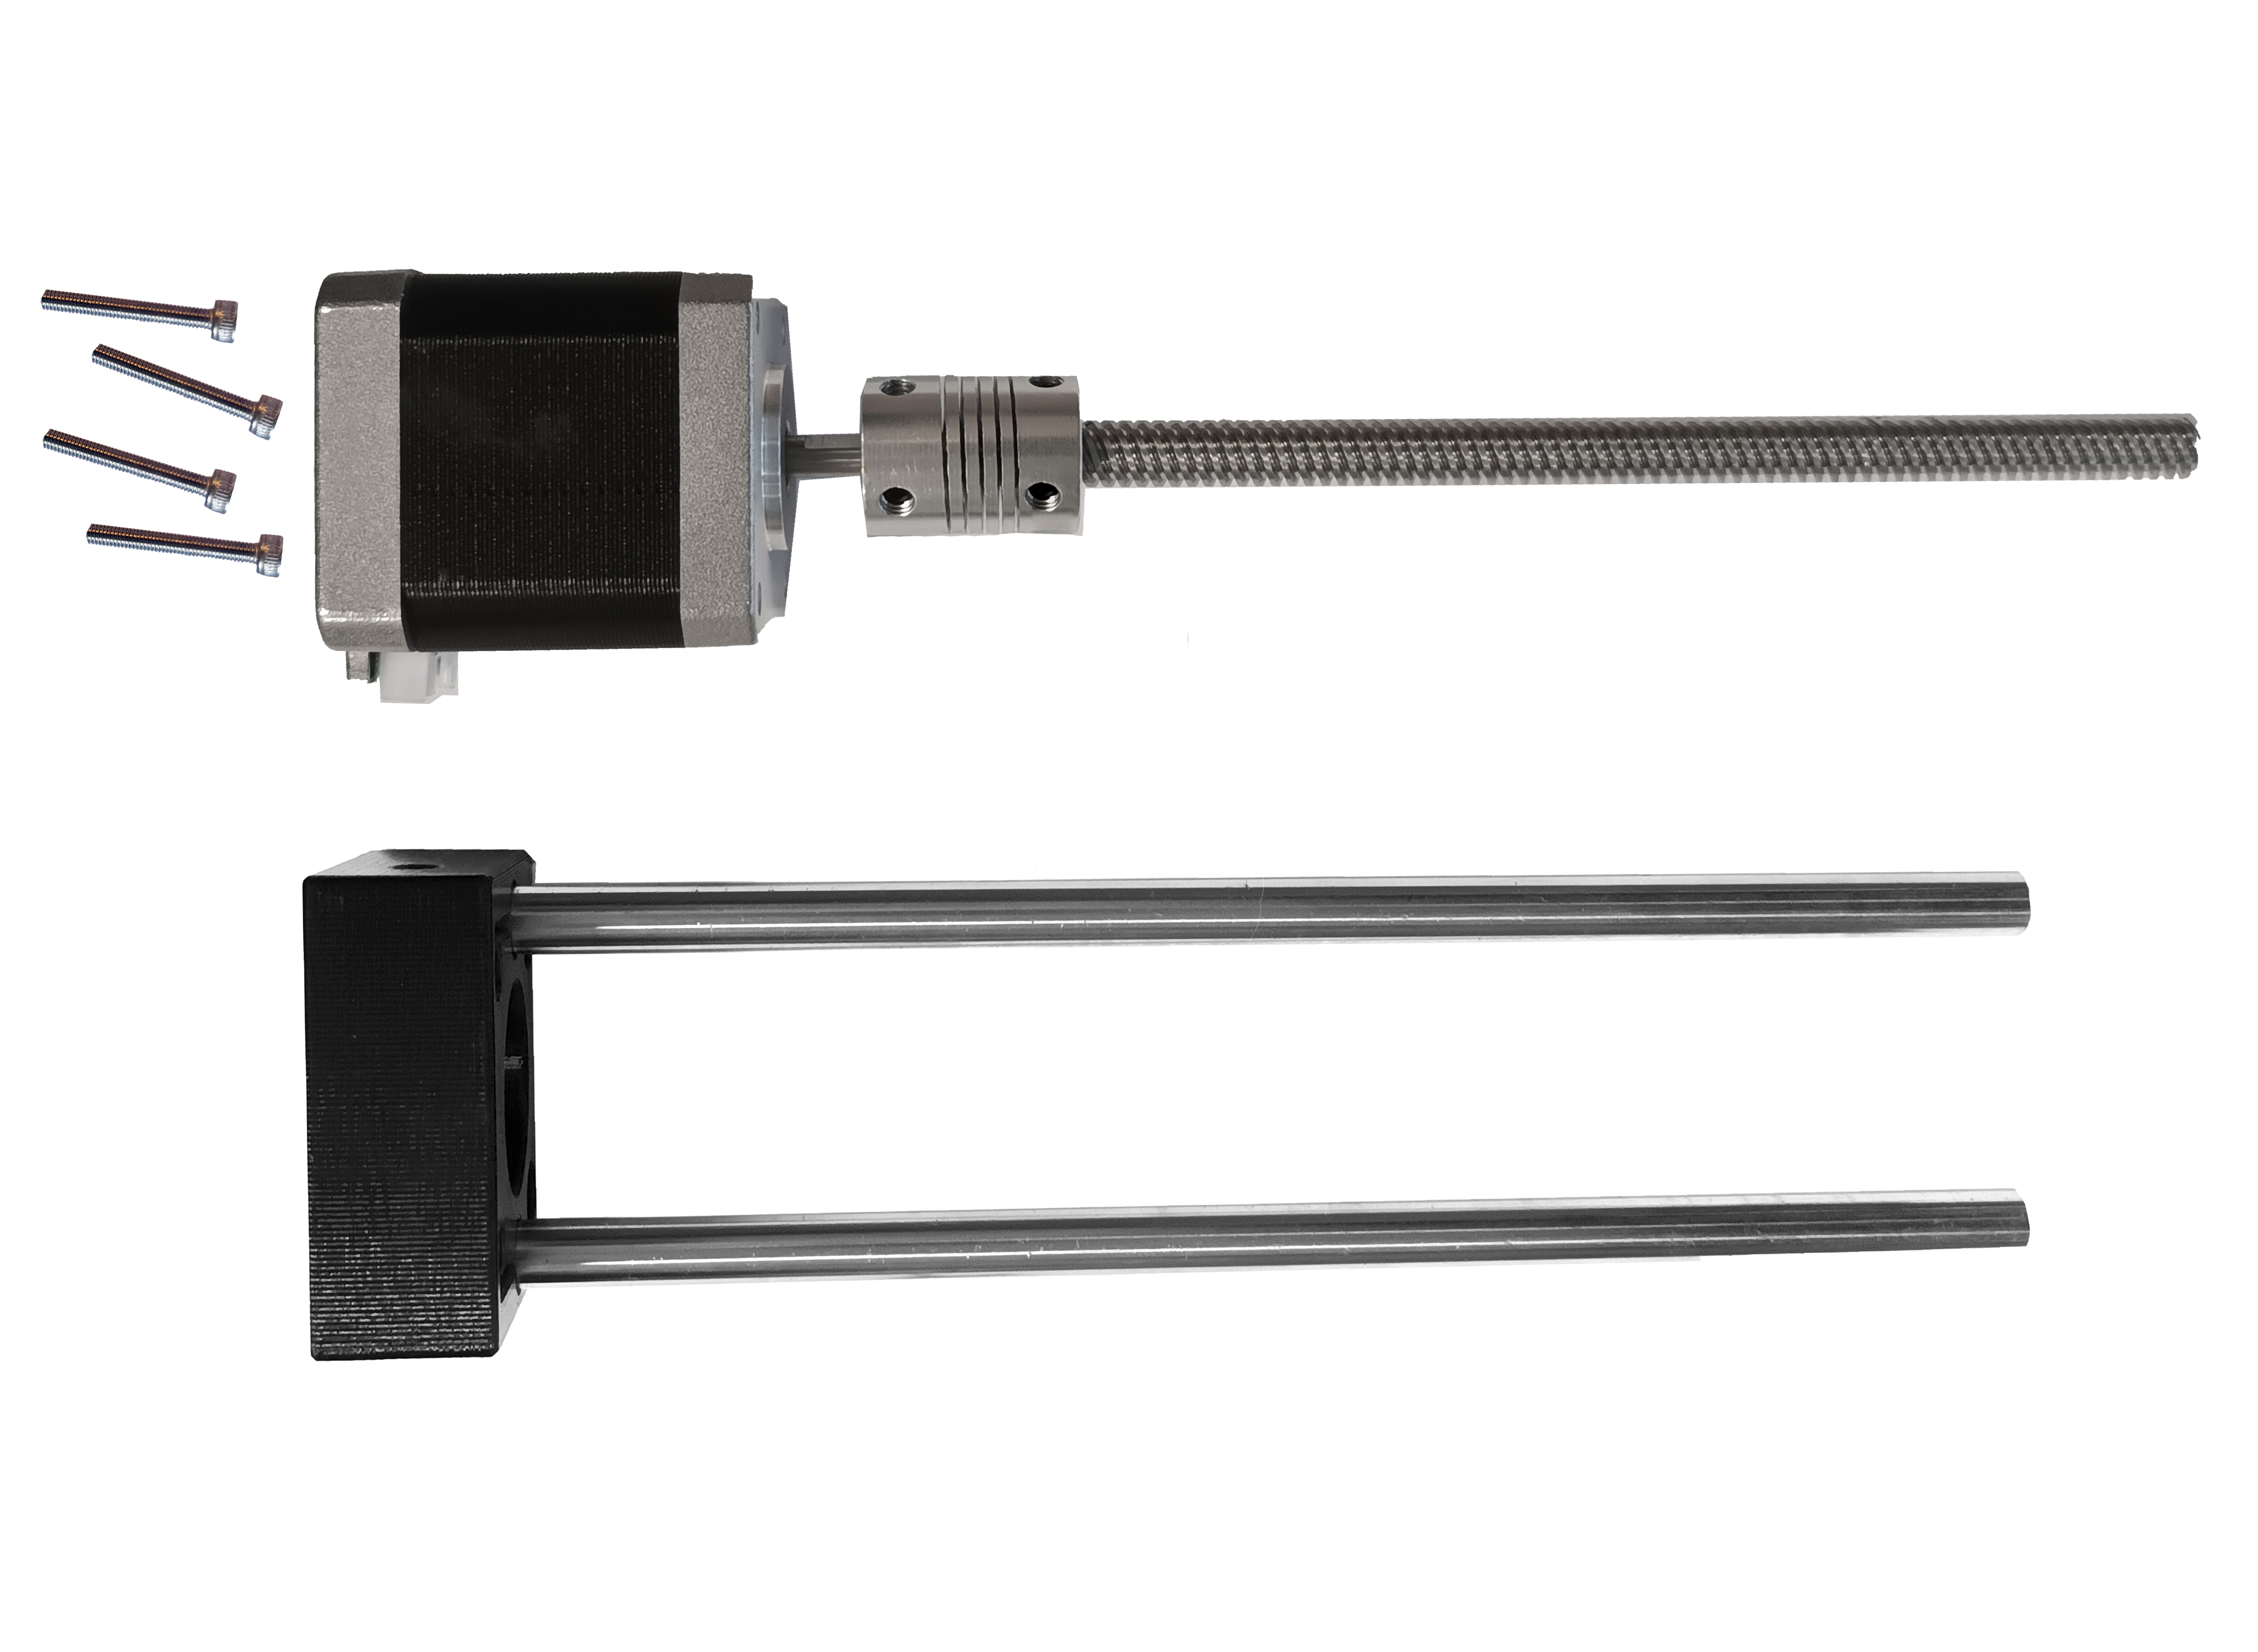
Insert the lead screw though the back support and align the motor holes with the screw holes on the back support. Use four M3 20mm and a M2.5 hex key to tighten the back support.
Step 4: Assemble and mount the carriage
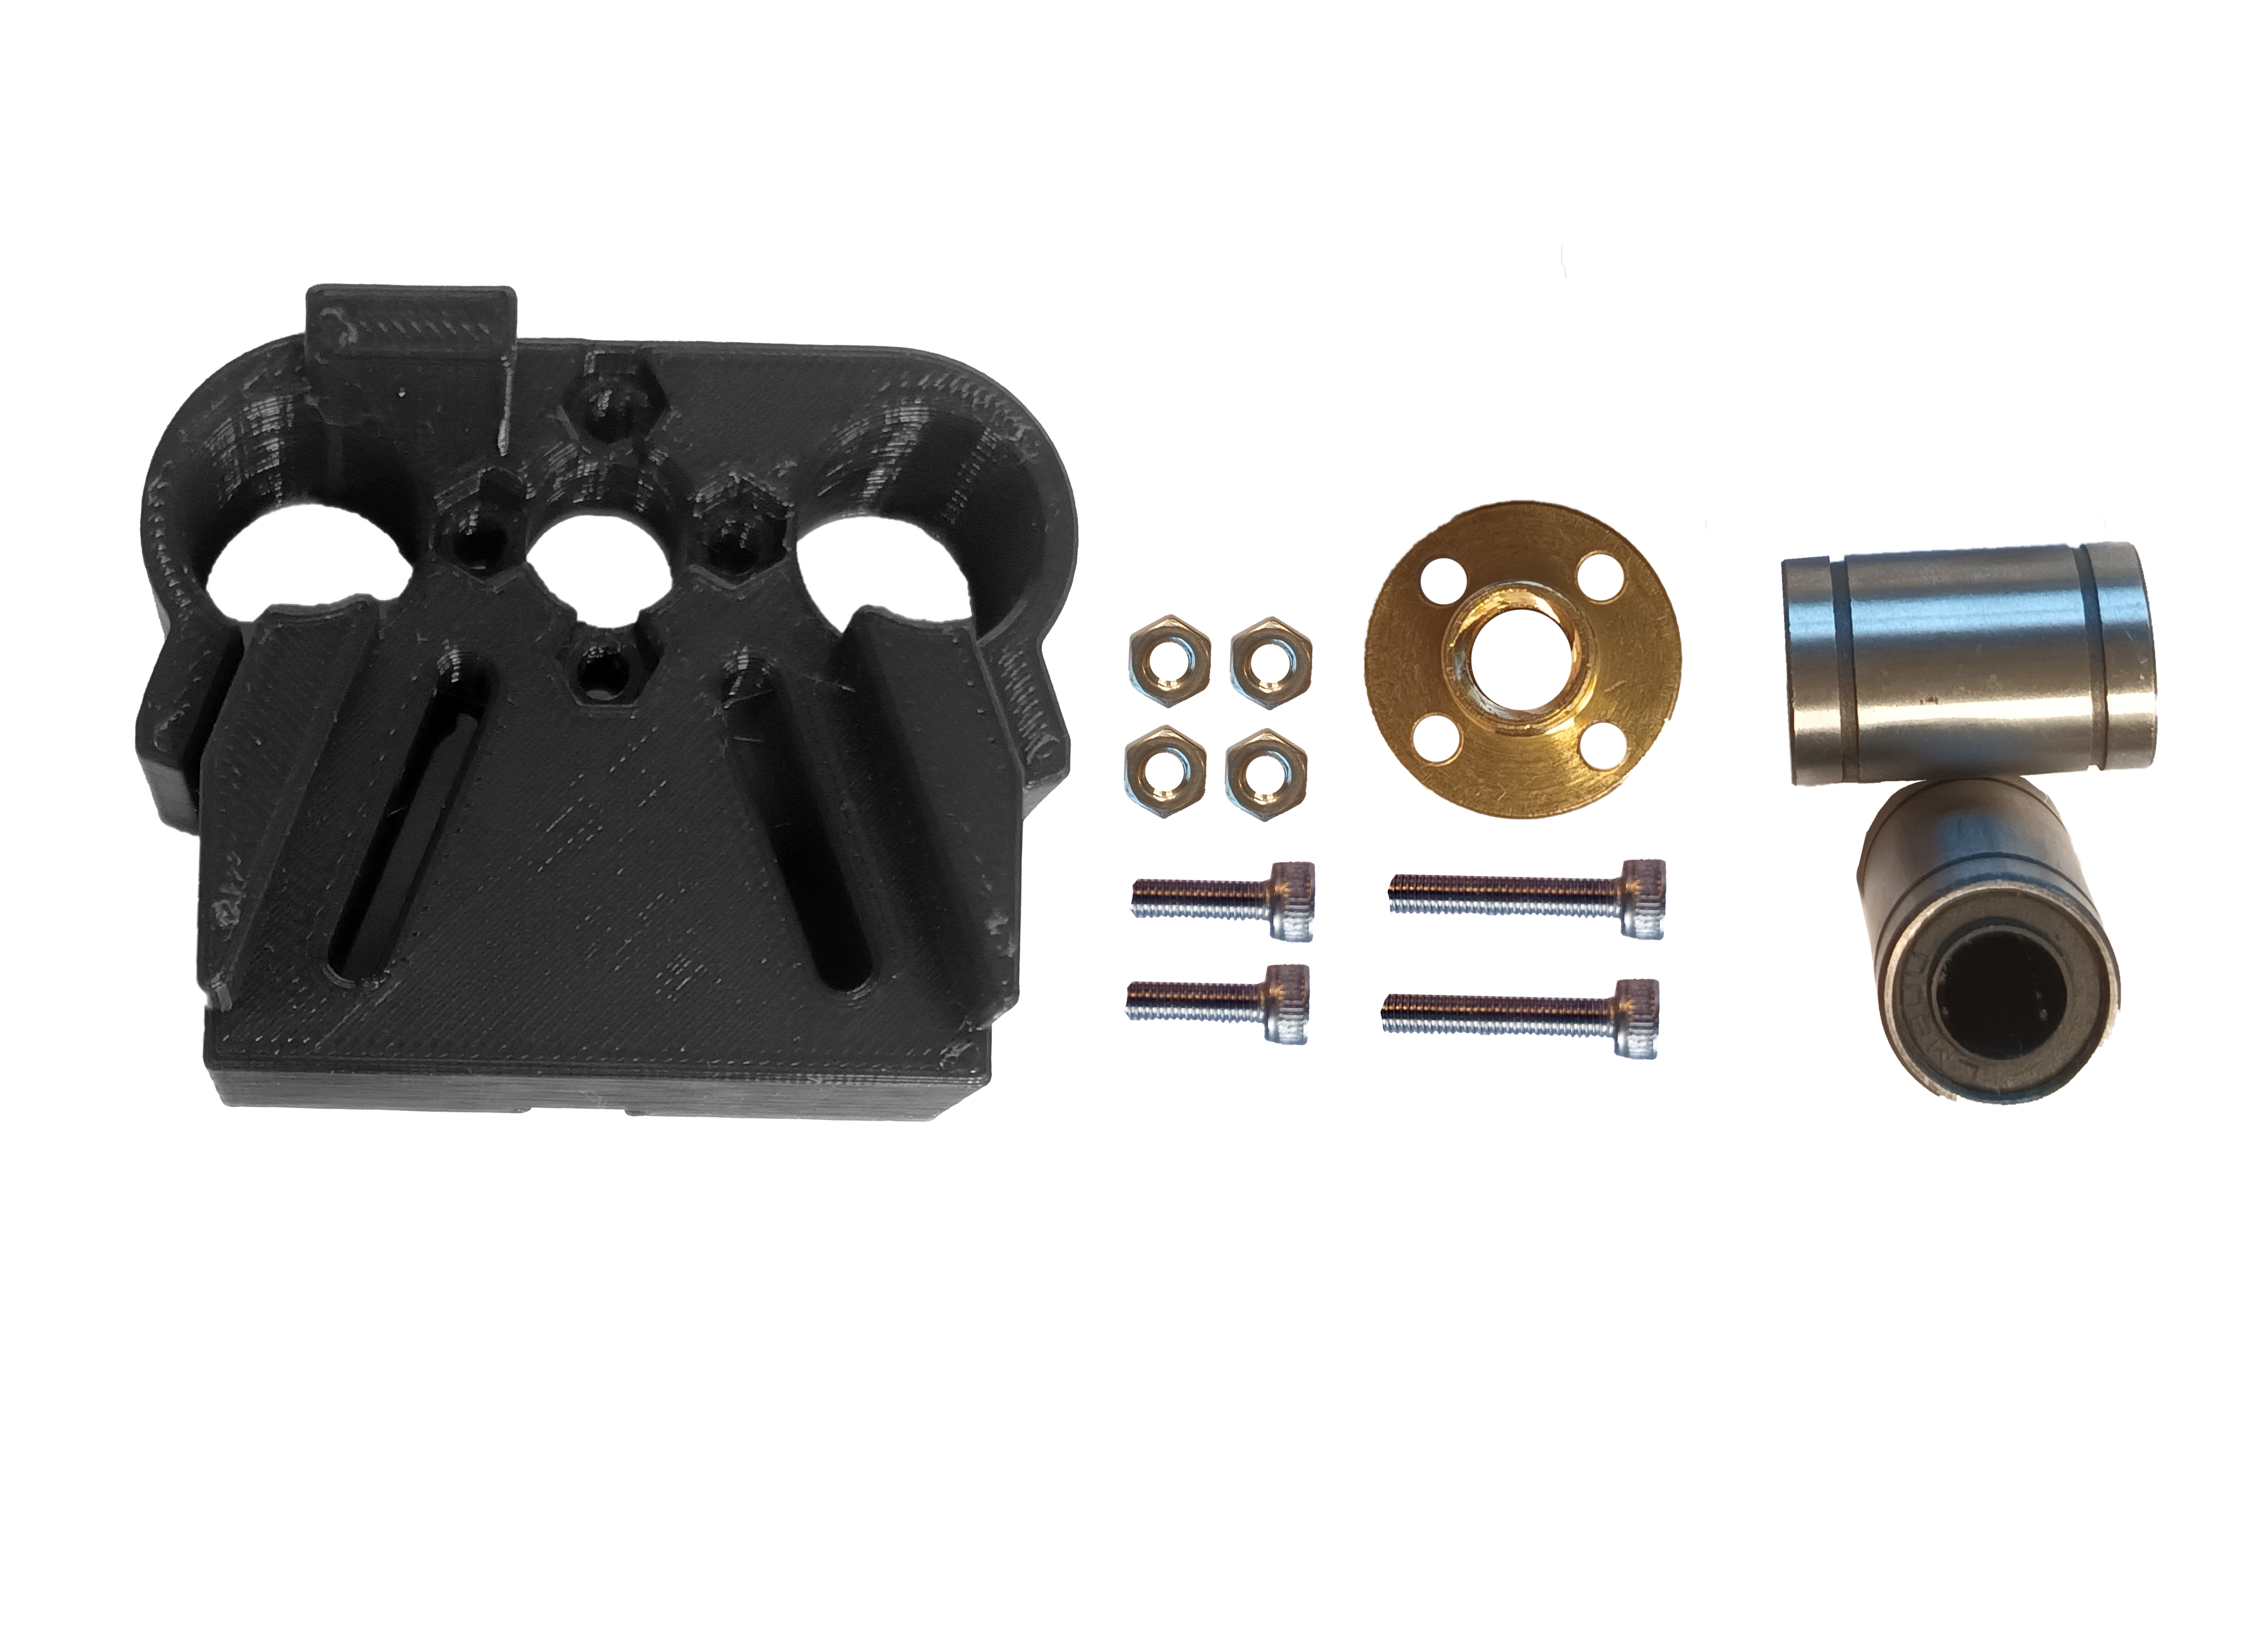
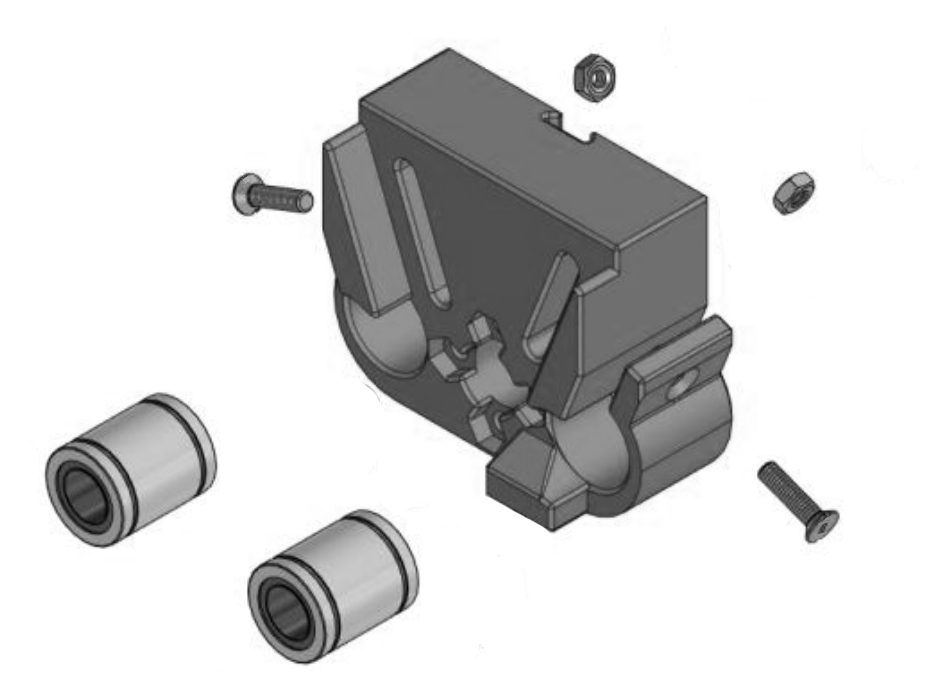
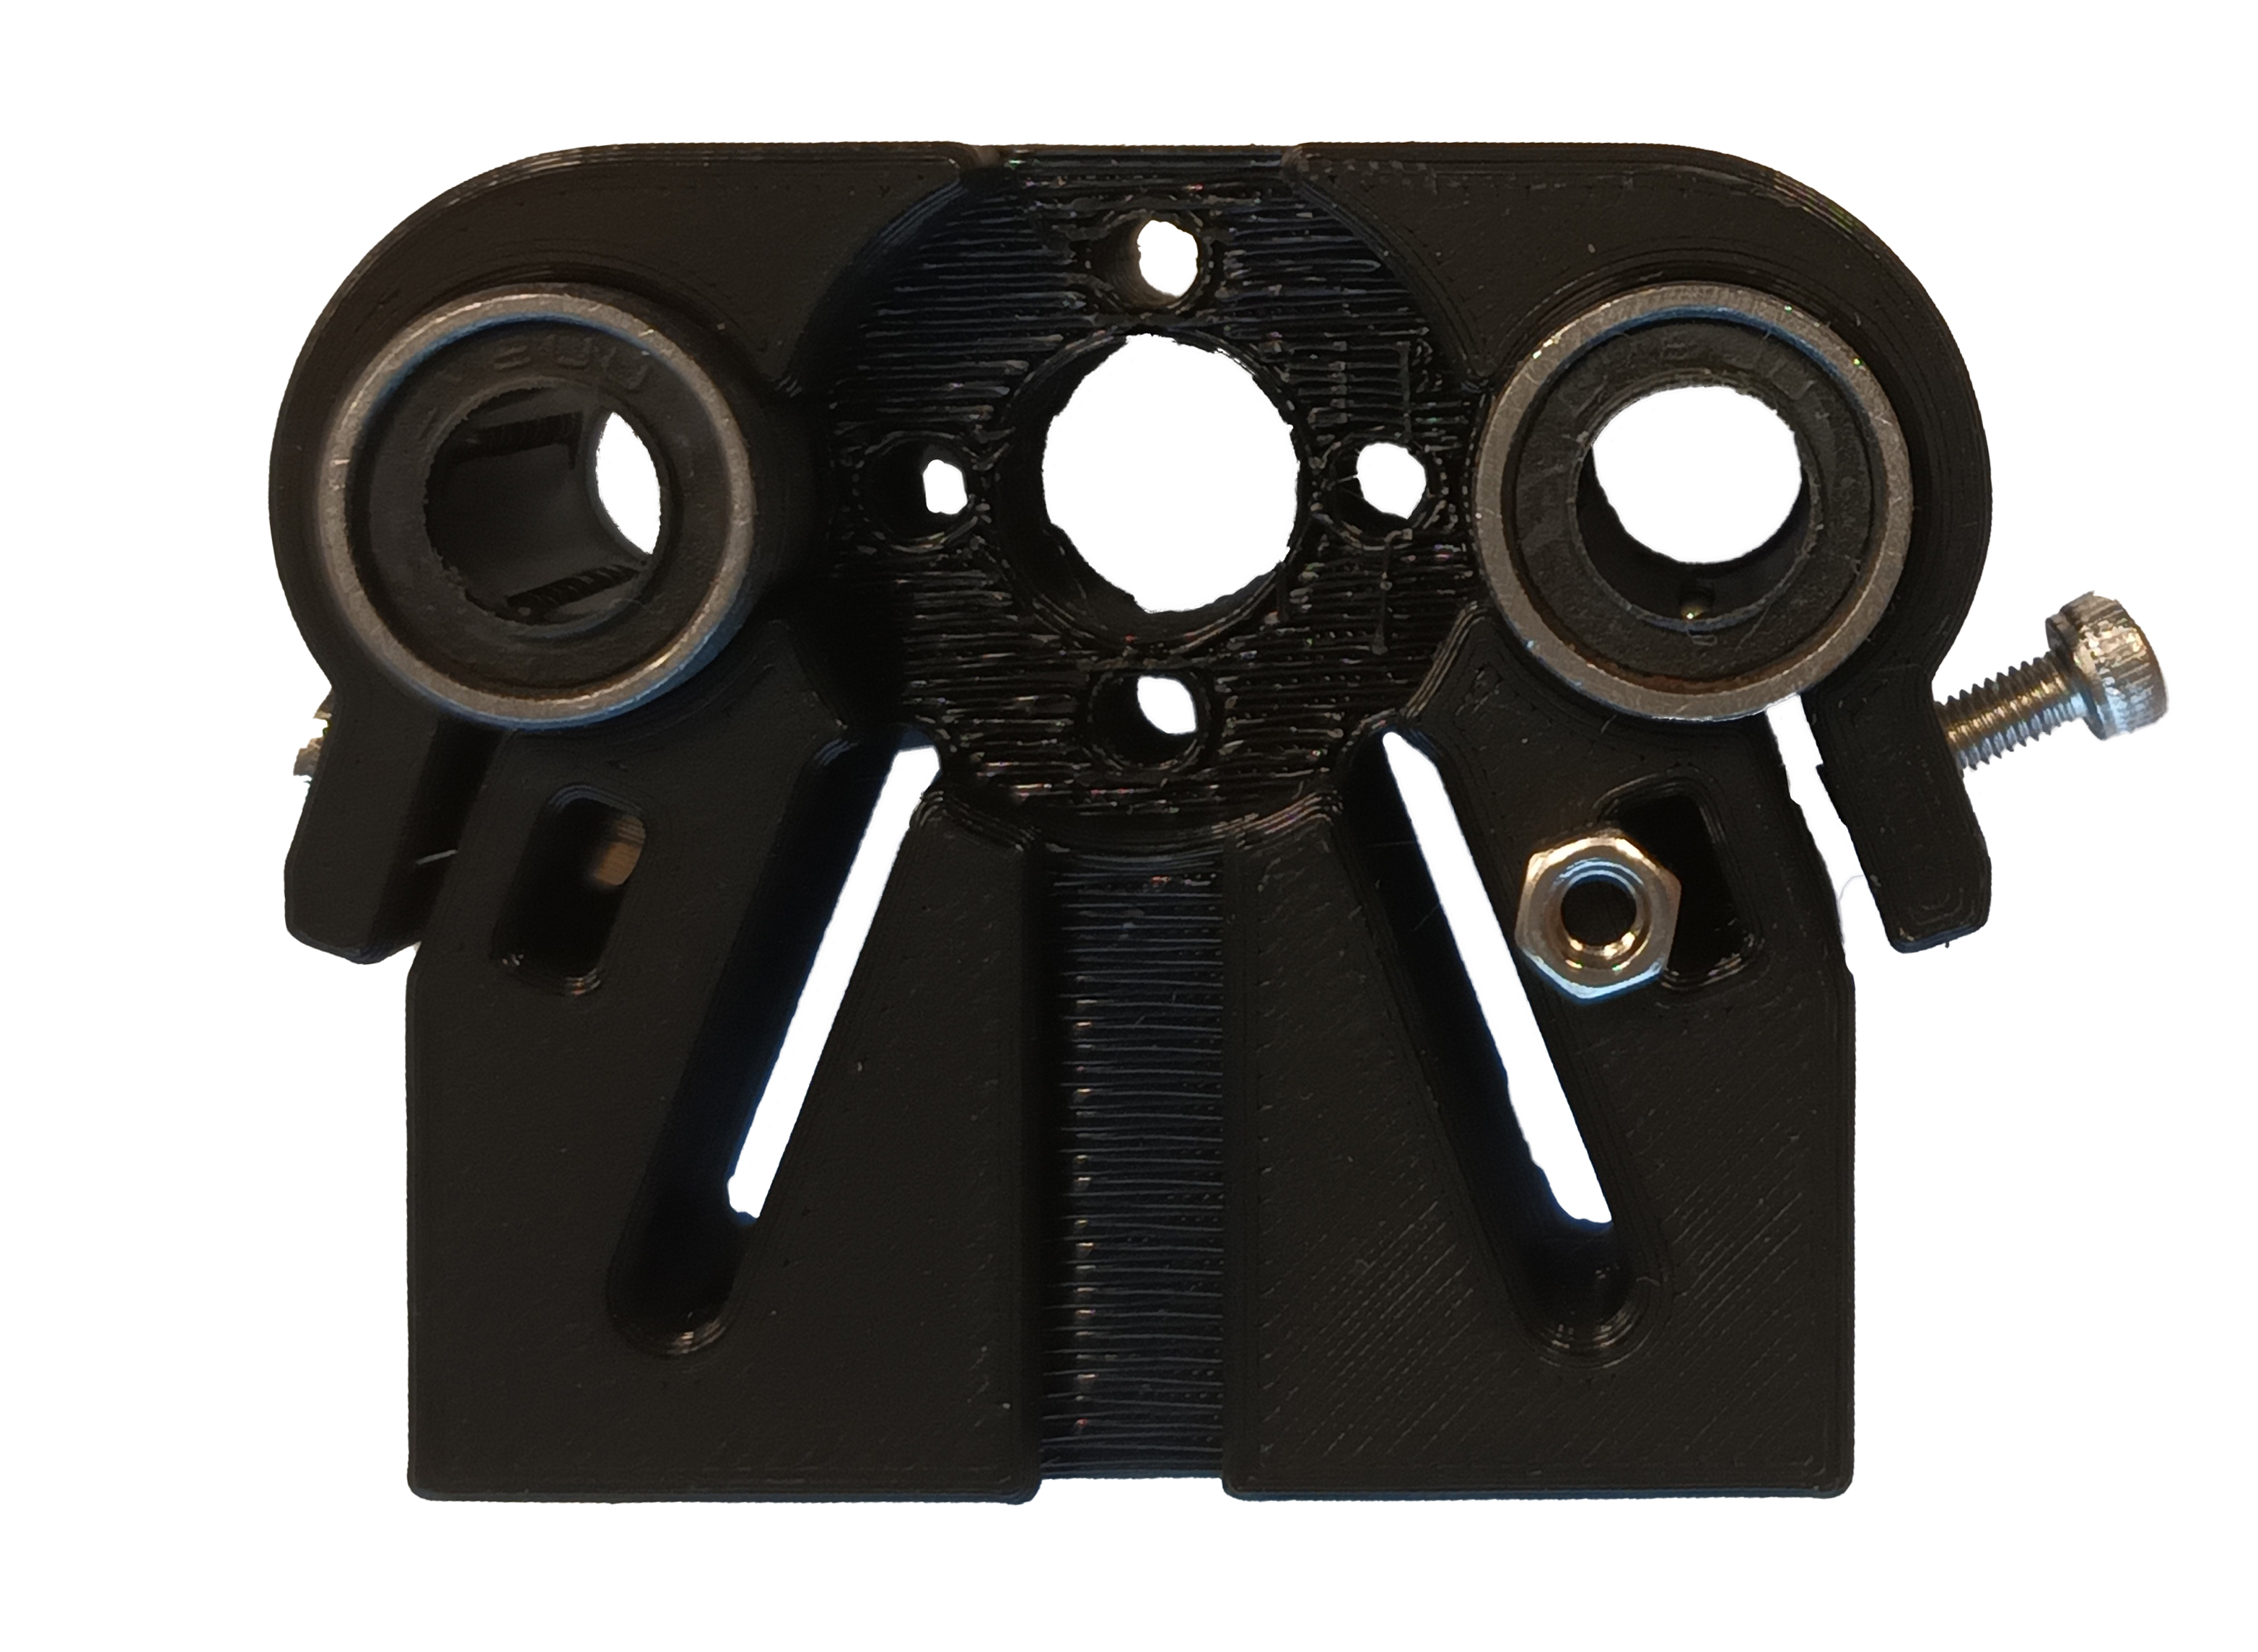
Grab the carriage and take the linear bearing and insert them into the side of the carriage. Then, take two M3 nut and insert them on the carriage and push then in. Feel free to grab whatever tools you need to push them in. Make sure they align with the screw holes on the carriage. Take two M3 10mm and a M3 hex key to tighten the linear bearings.
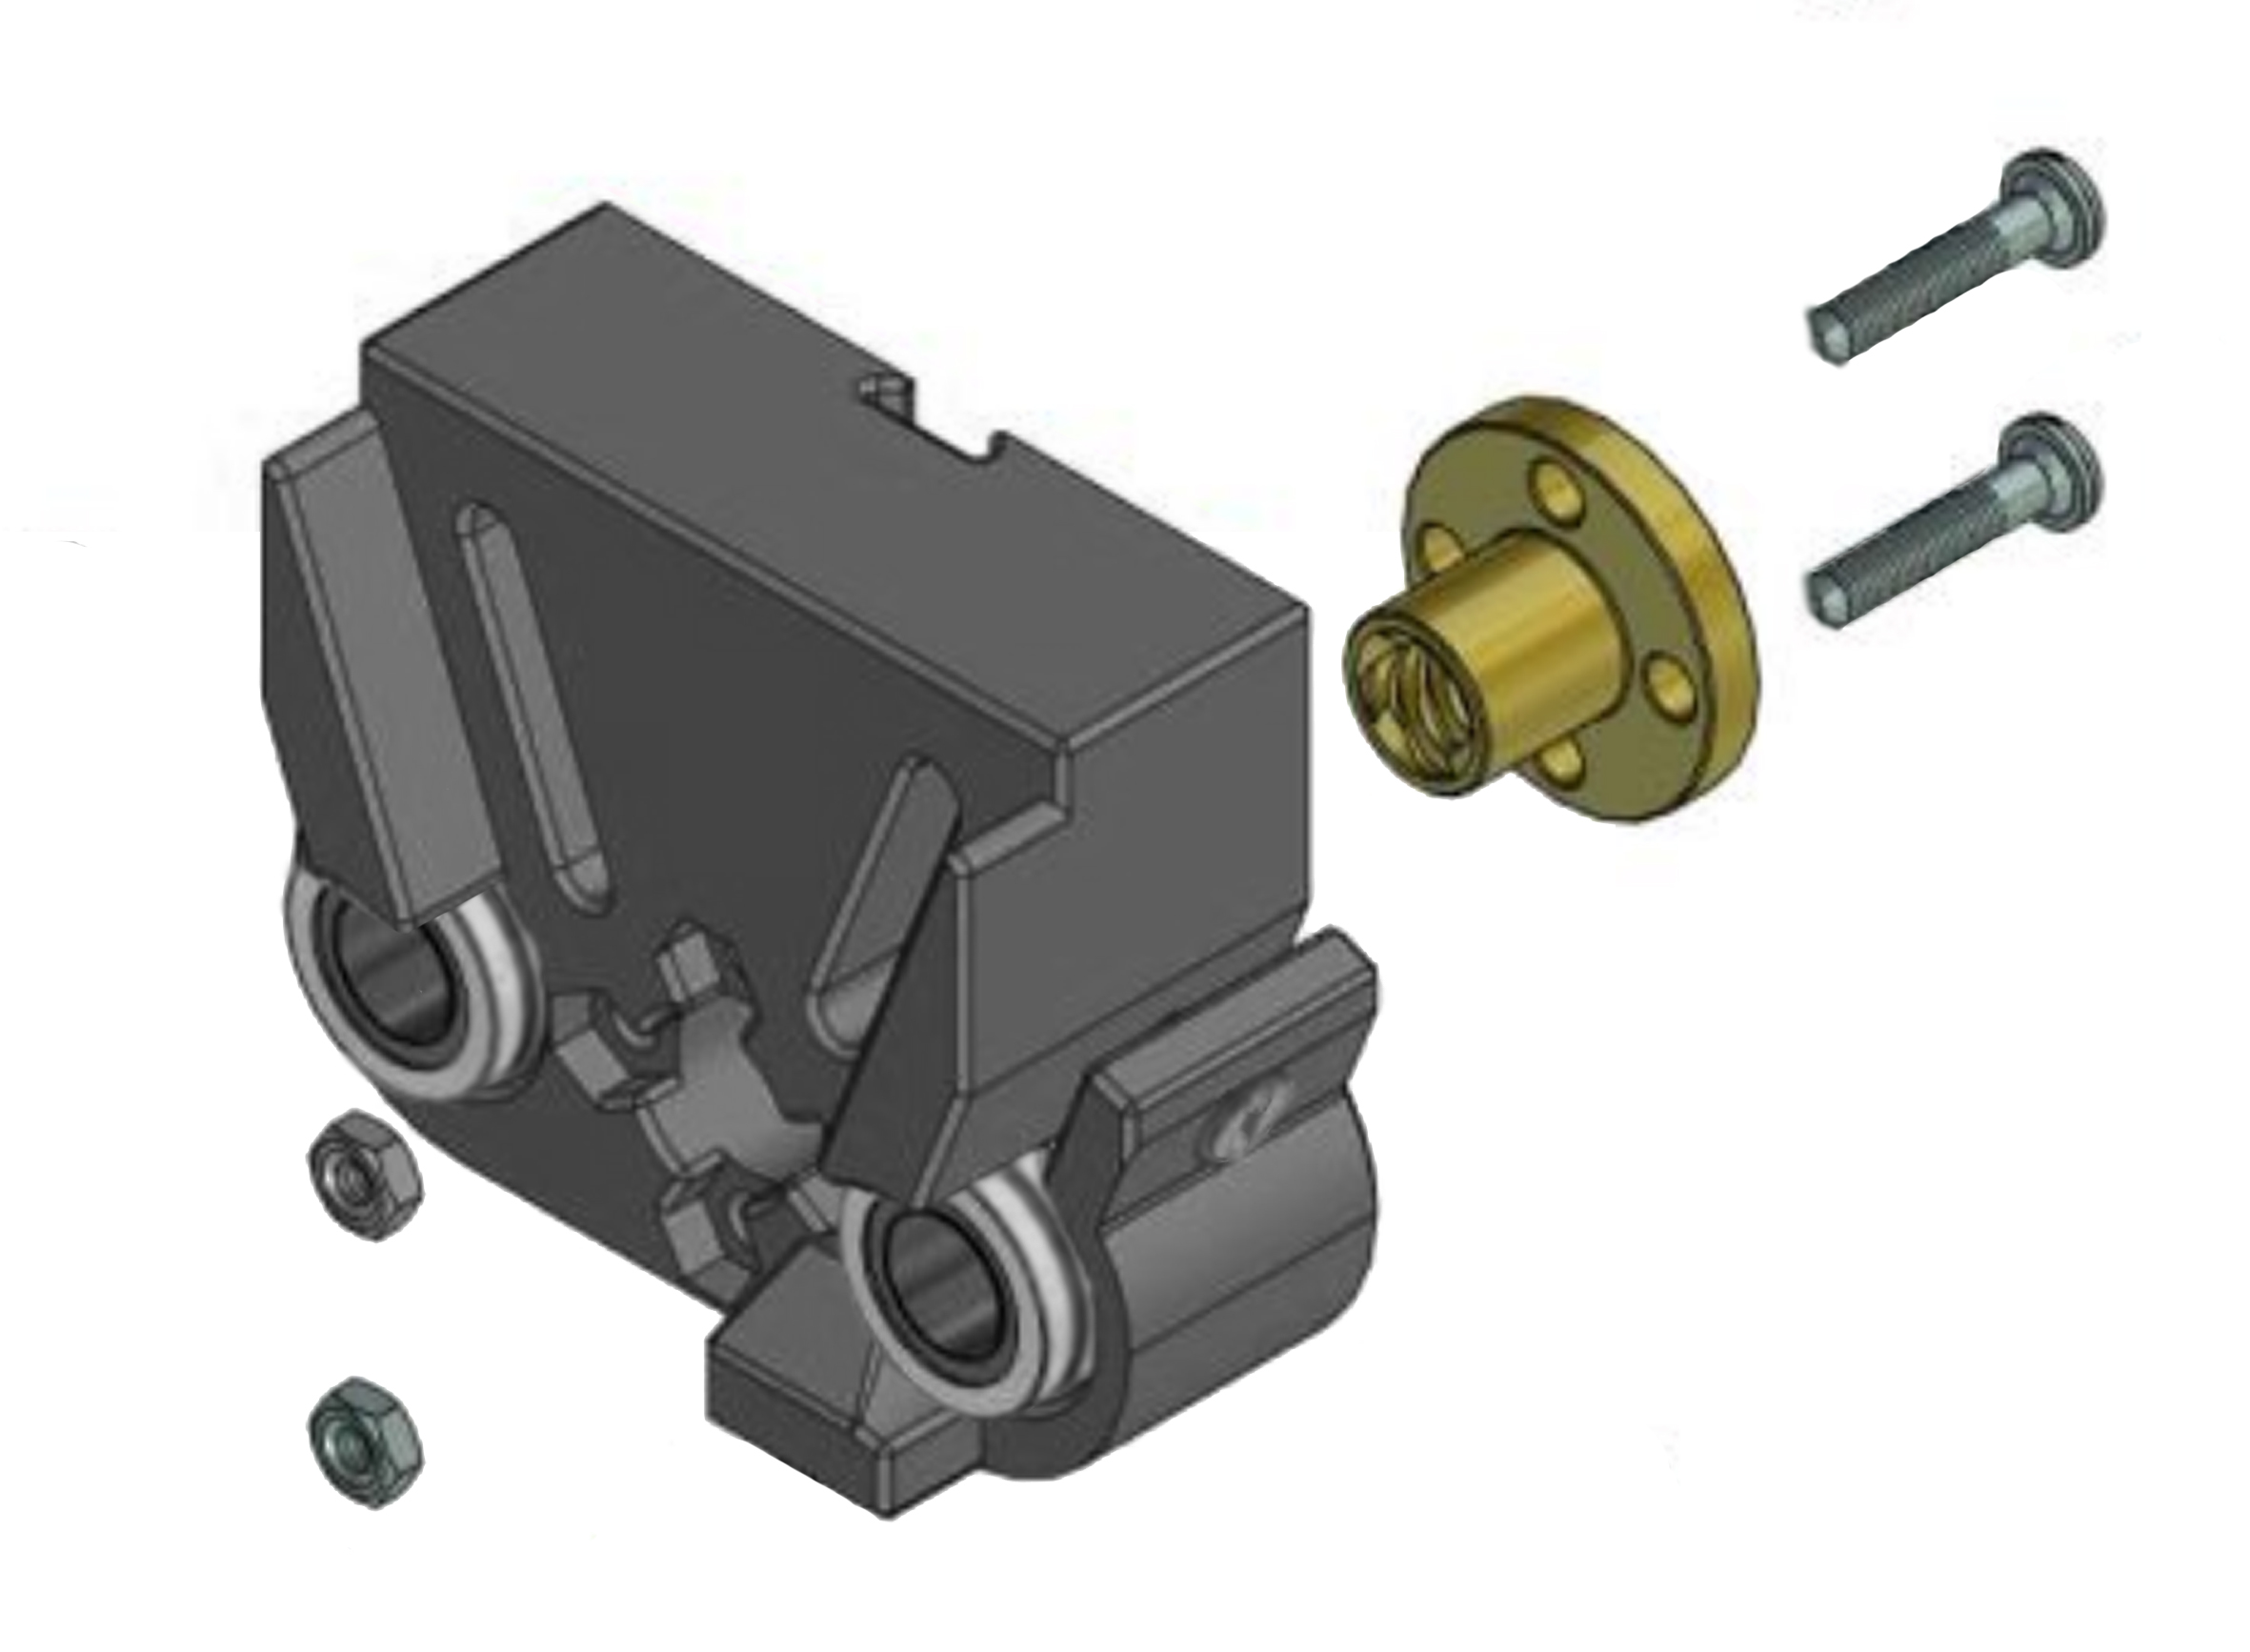
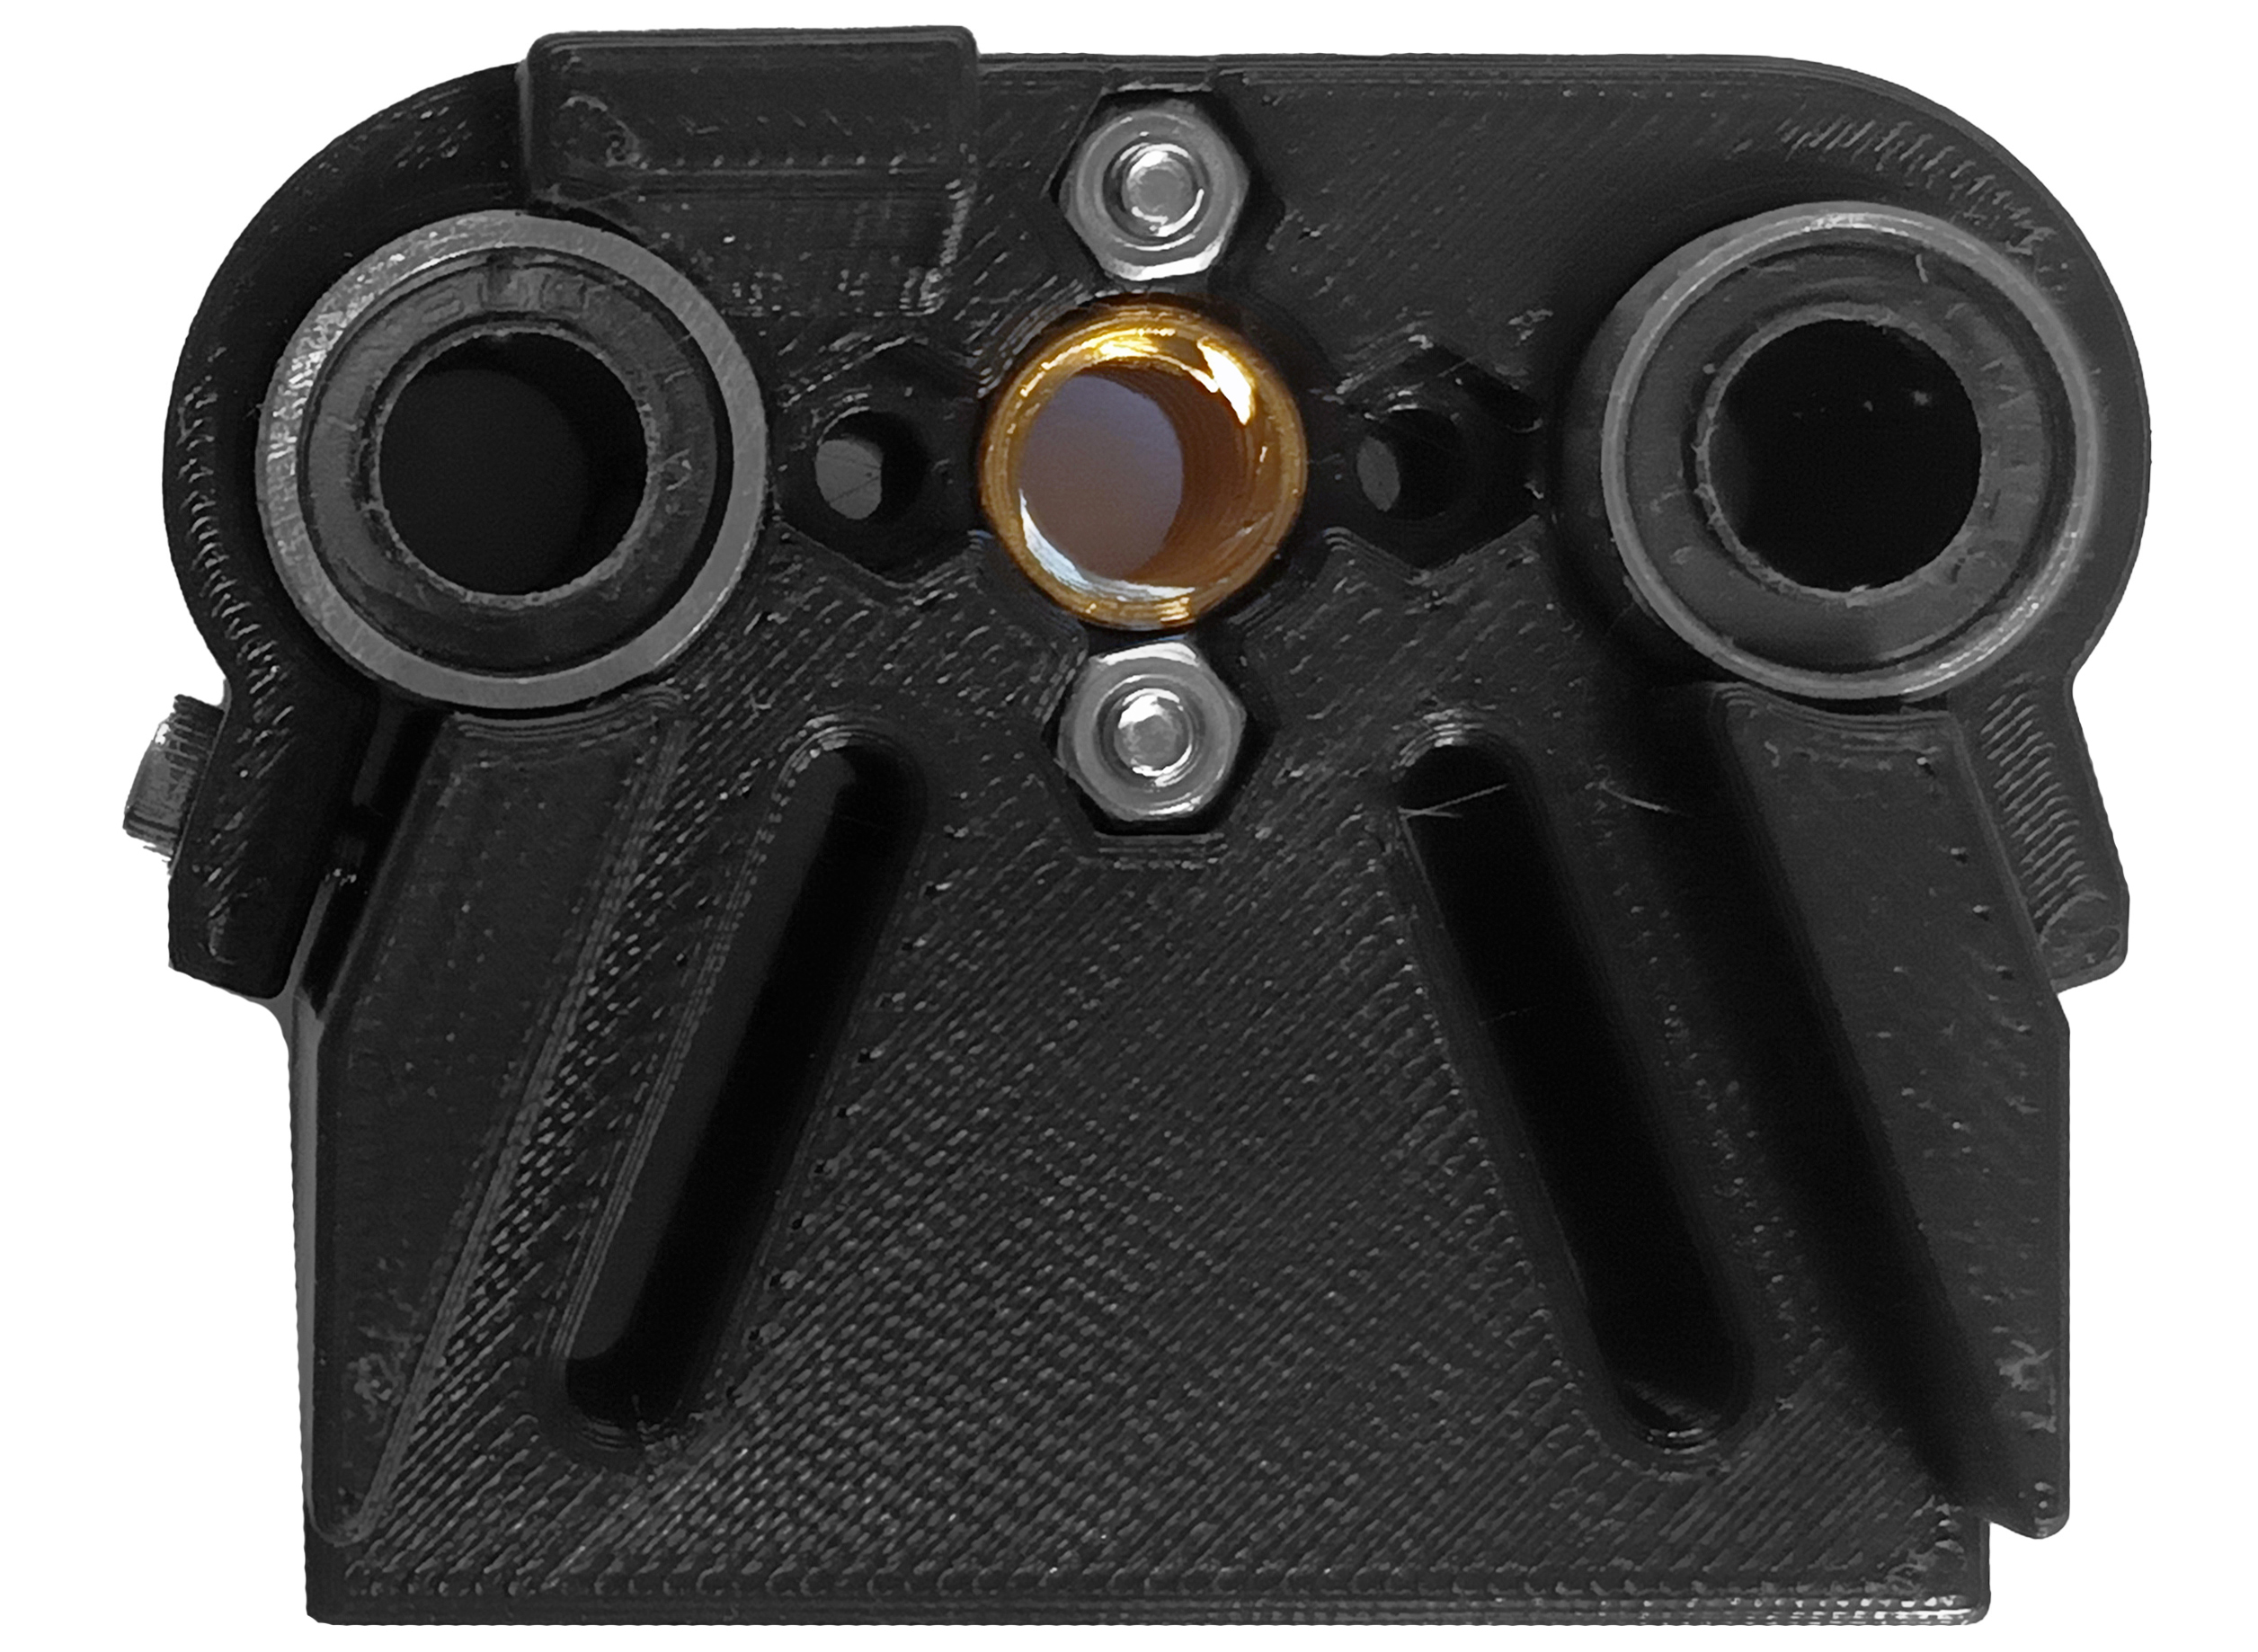
Insert the lead screw nut into the carriage and tighten it to the carriage using two M3 16mm and two M3 nut. Insert the screws in opposite side to hold the lead screw nut properly.
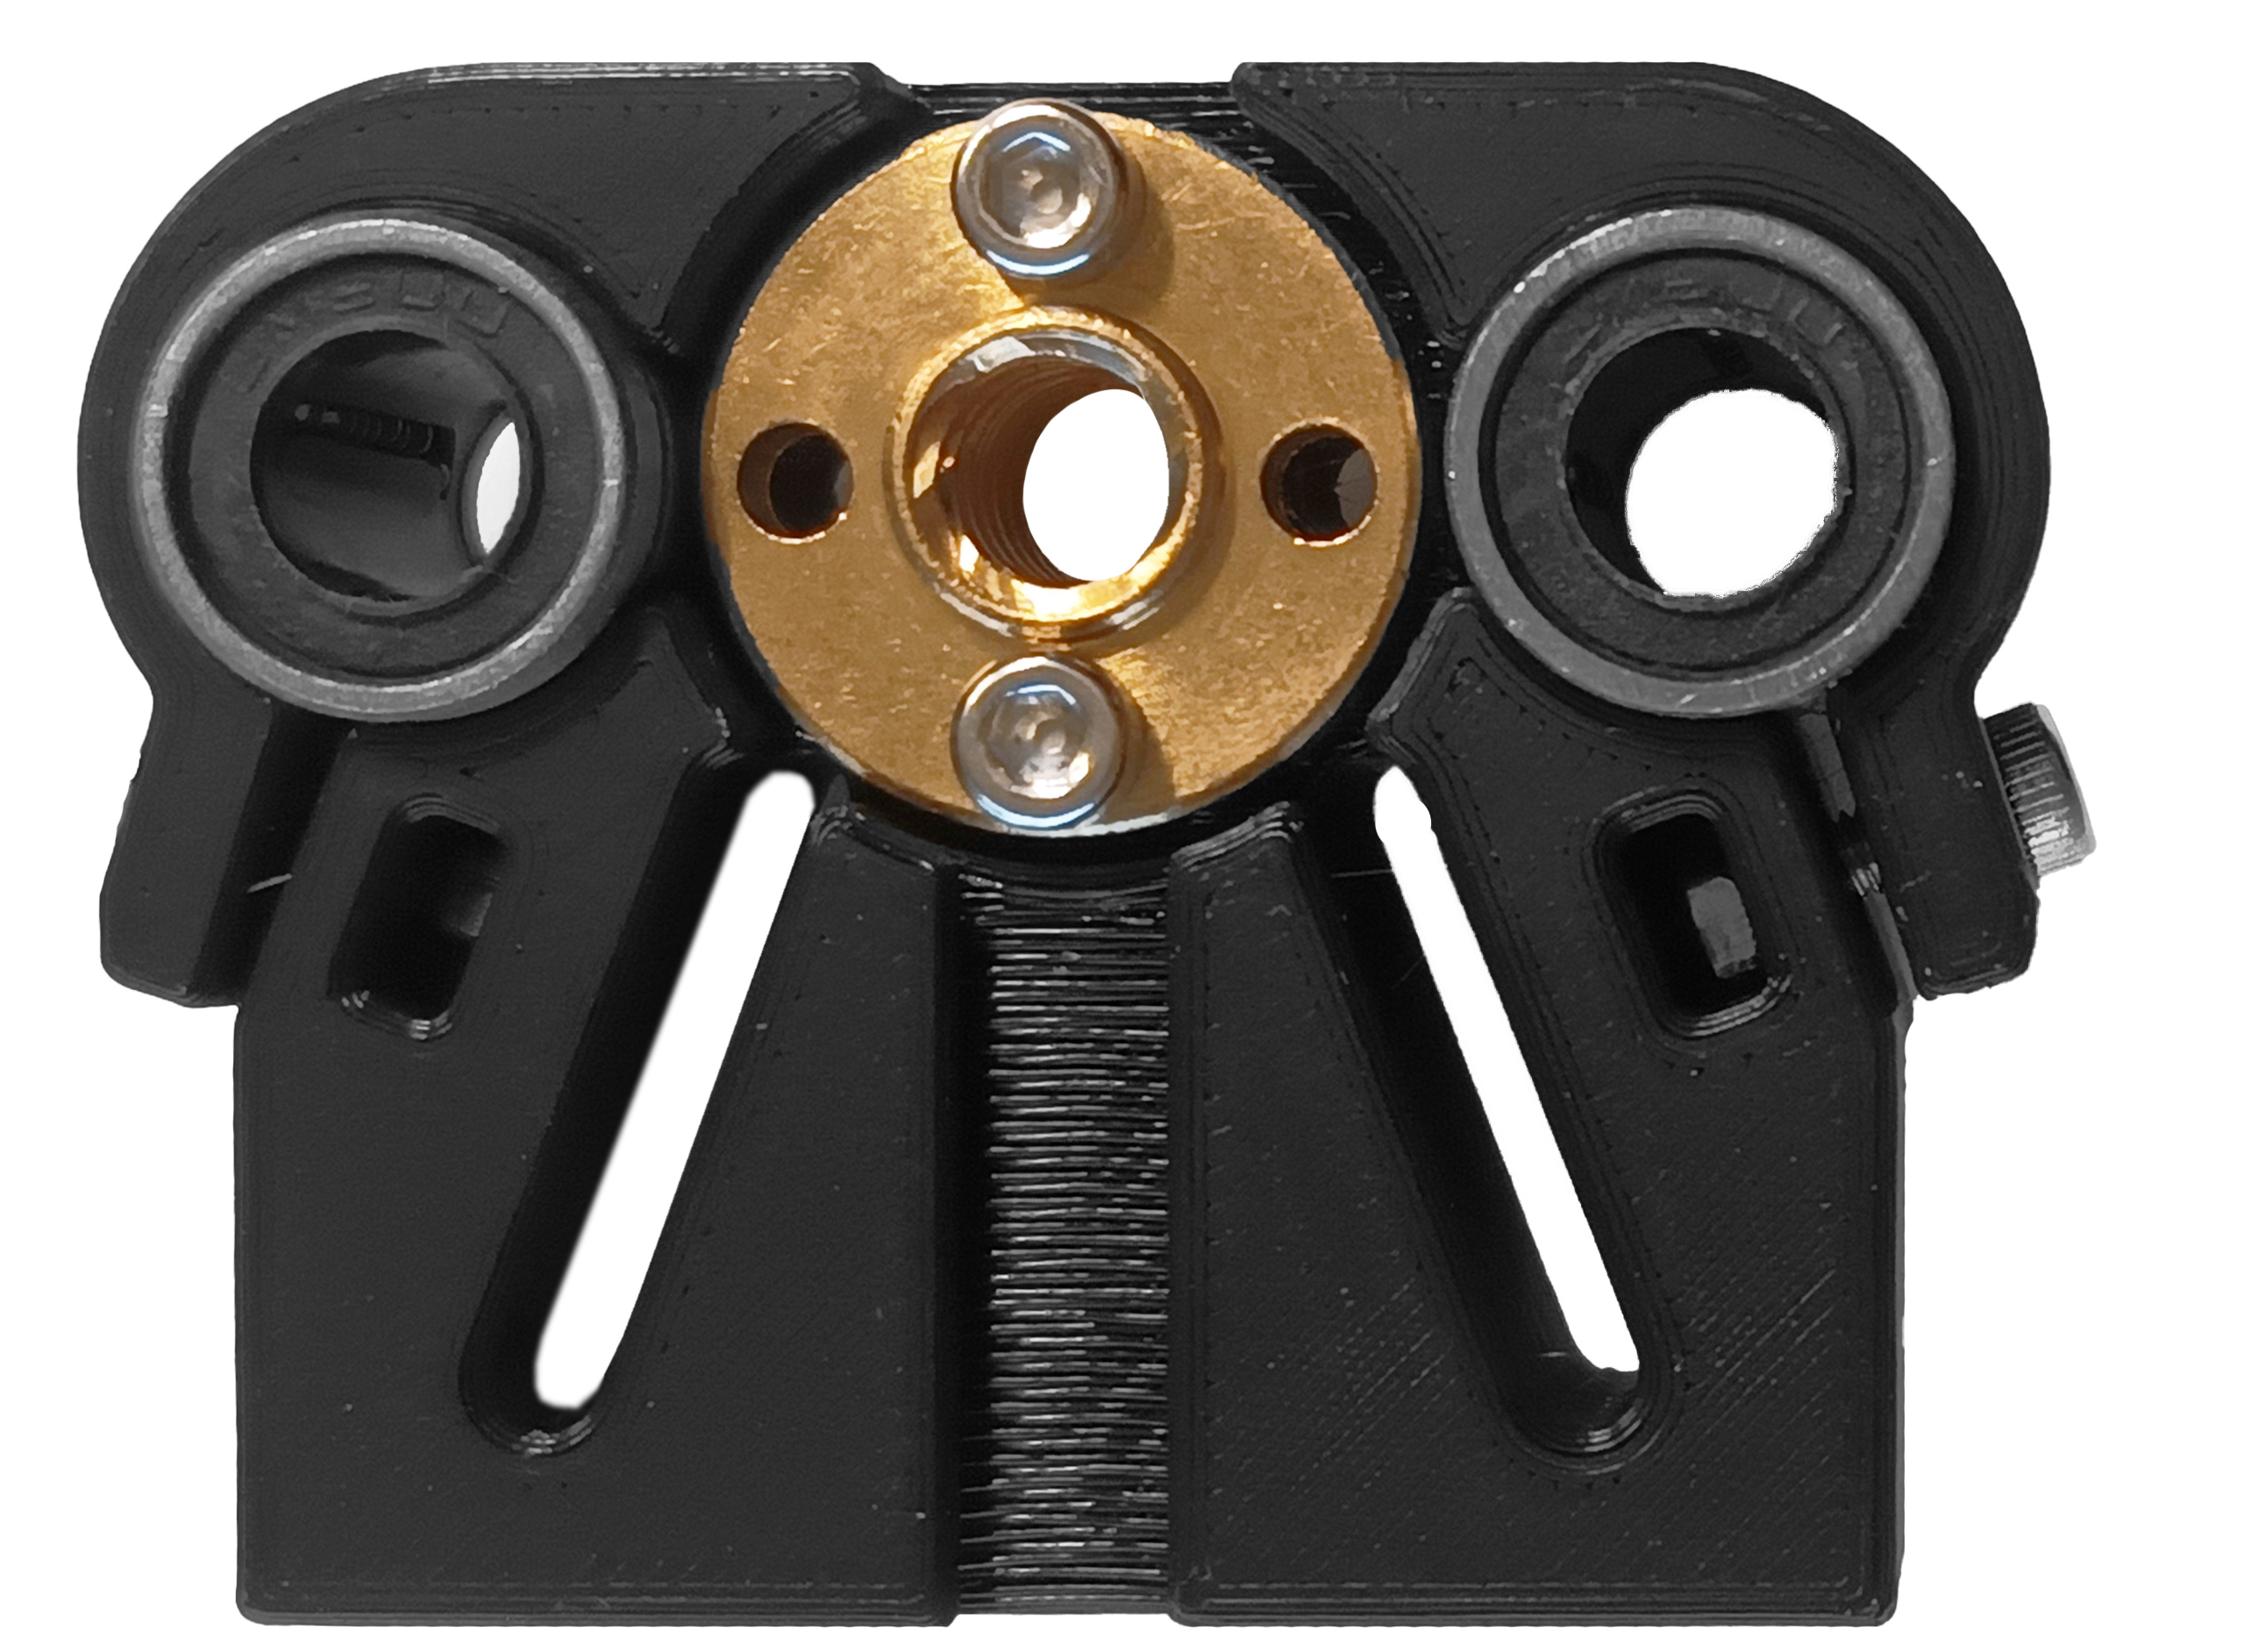
Push the linear rails into the linear bearings in the carriage and insert the lead screw into the nut. Then, manually thread it up to the middle of the linear rails.
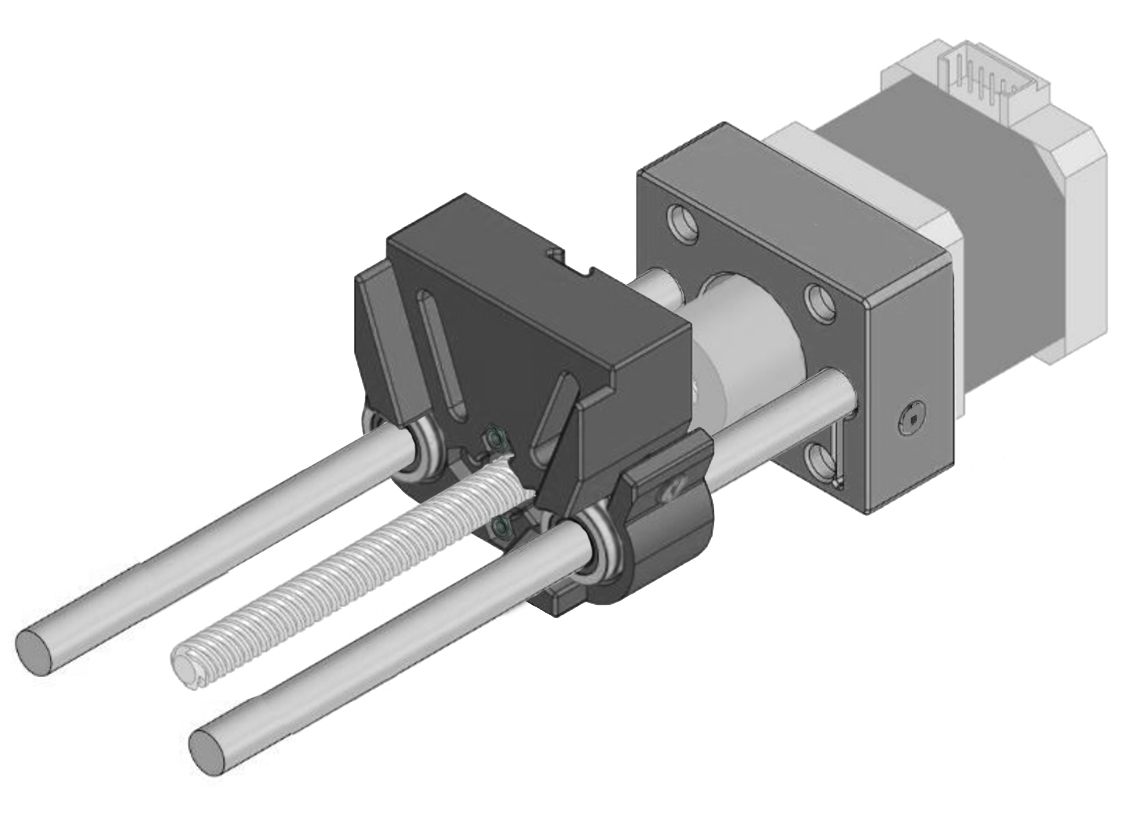
Step 5: Assemble the front support
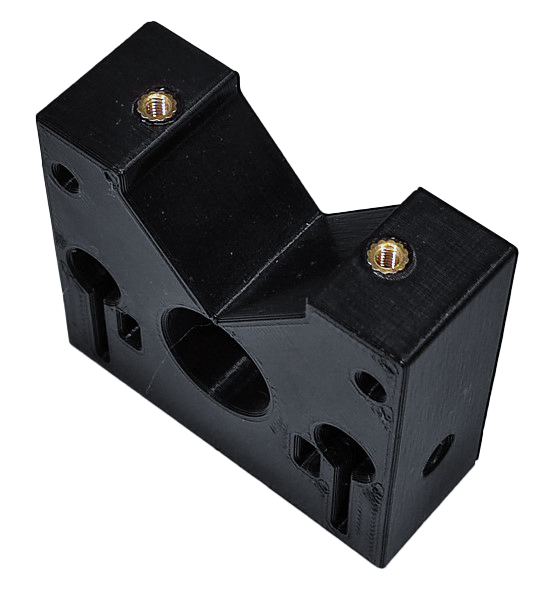
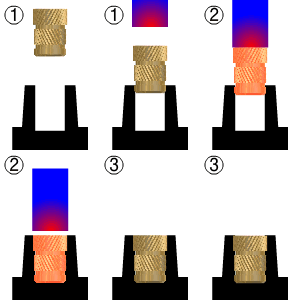
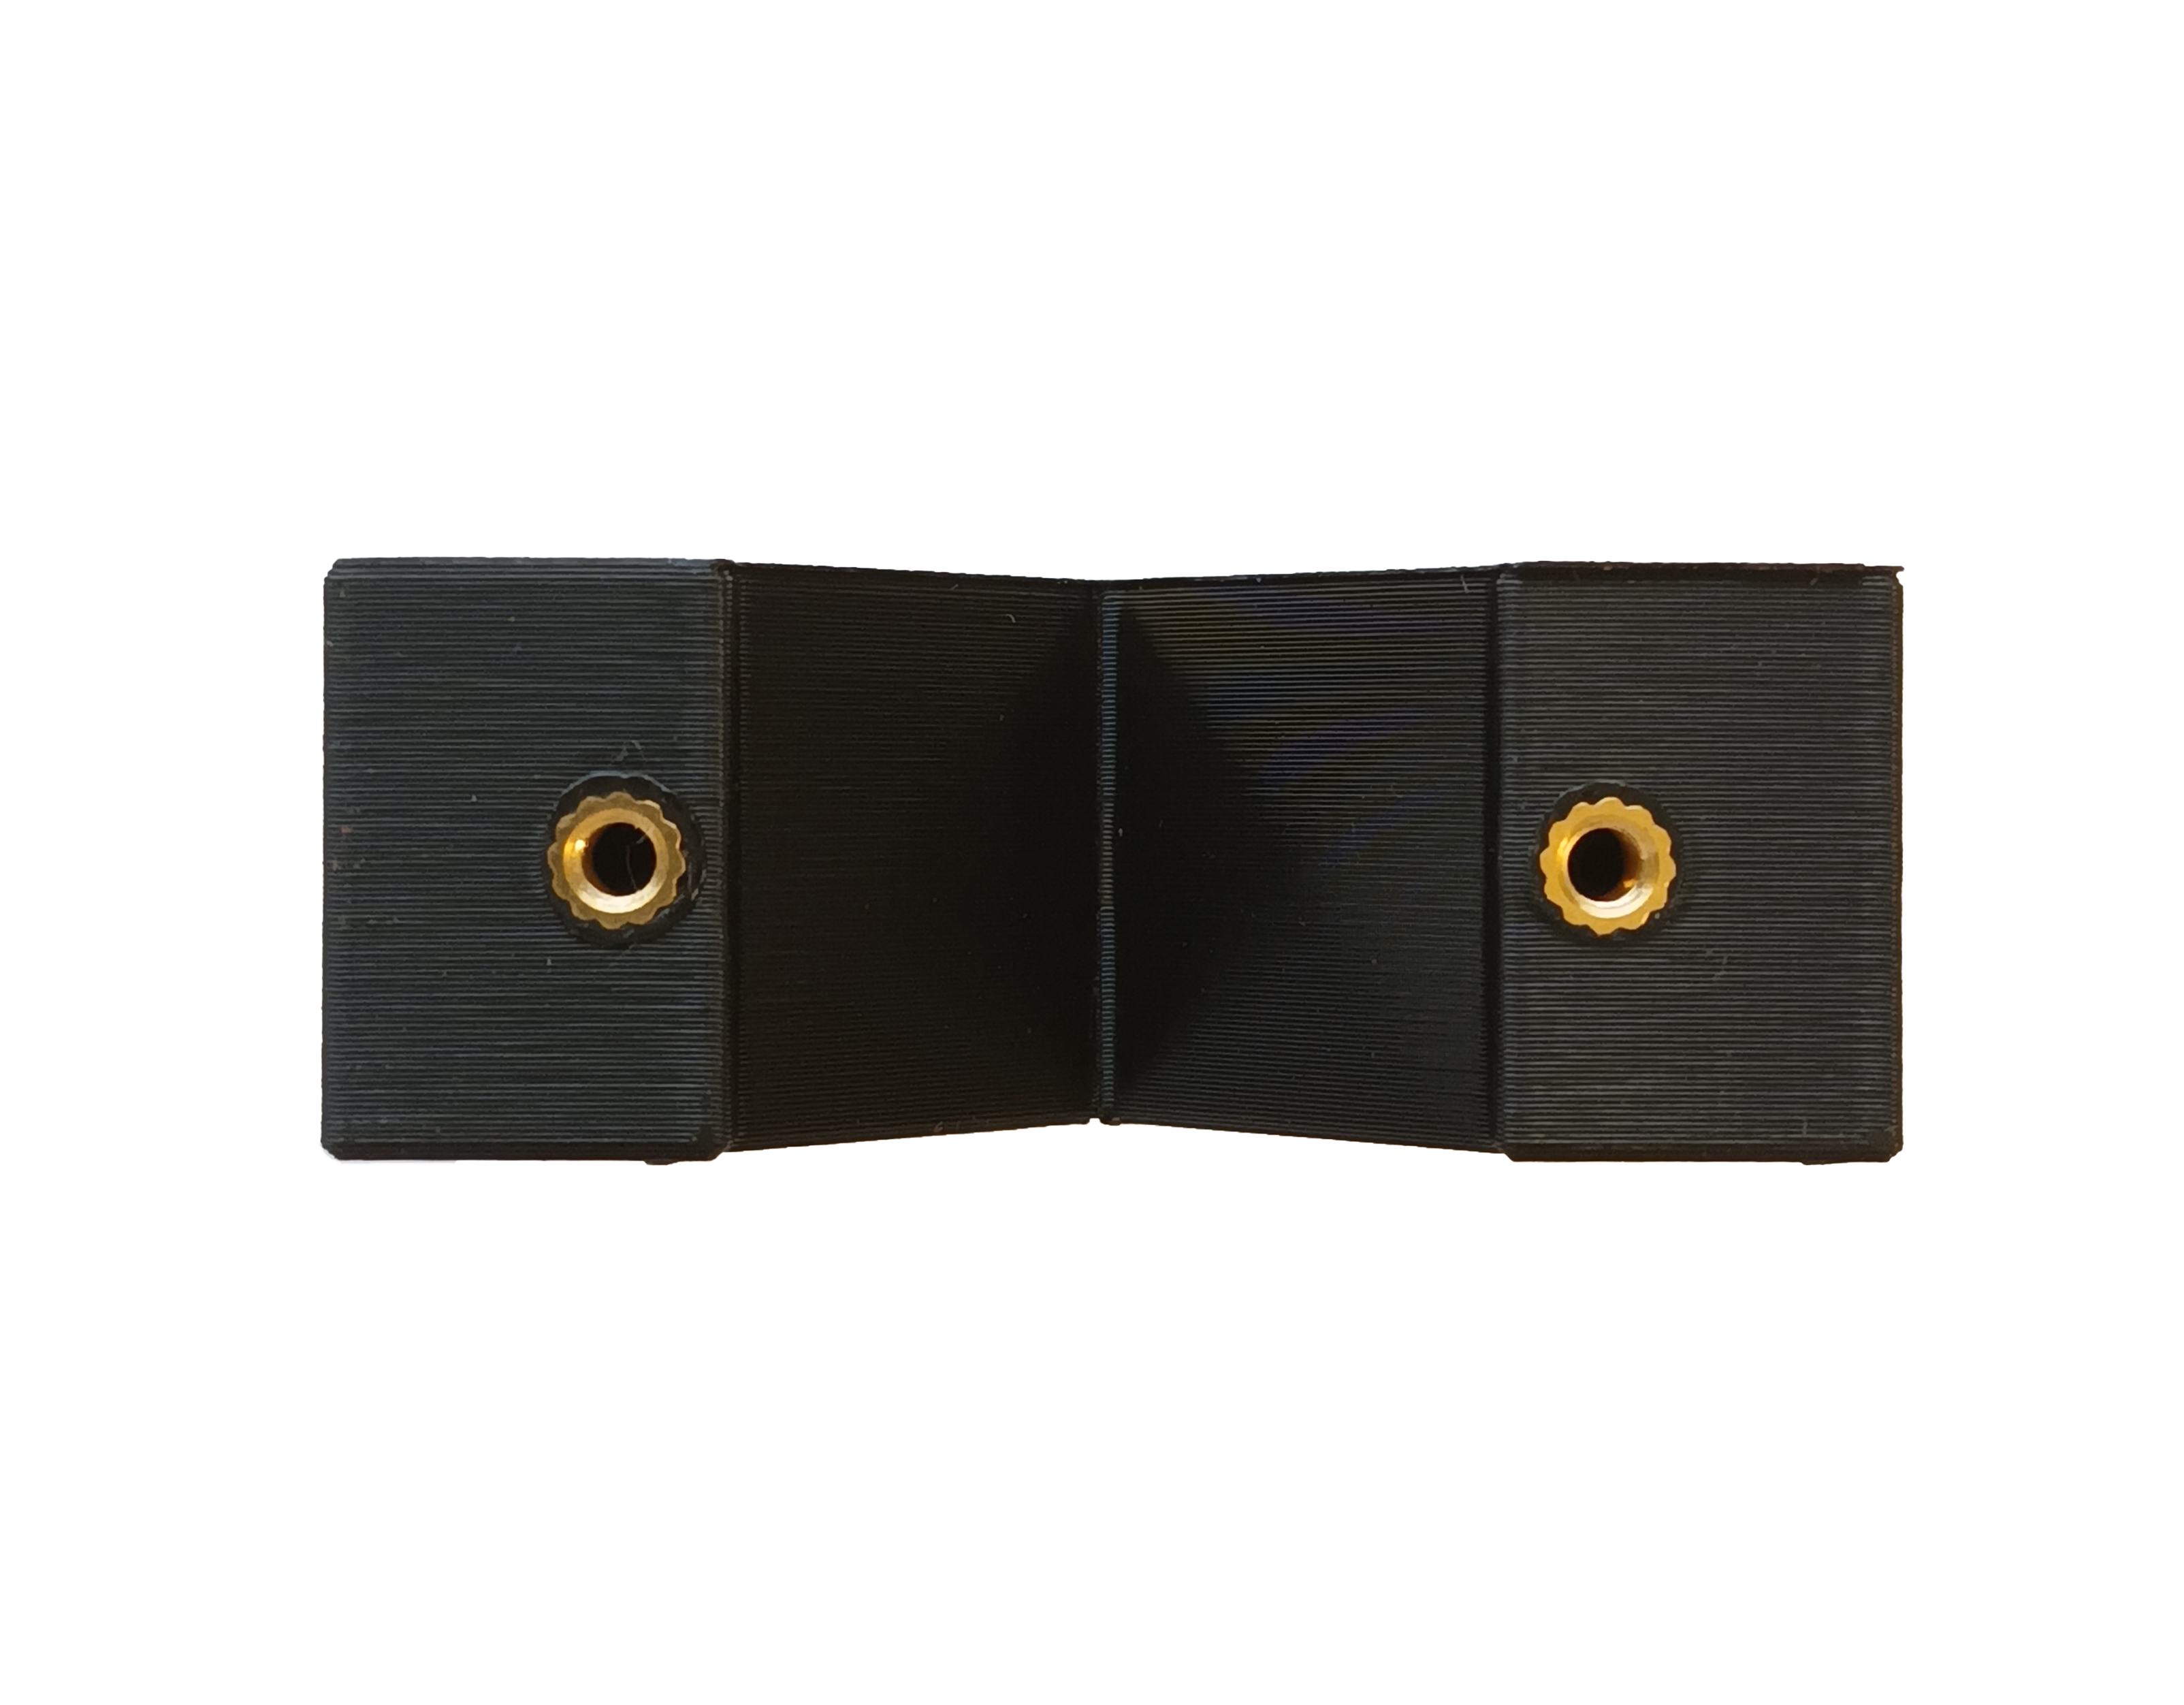
Grab the front support, take two heat insert and positionate them in each hole of the front support. Apply heat to each insert (using a soldering iron) and use gentle force to push it into position, as described in the guide to use heat-set inserts.
Step 6: Assemble hand knobs
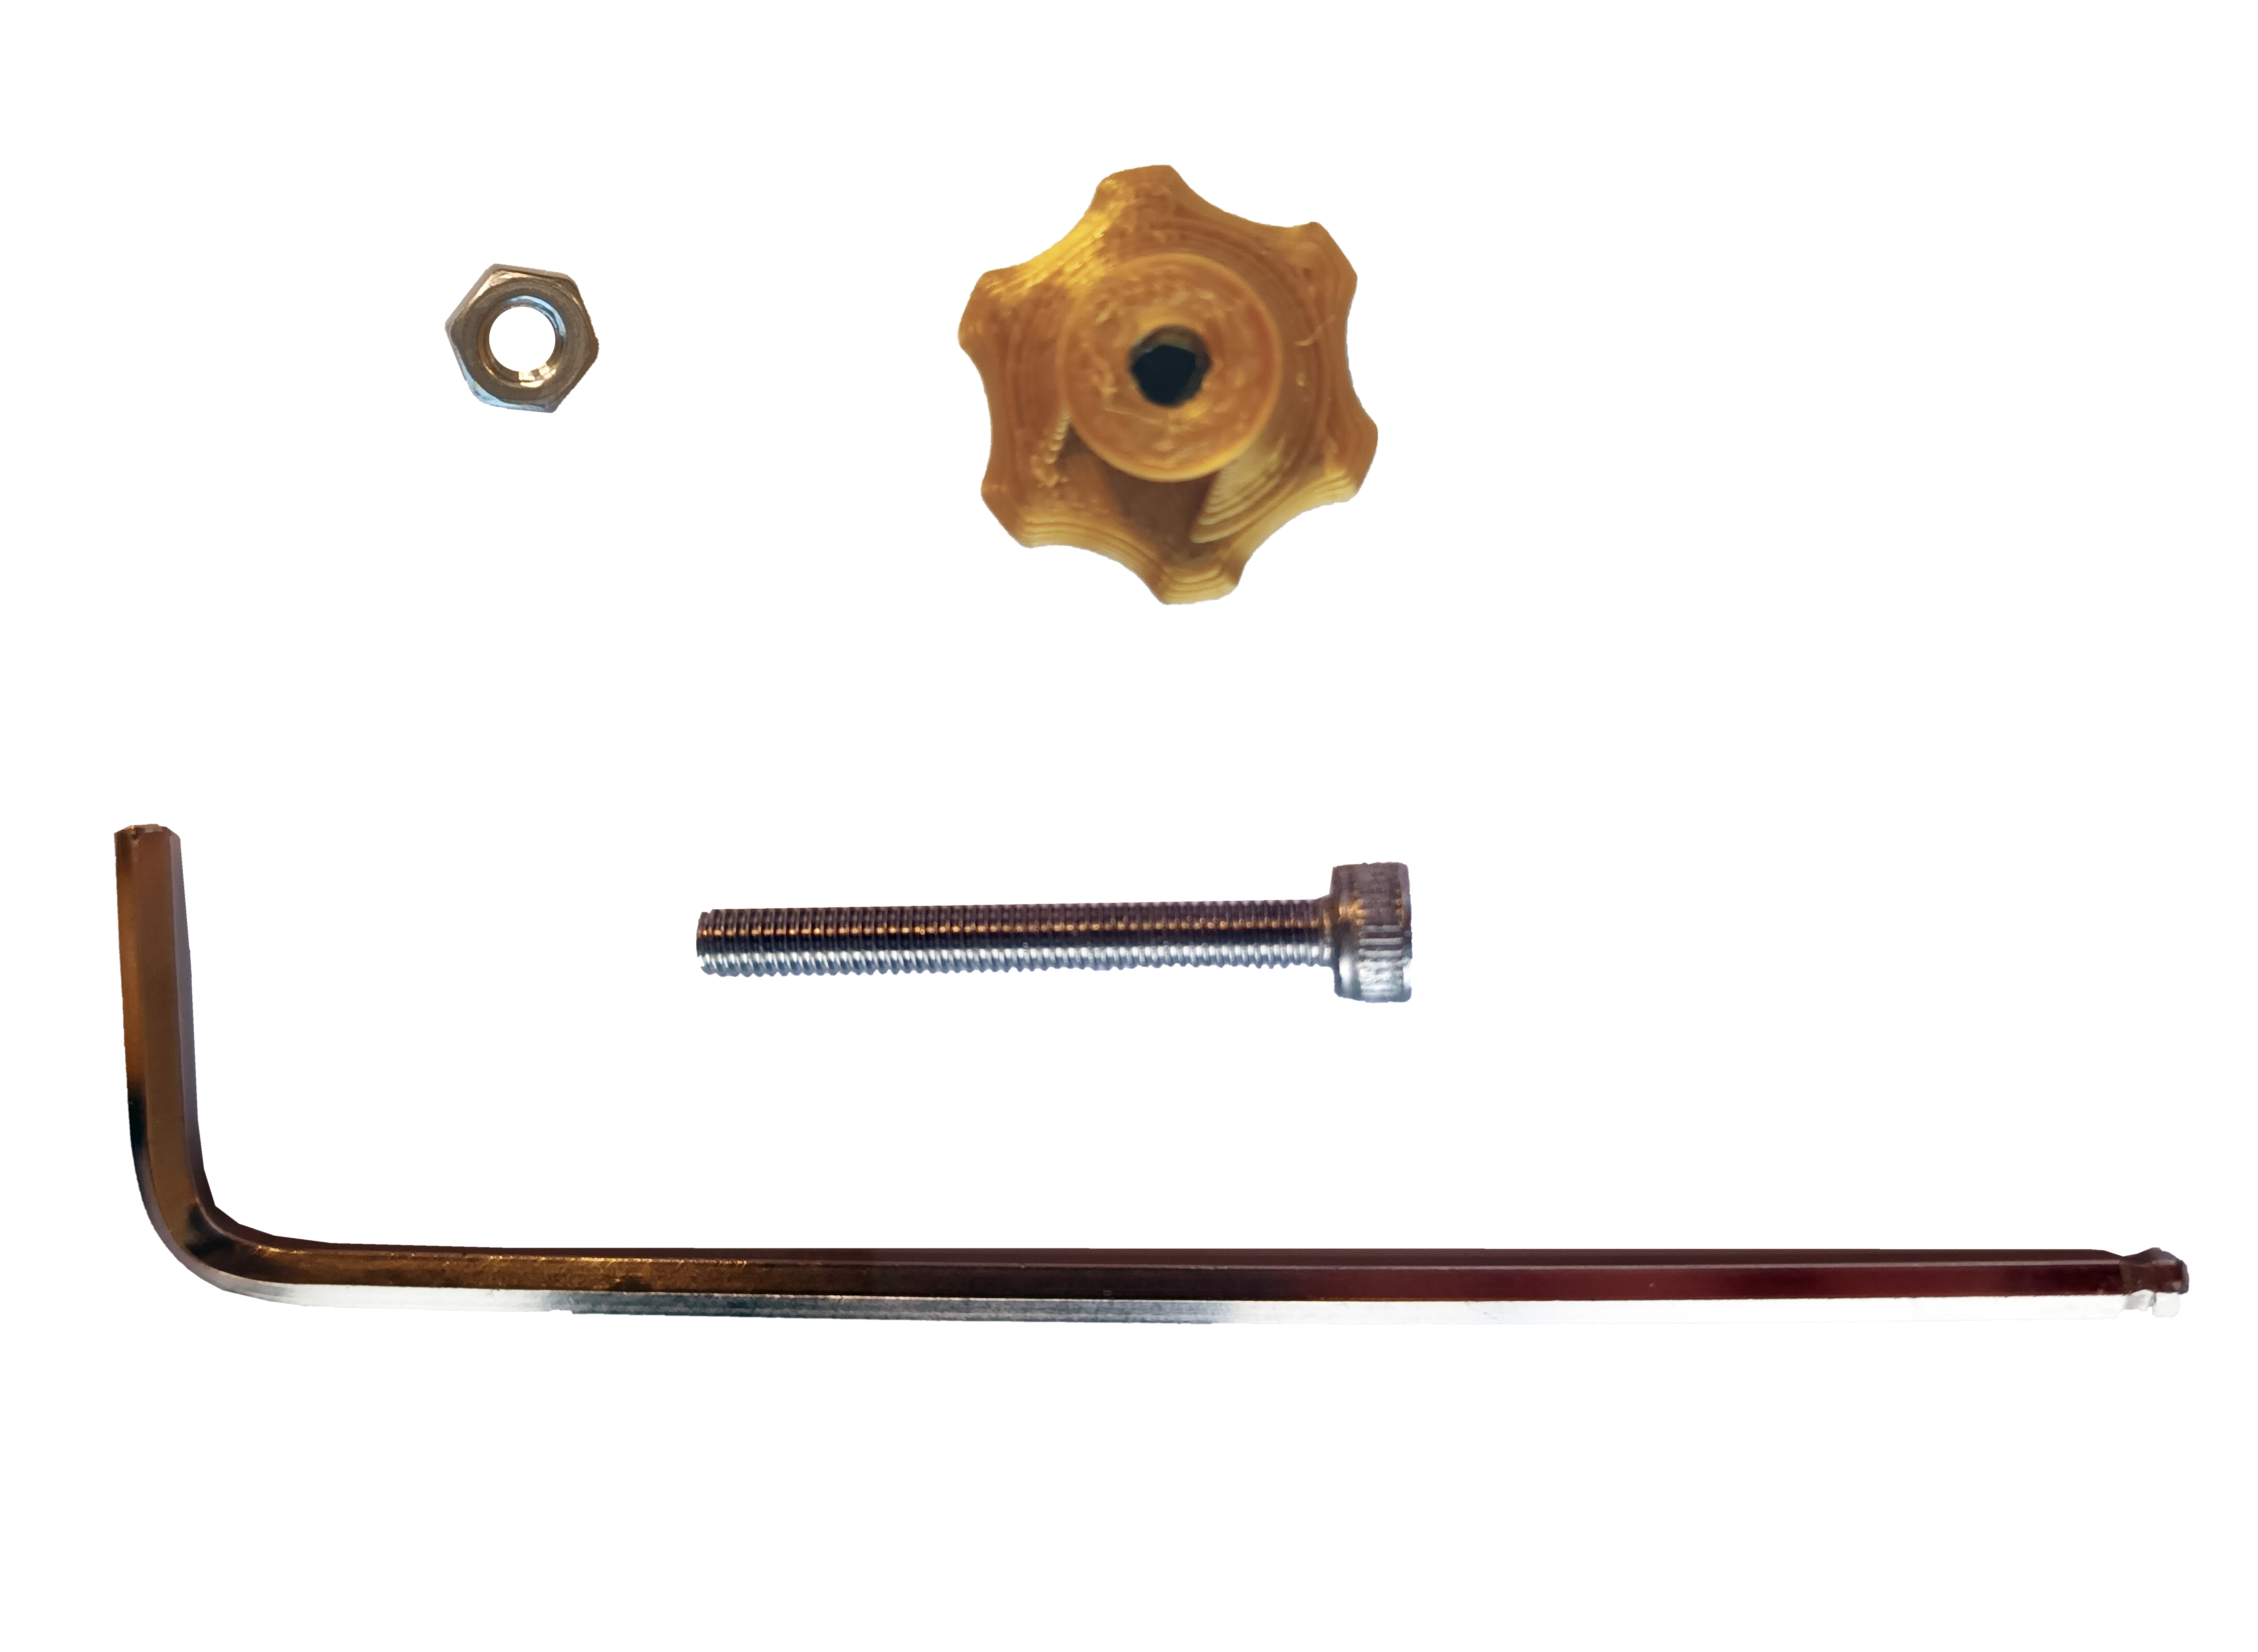
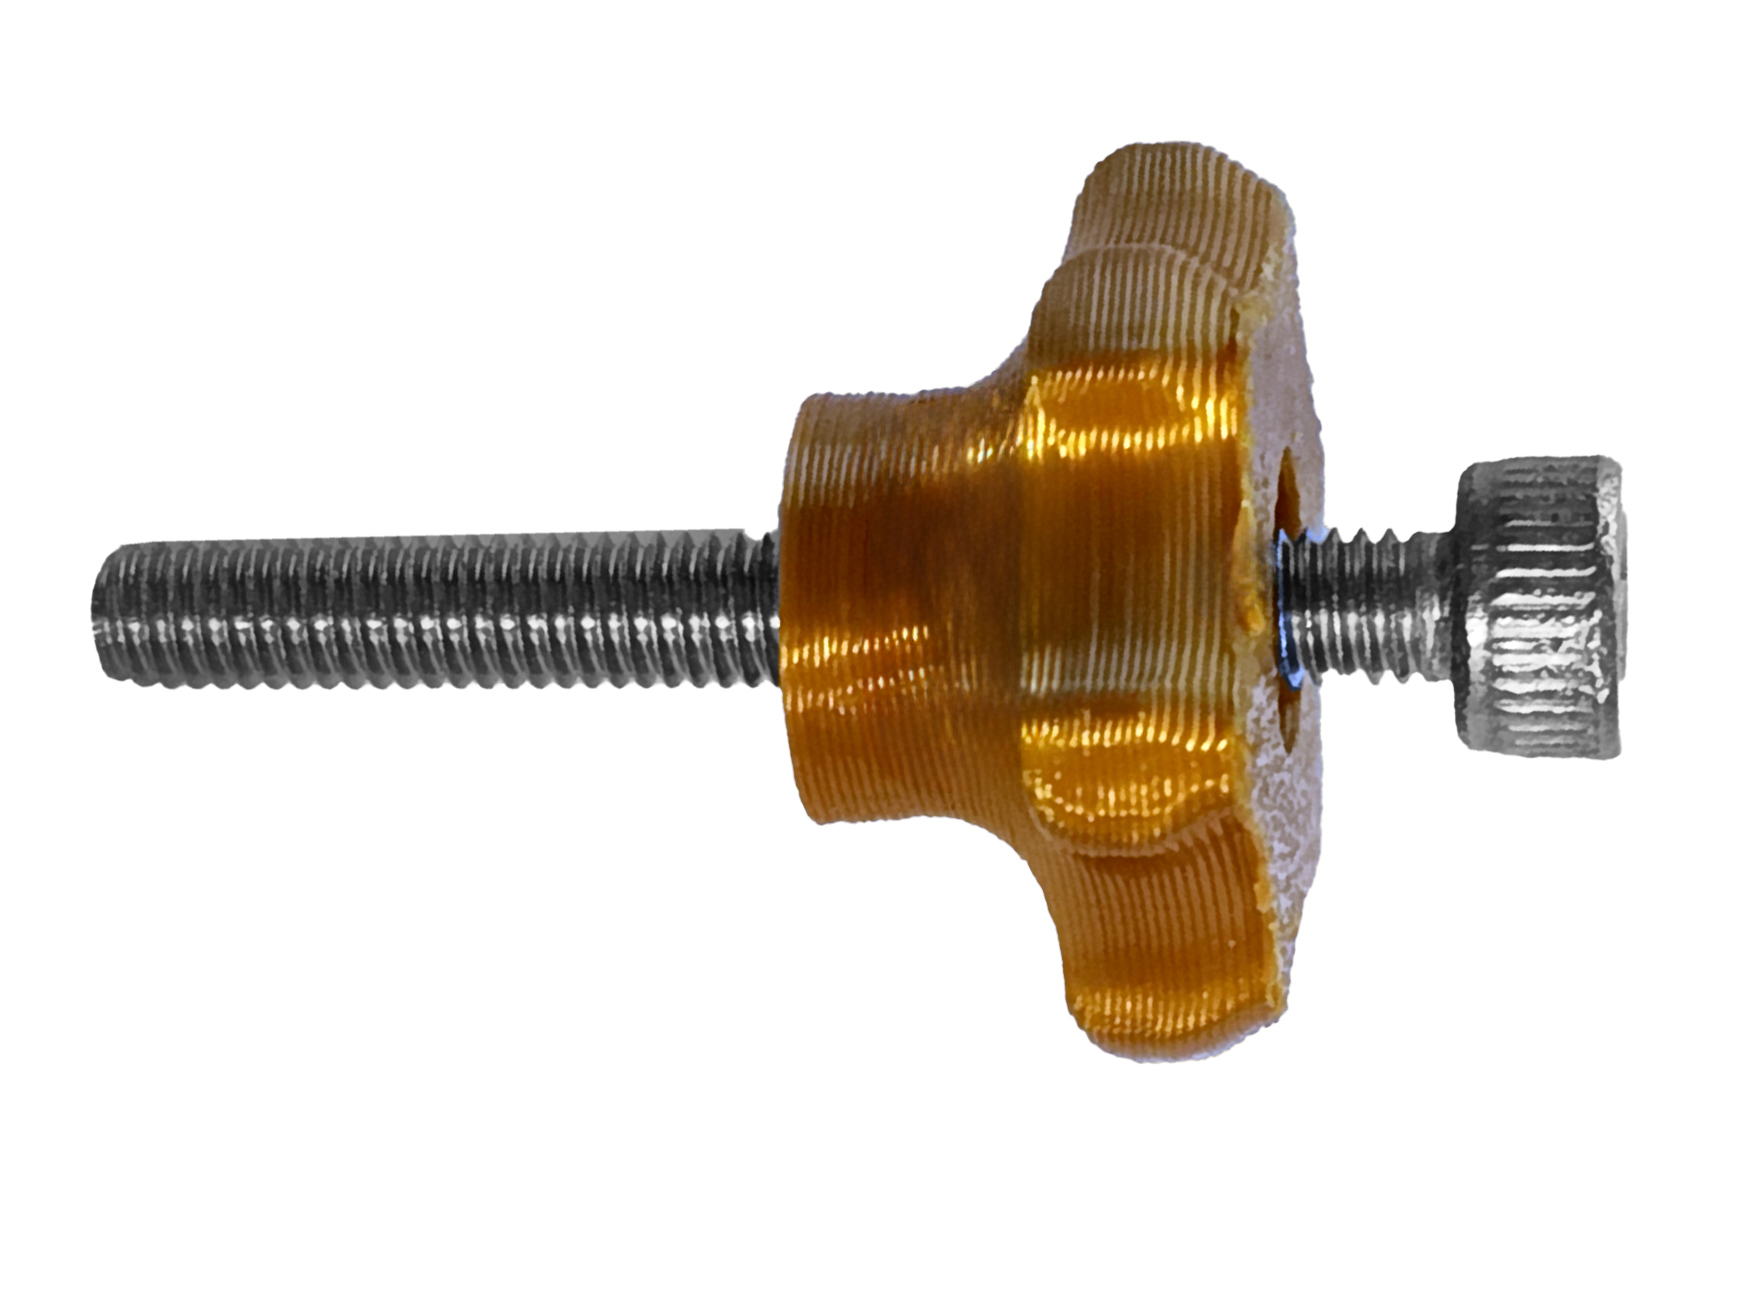
Insert a M3 nut into the nut trap of the hand knob. Take a M3 20mm and thread it all. Repeat this step with the second knob.
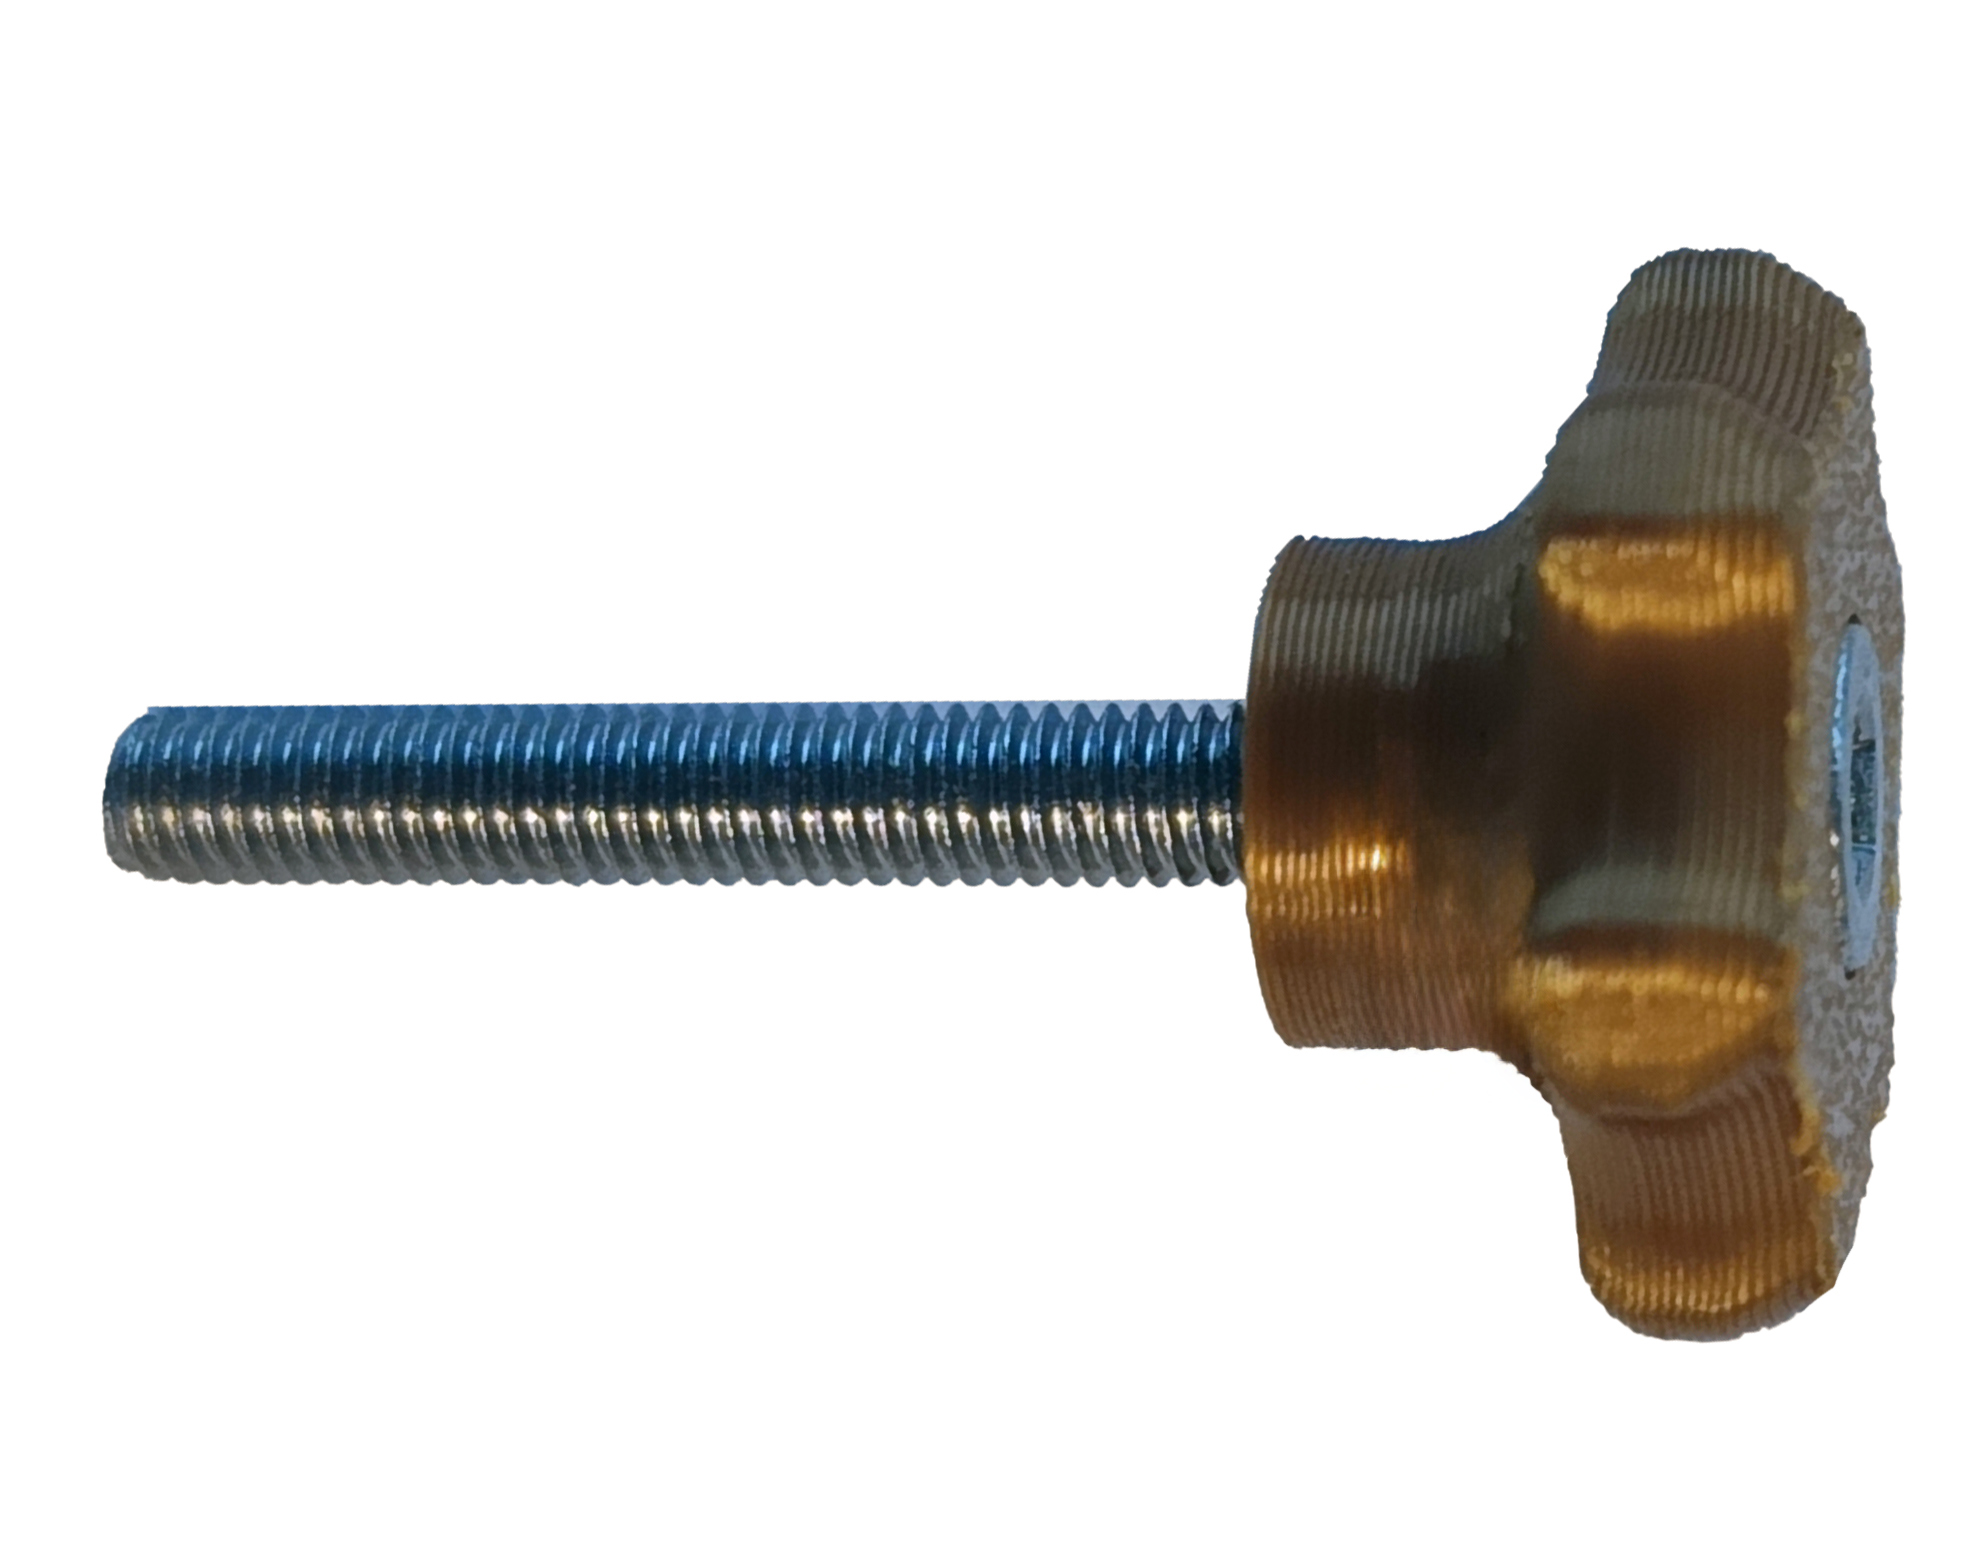
Step 7: Assemble the front support and the linear rails
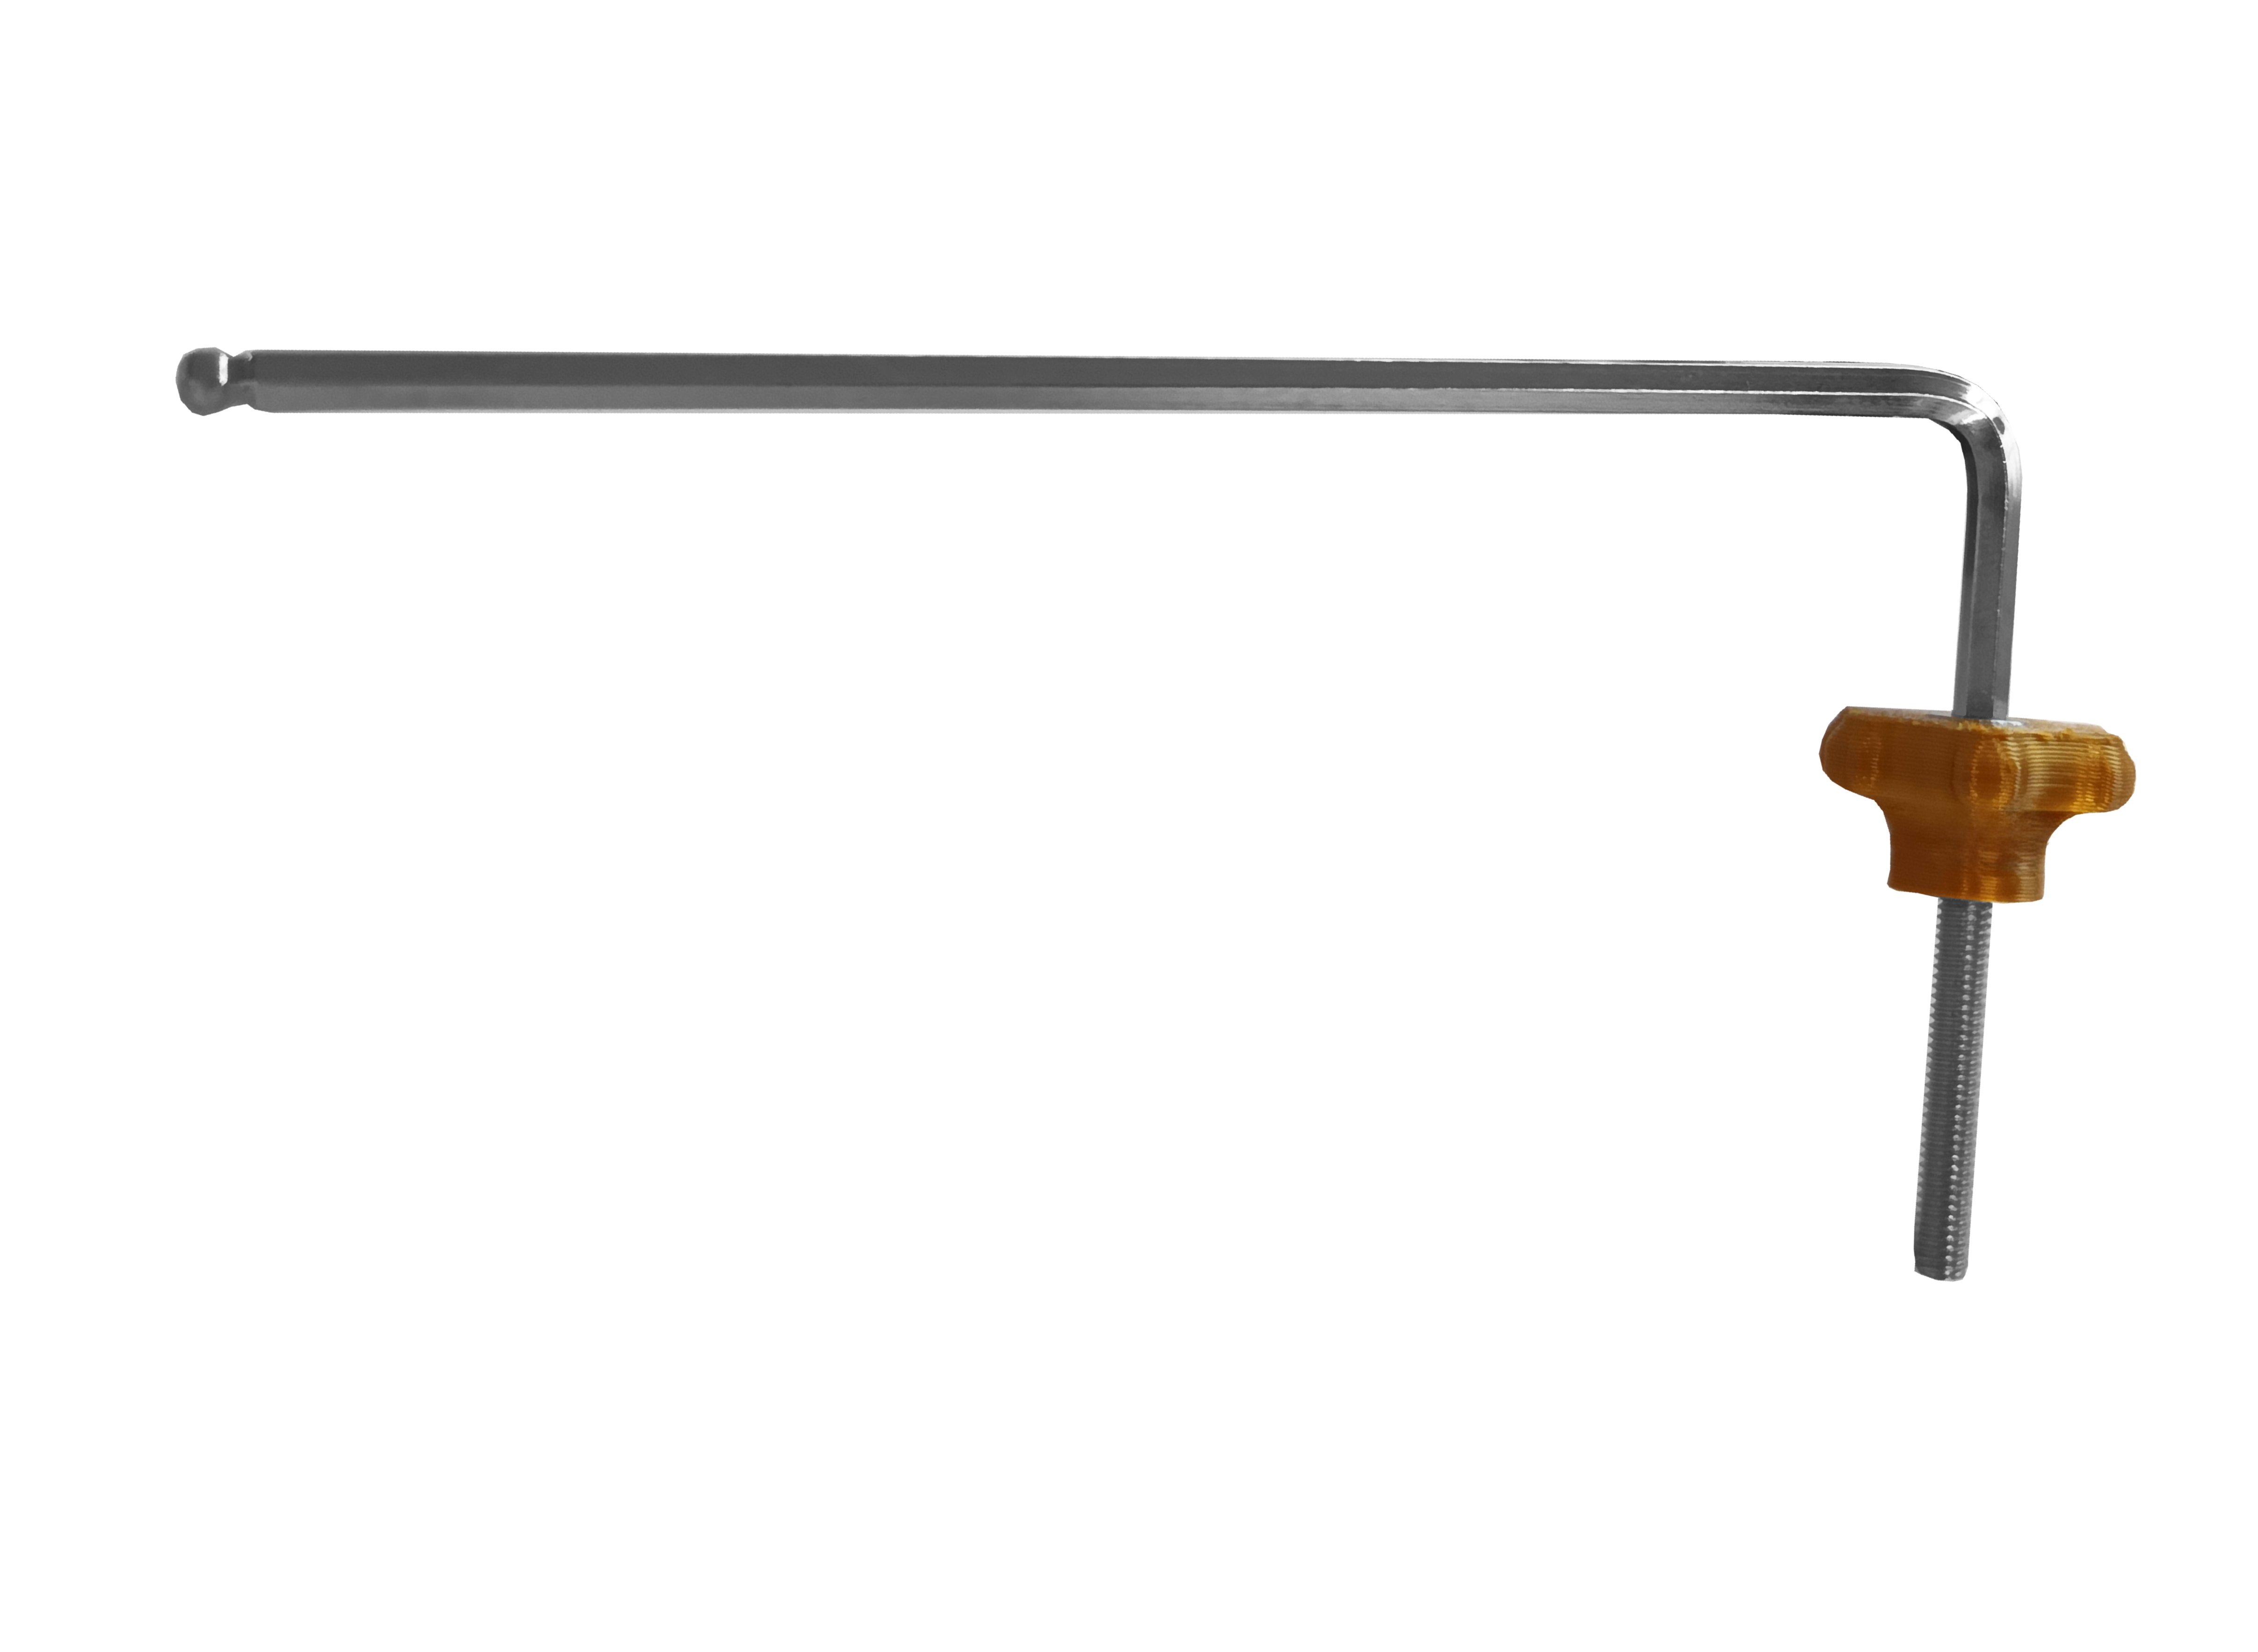
Grab the syringe holder and place it into the front support. Make sure the screw holes from both parts are aligned. Take the two knobs and thread them a bit.
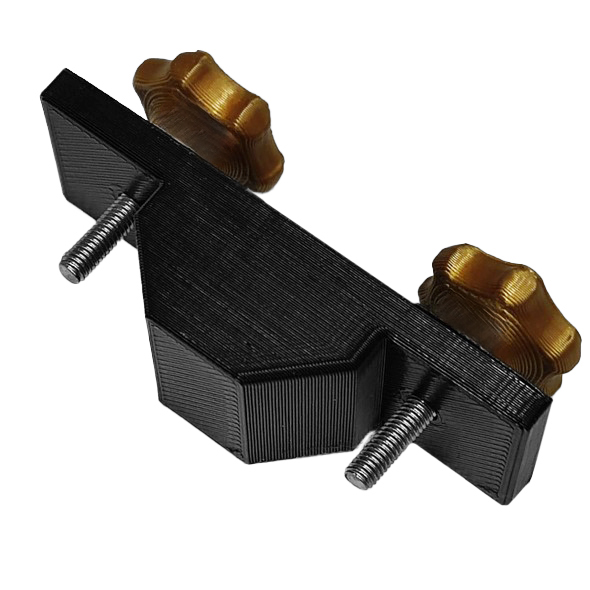
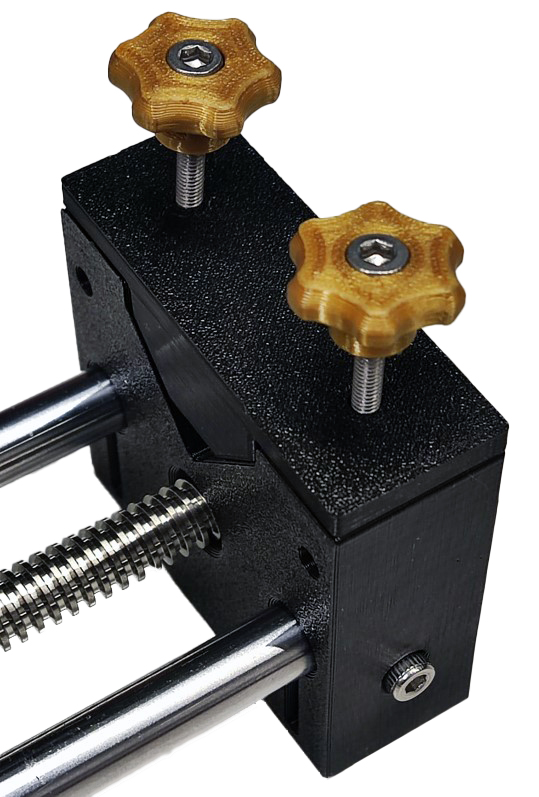
Insert M3 nuts into the nut traps of the front support. Feel free to grab whatever tools you need to push them in. Make sure they align with the screw holes on the front support. Take M3 16mm and thread them enough to hold the nuts.
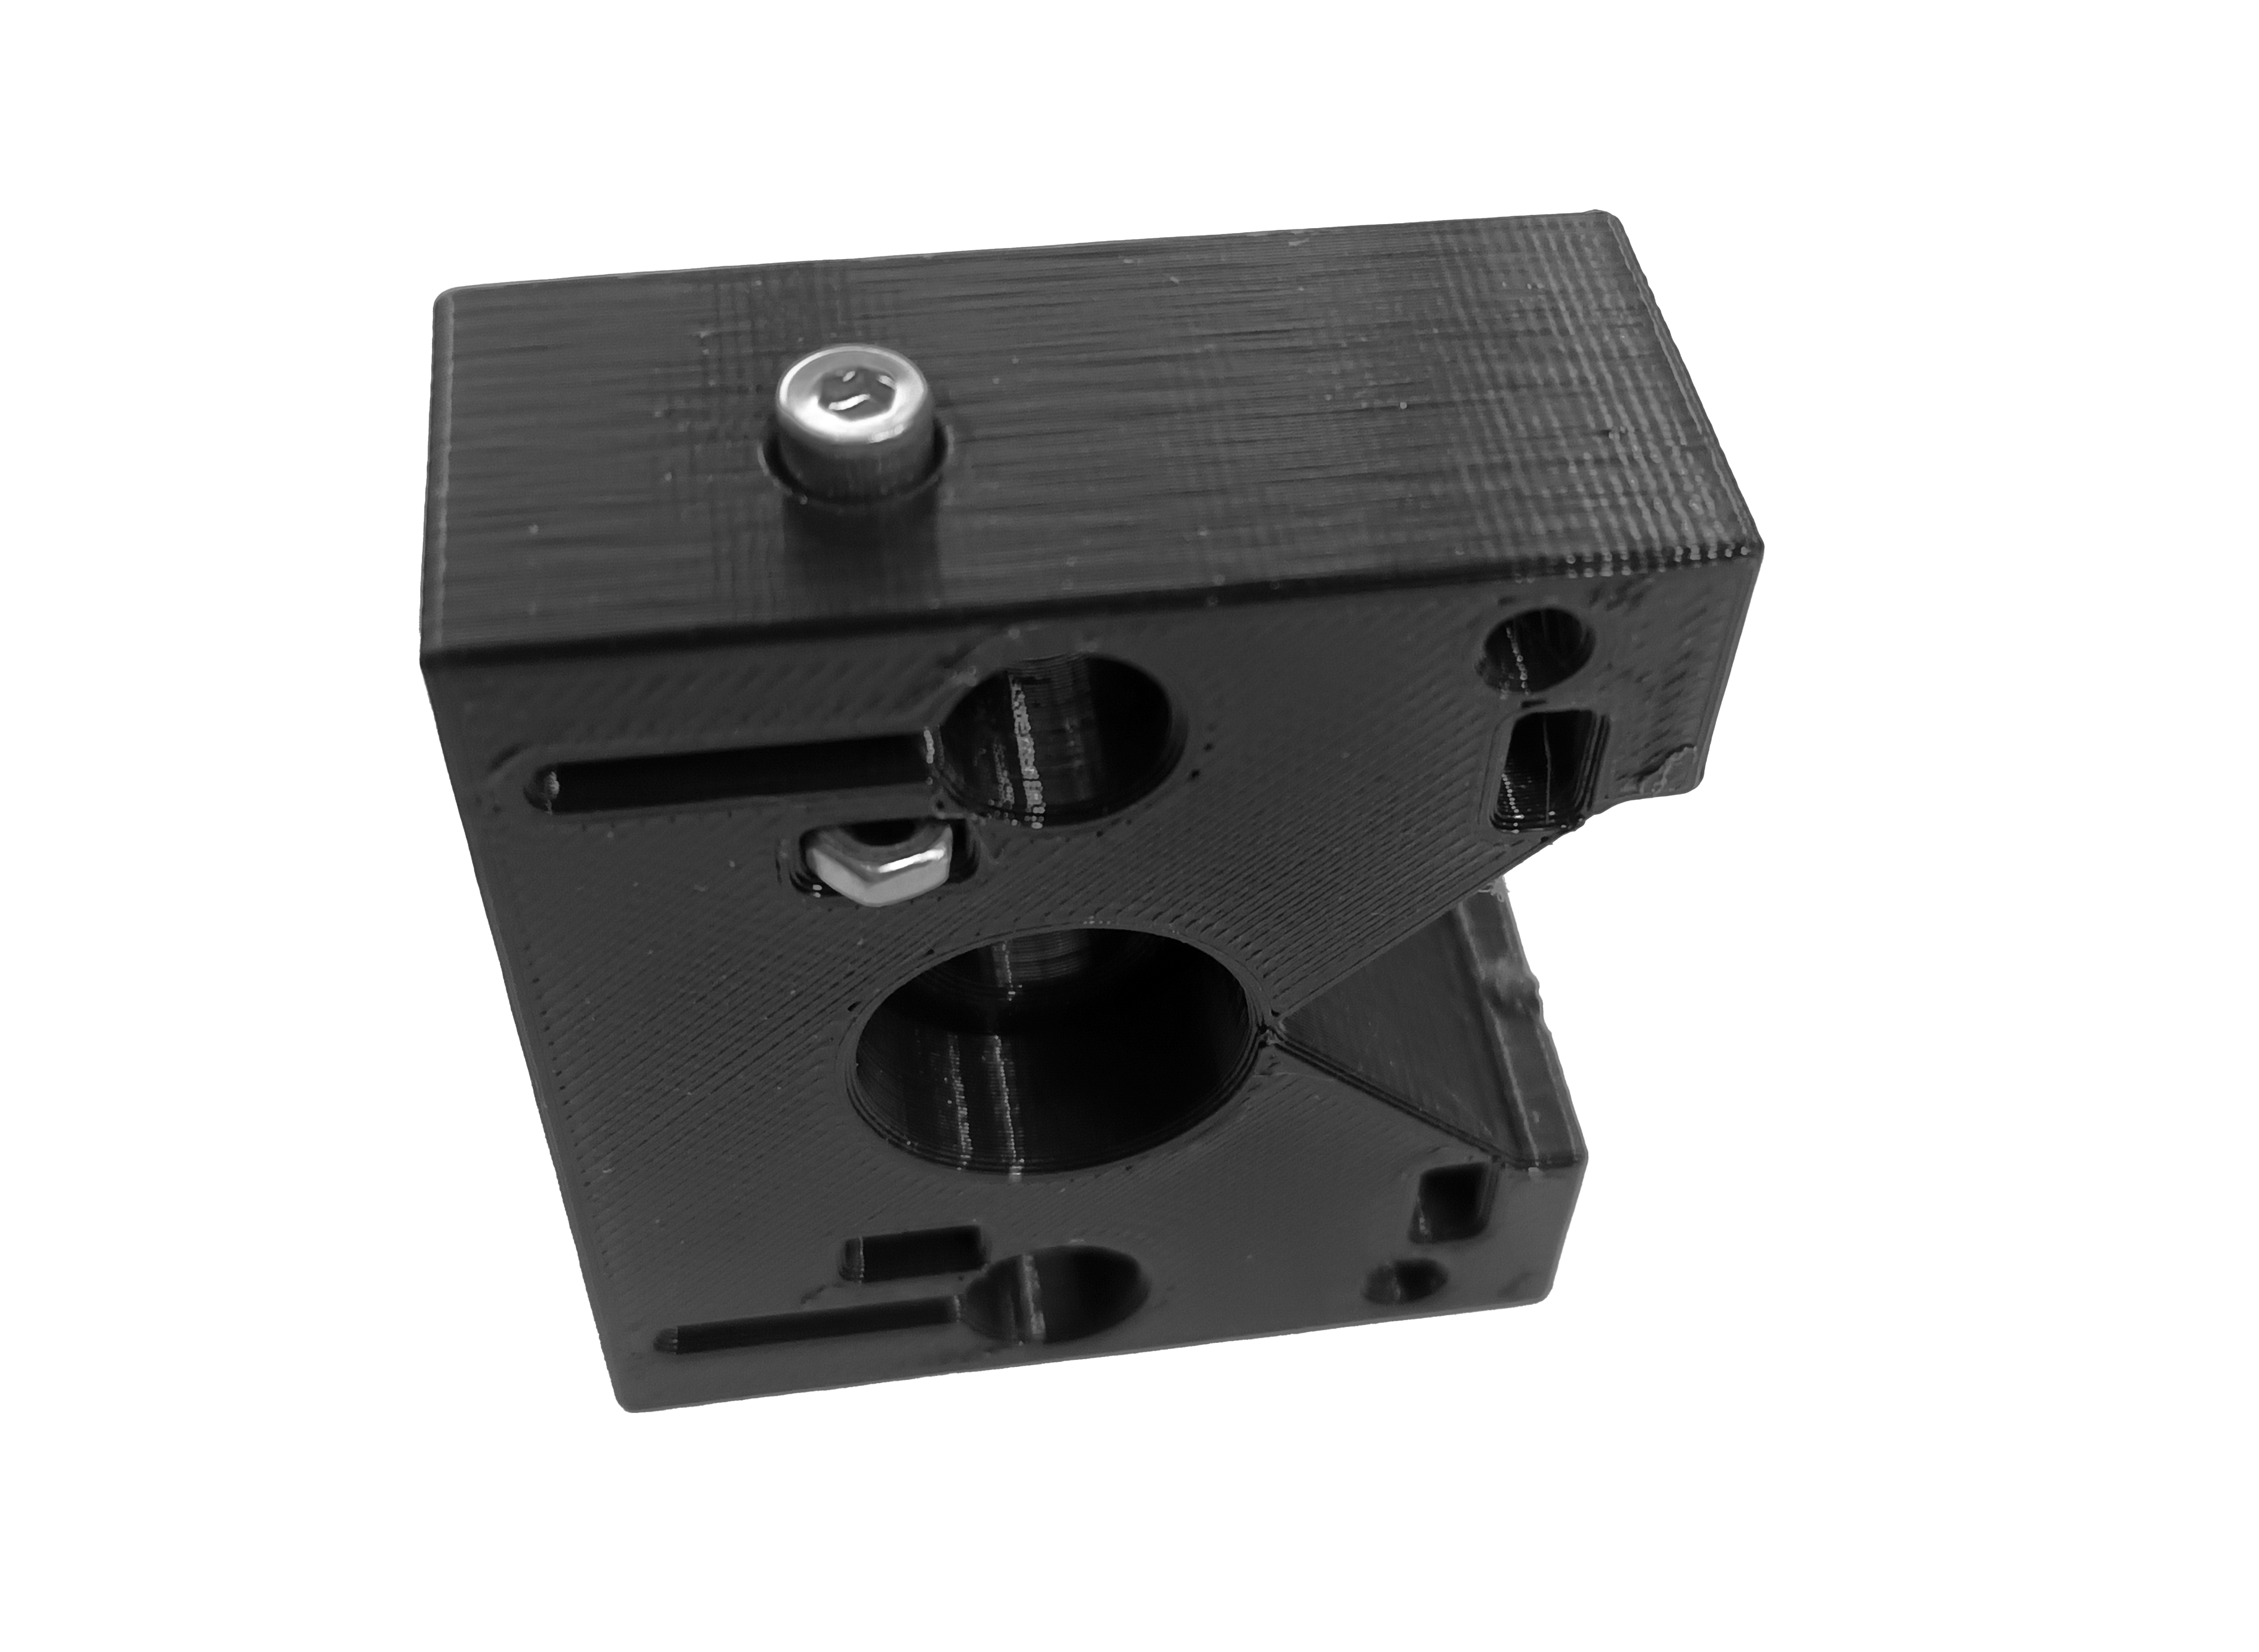
Finally, align the linear rails with the front support to make it sure that they insert into the holes properly, and then push them through. Tighten the linear rails down on the front support.
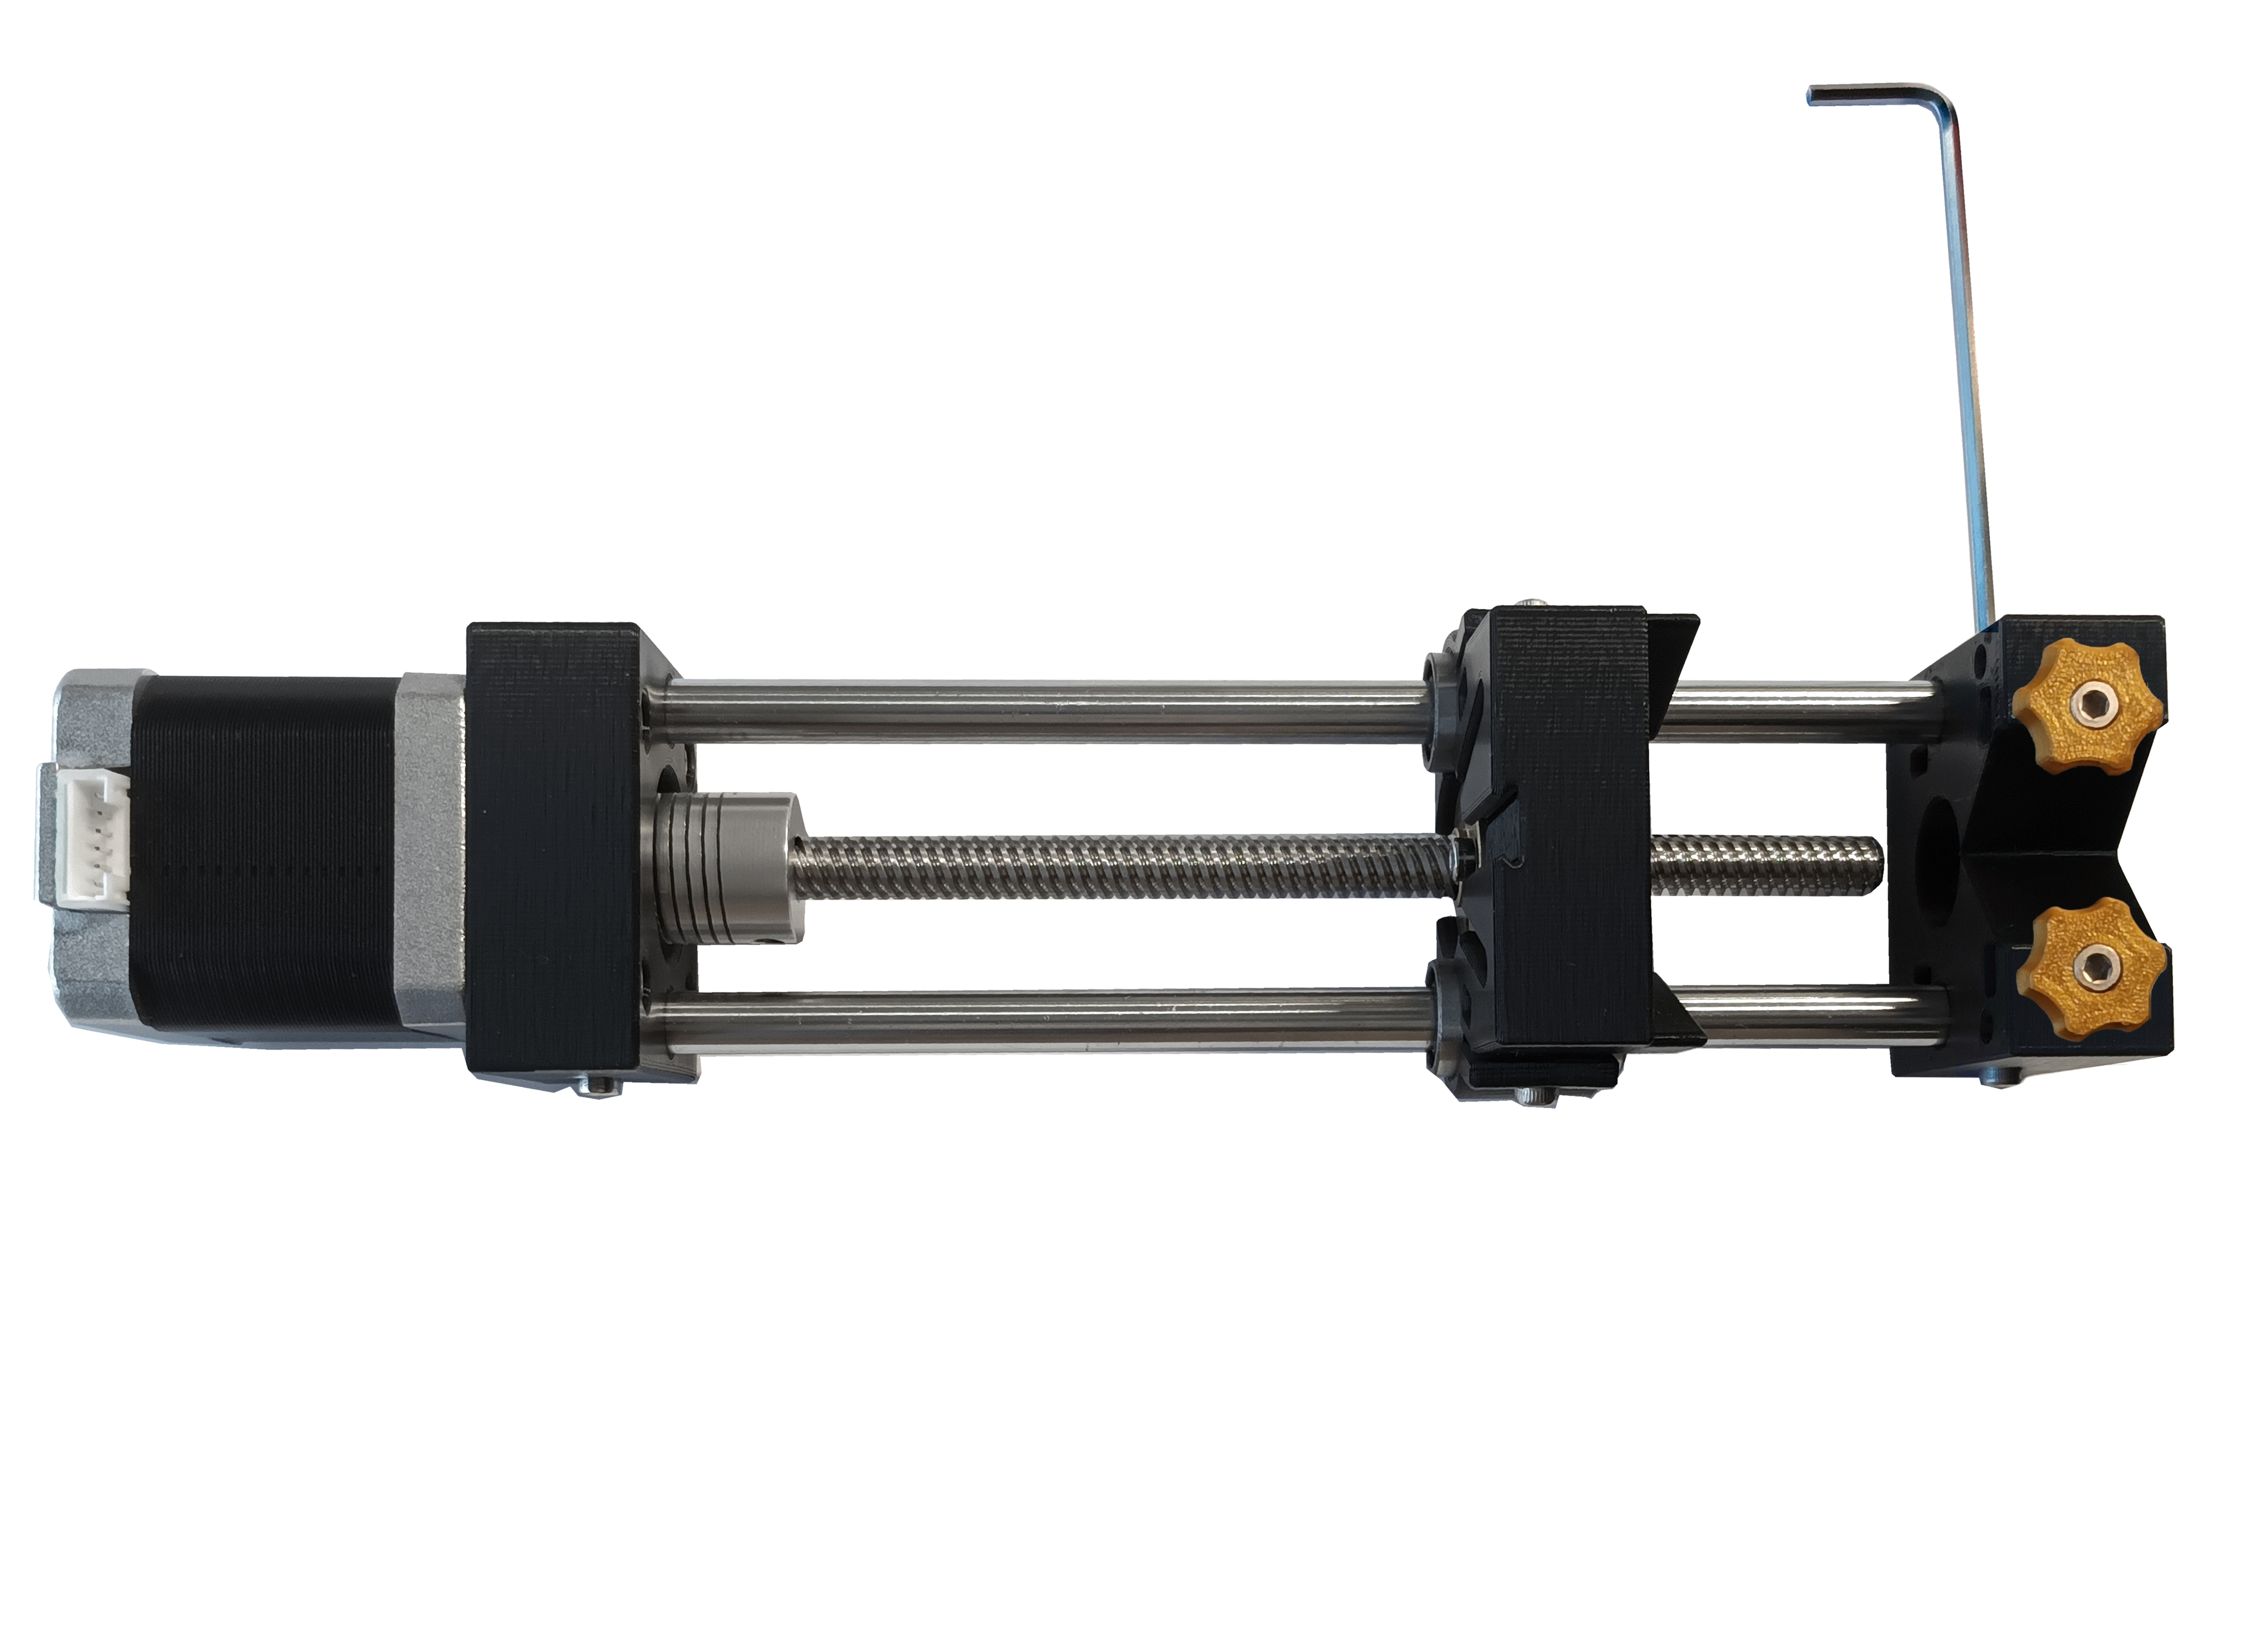
Your syringe pump is ready to be used.